Our Segment integration lets you:
- Create and update contacts
- Send events to trigger workflows
Configuring the destination
After opening the link above, click Configure Loops (Actions).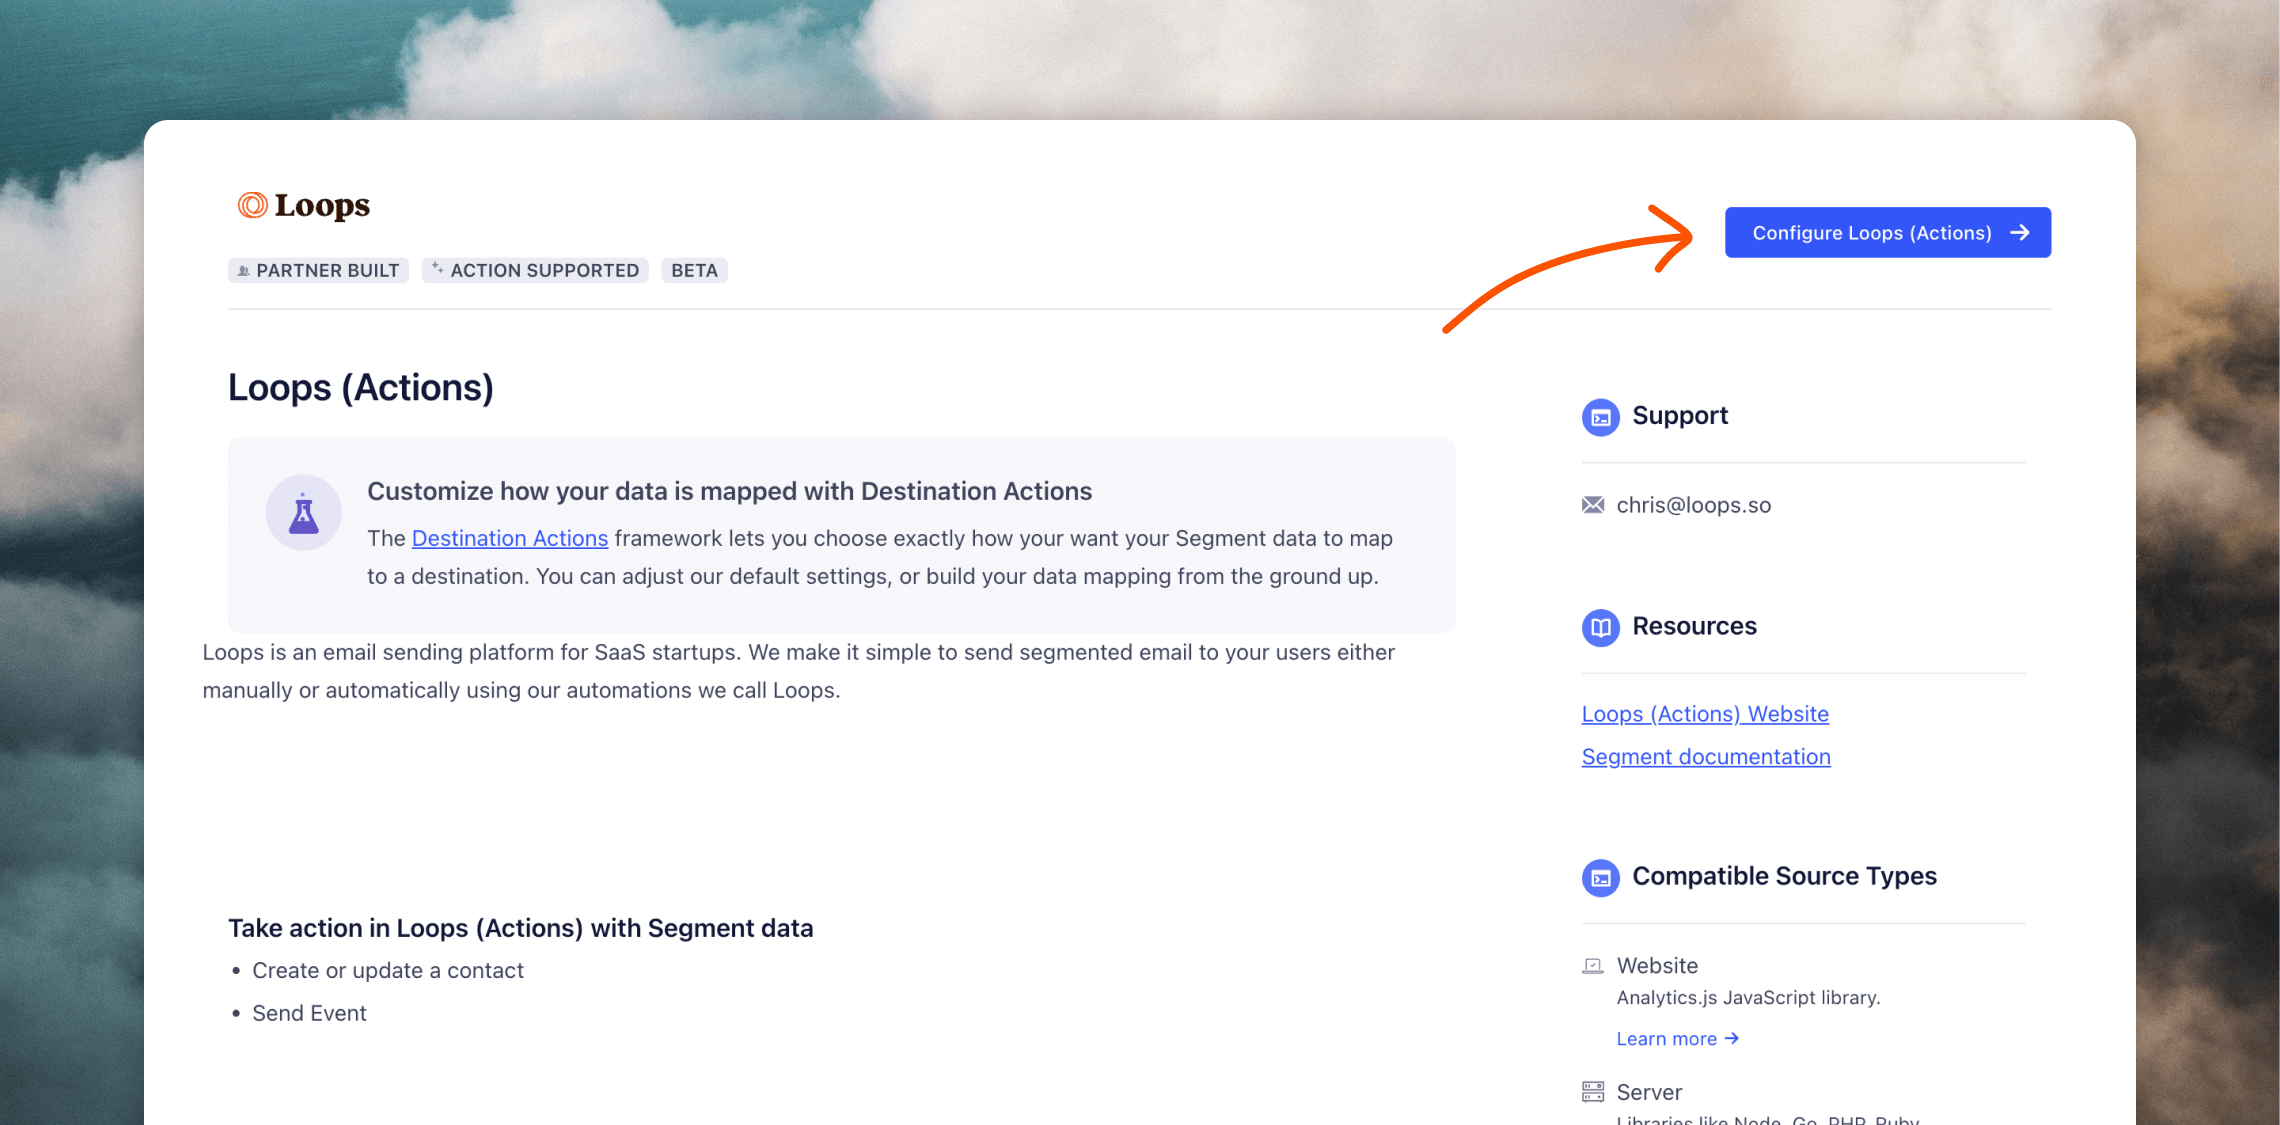
Mappings
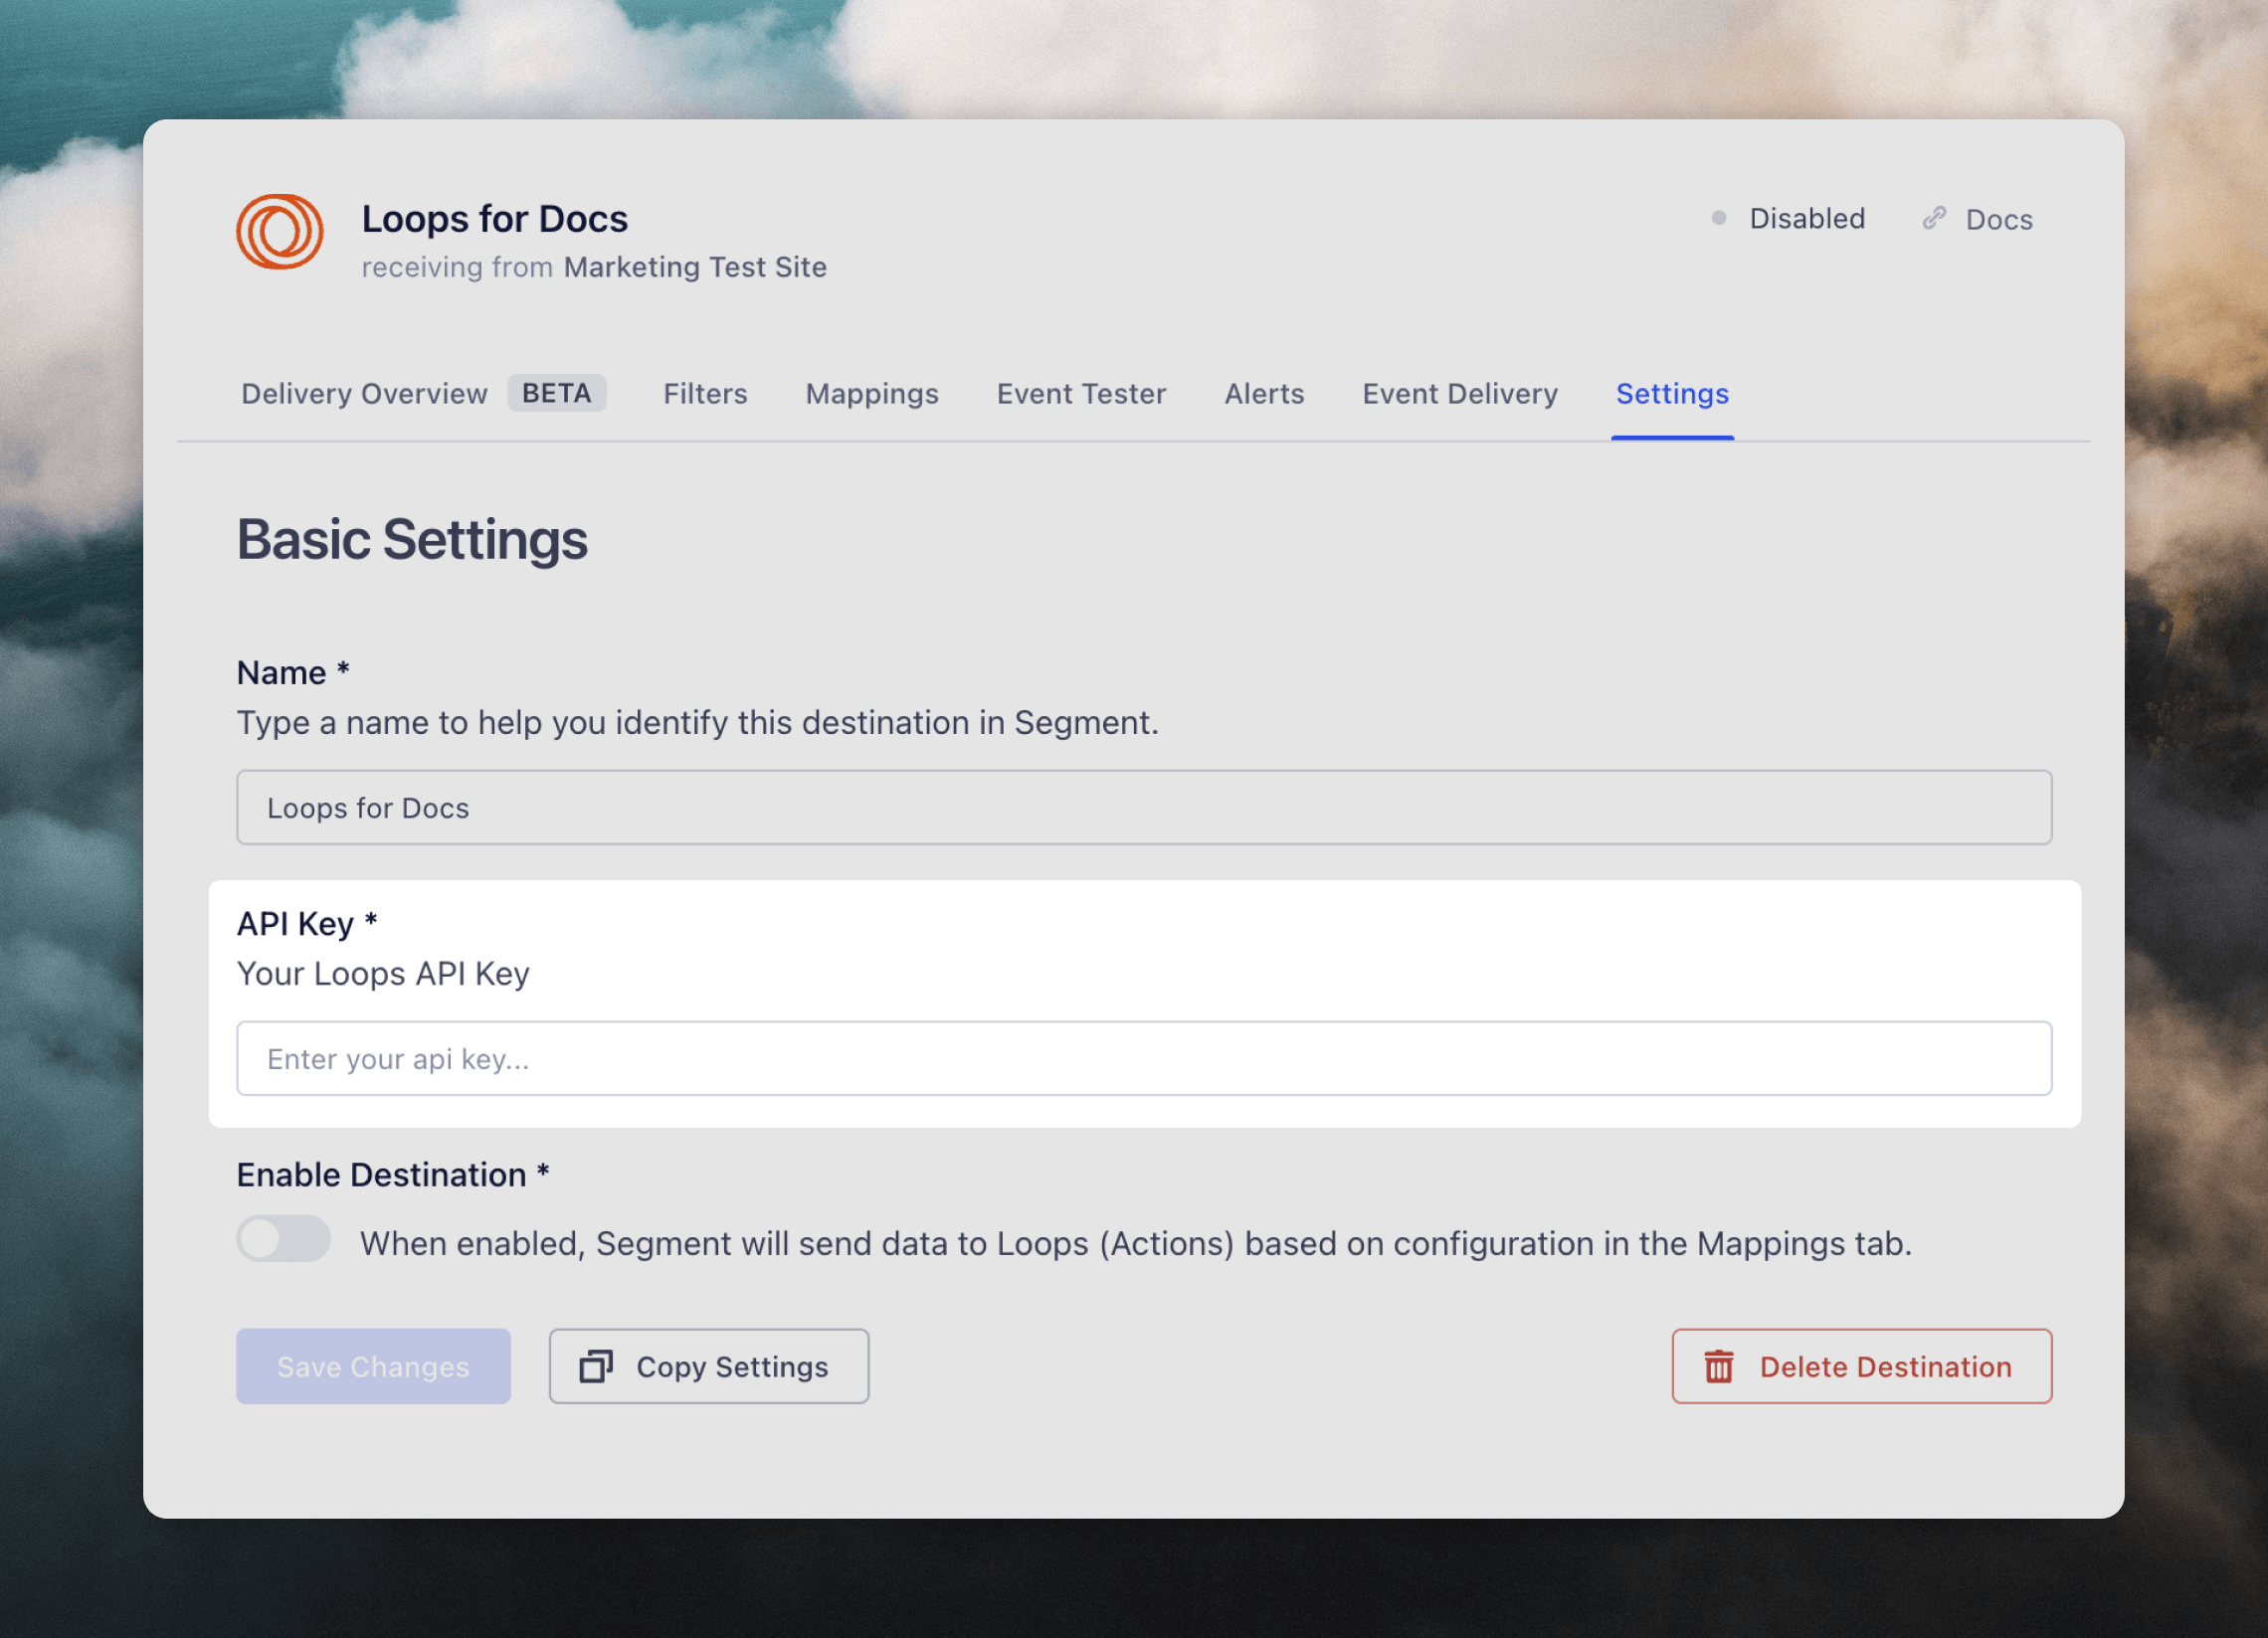
Segment action destinations require that you map specific fields from your source to your destination (in this case Loops). You can set this up by clicking into the Mappings tab and adding a new mapping. Currently we support updating contacts in Loops and sending events into Loops.Create or update contact
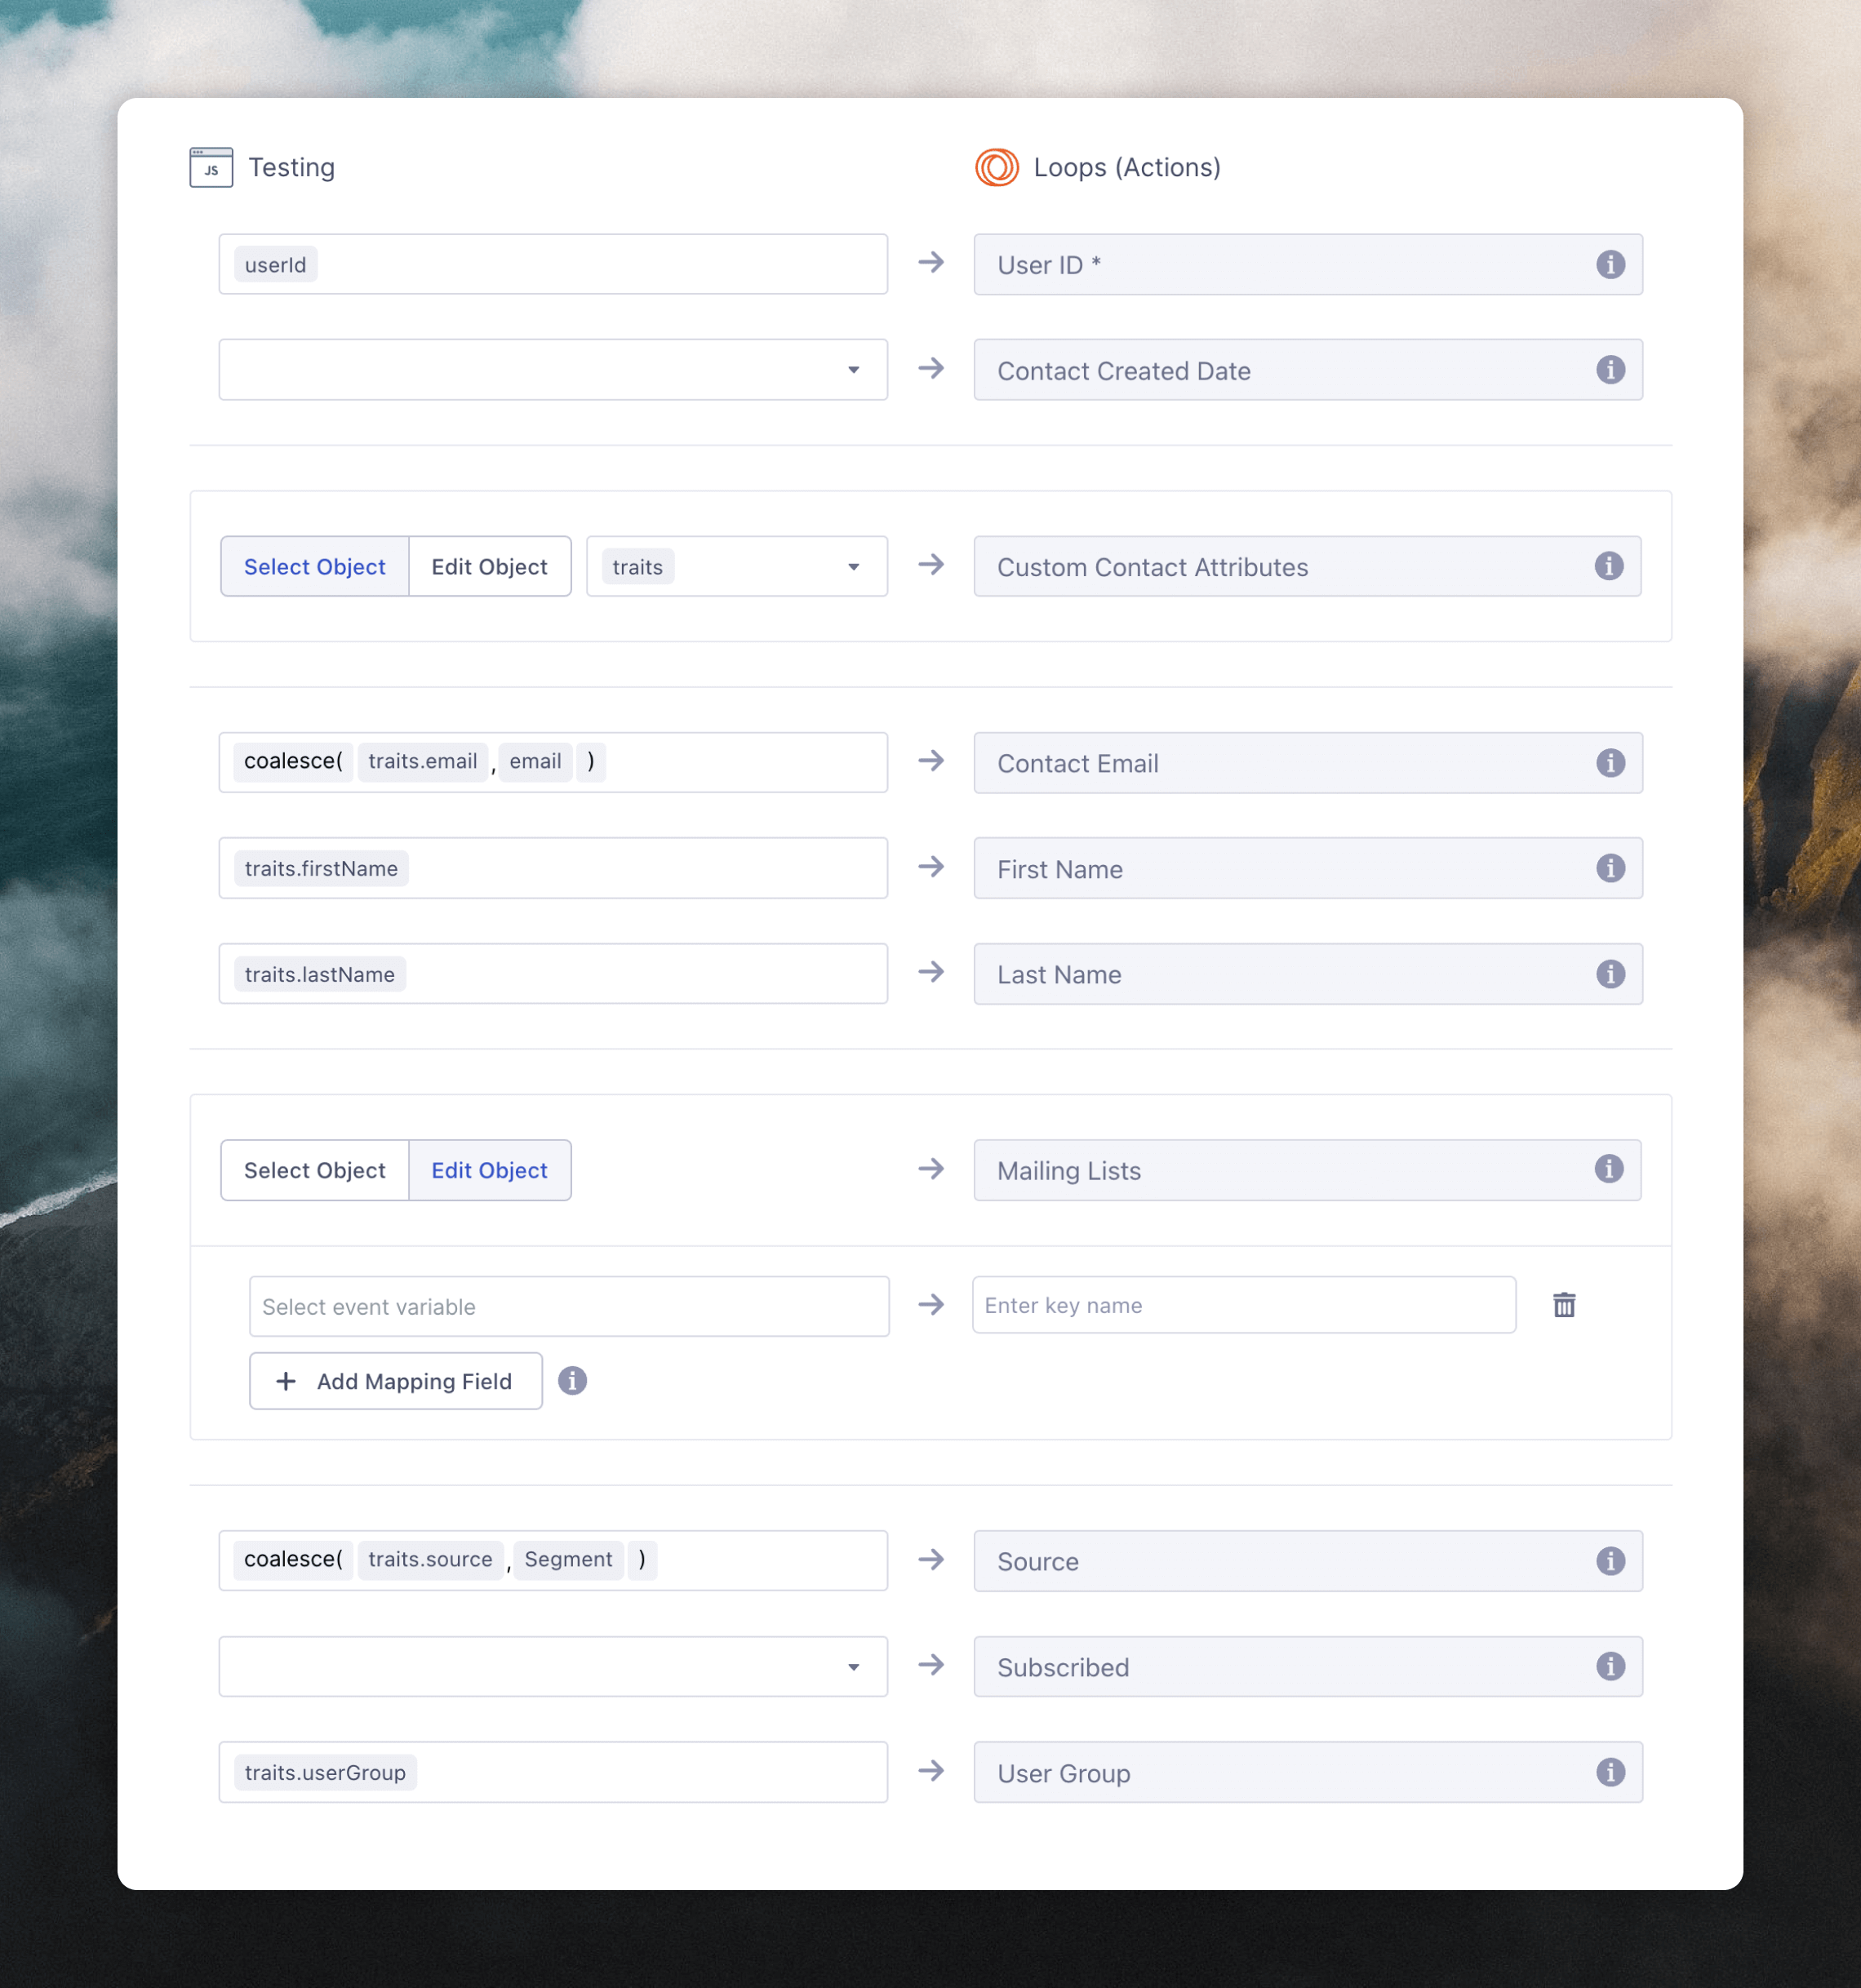
First, select which events to map. Typically for contact creation and updates, the most useful event to map will be “Identify”.
traits object.
For this example, we’ll be using this test event:
Custom contact properties
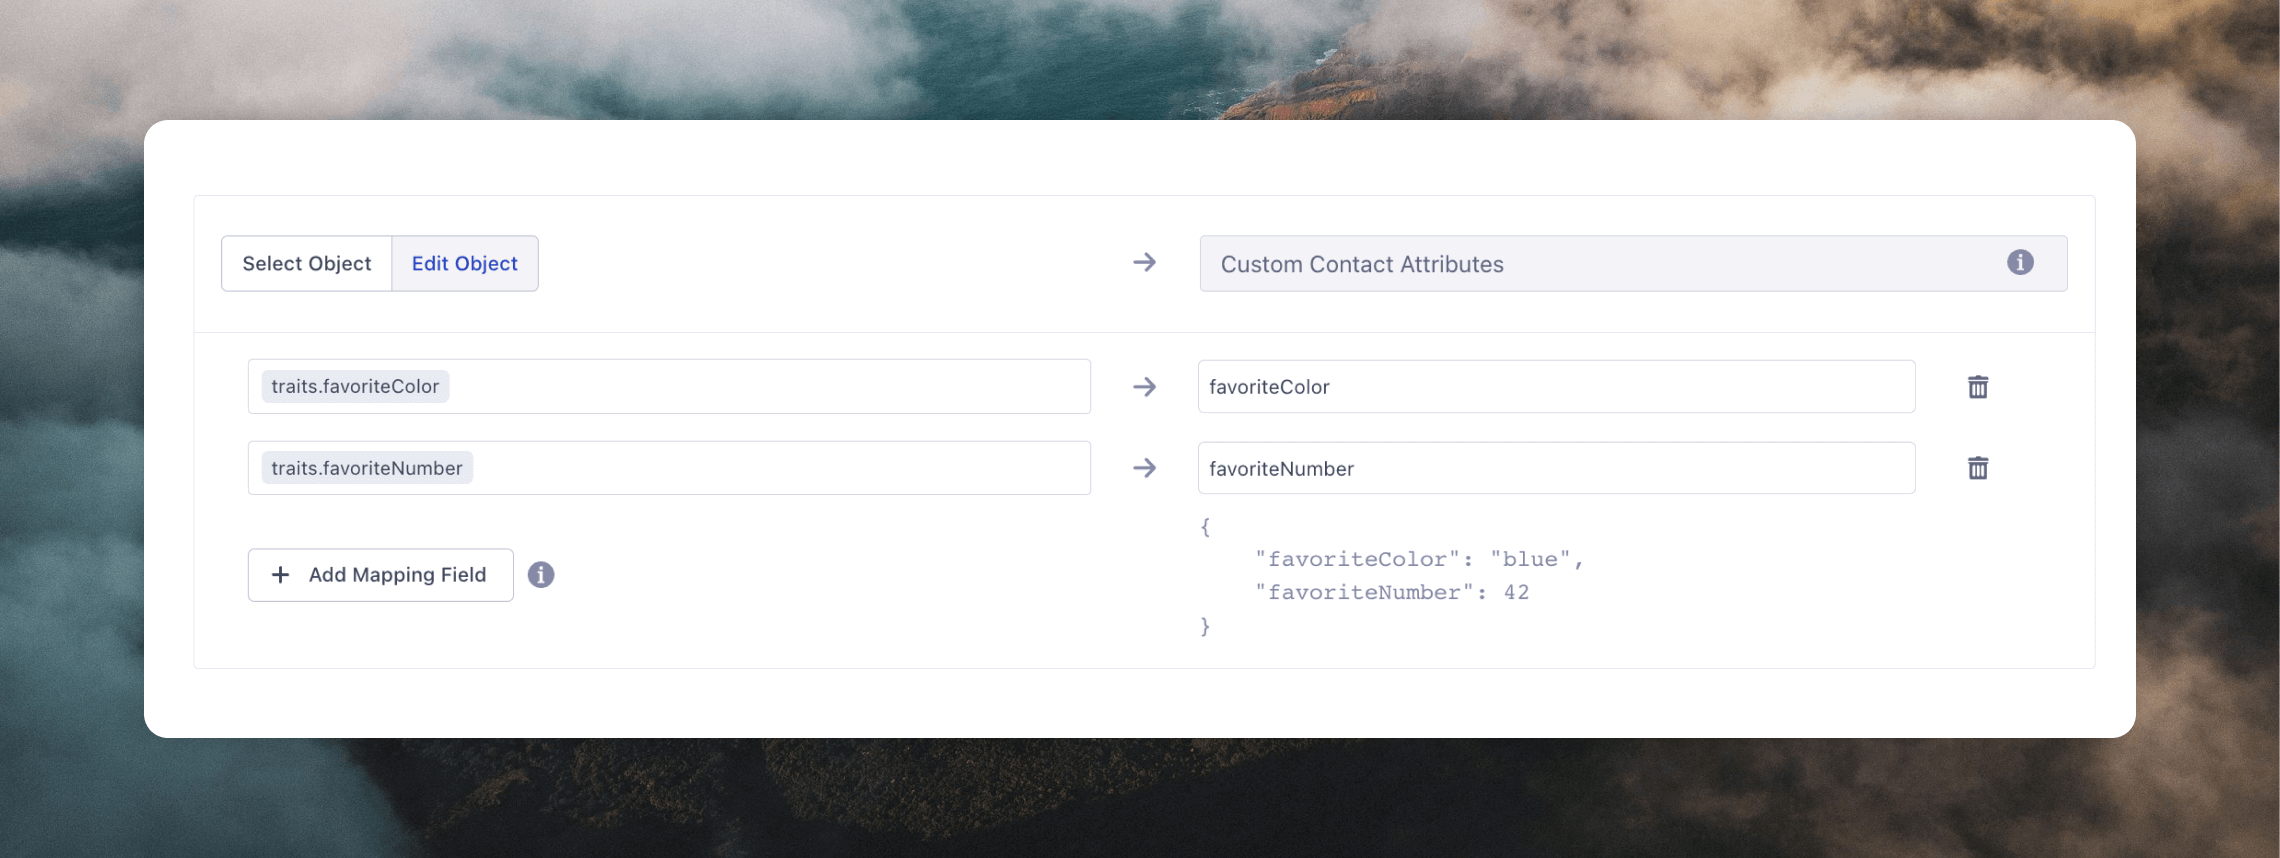
Segment does not provide an interface to provide the names and types for custom contact properties that you might be using with Loops. In our example, those fields arefavoriteColor and favoriteNumber.
You can pass contact properties as a dictionary in the Custom Contact Attributes field.
Click Edit Object to specify the custom fields you want to send to Loops individually:
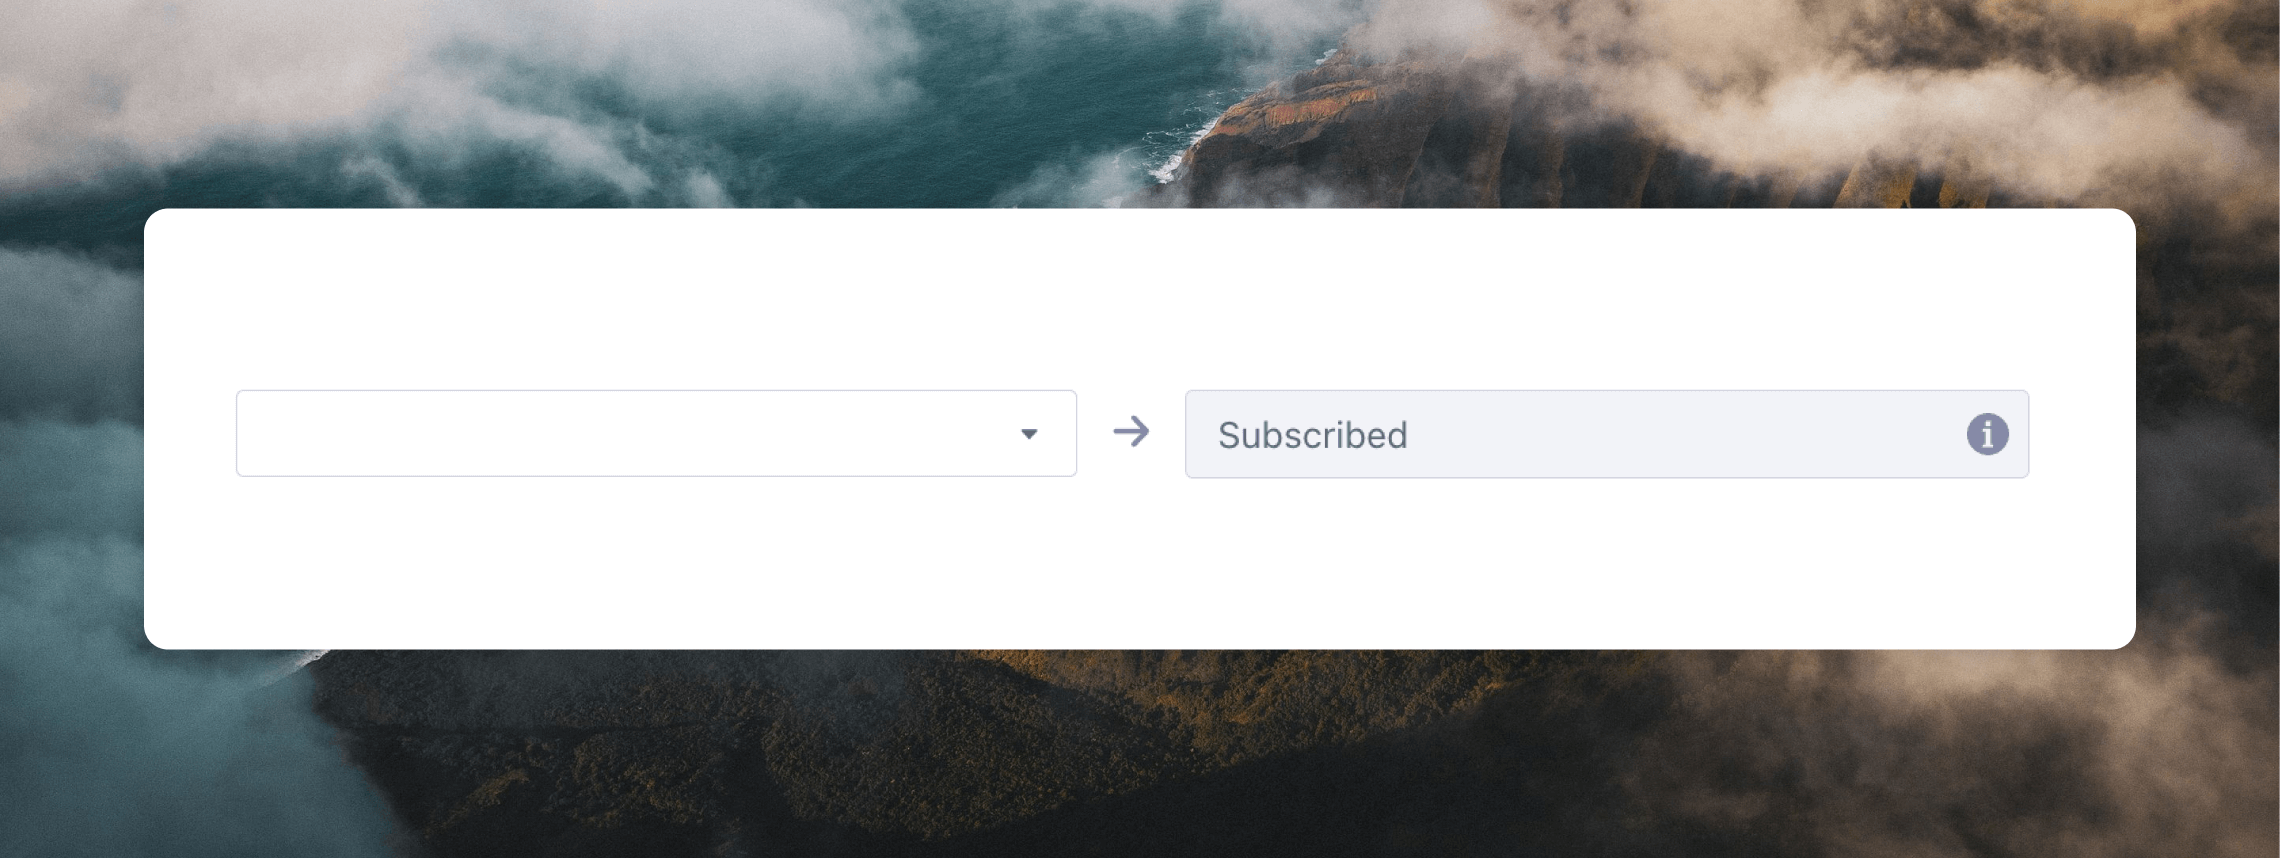
Subscribed
In most cases, you want to leave the Subscribed field as the default (deselected). Setting this totrue will re-subscribe contacts who had previously unsubscribed, and setting it to false will unsubscribe contacts from receiving email. Leaving it deselected will default new users as subscribed to email and not update the email preference for existing contacts.
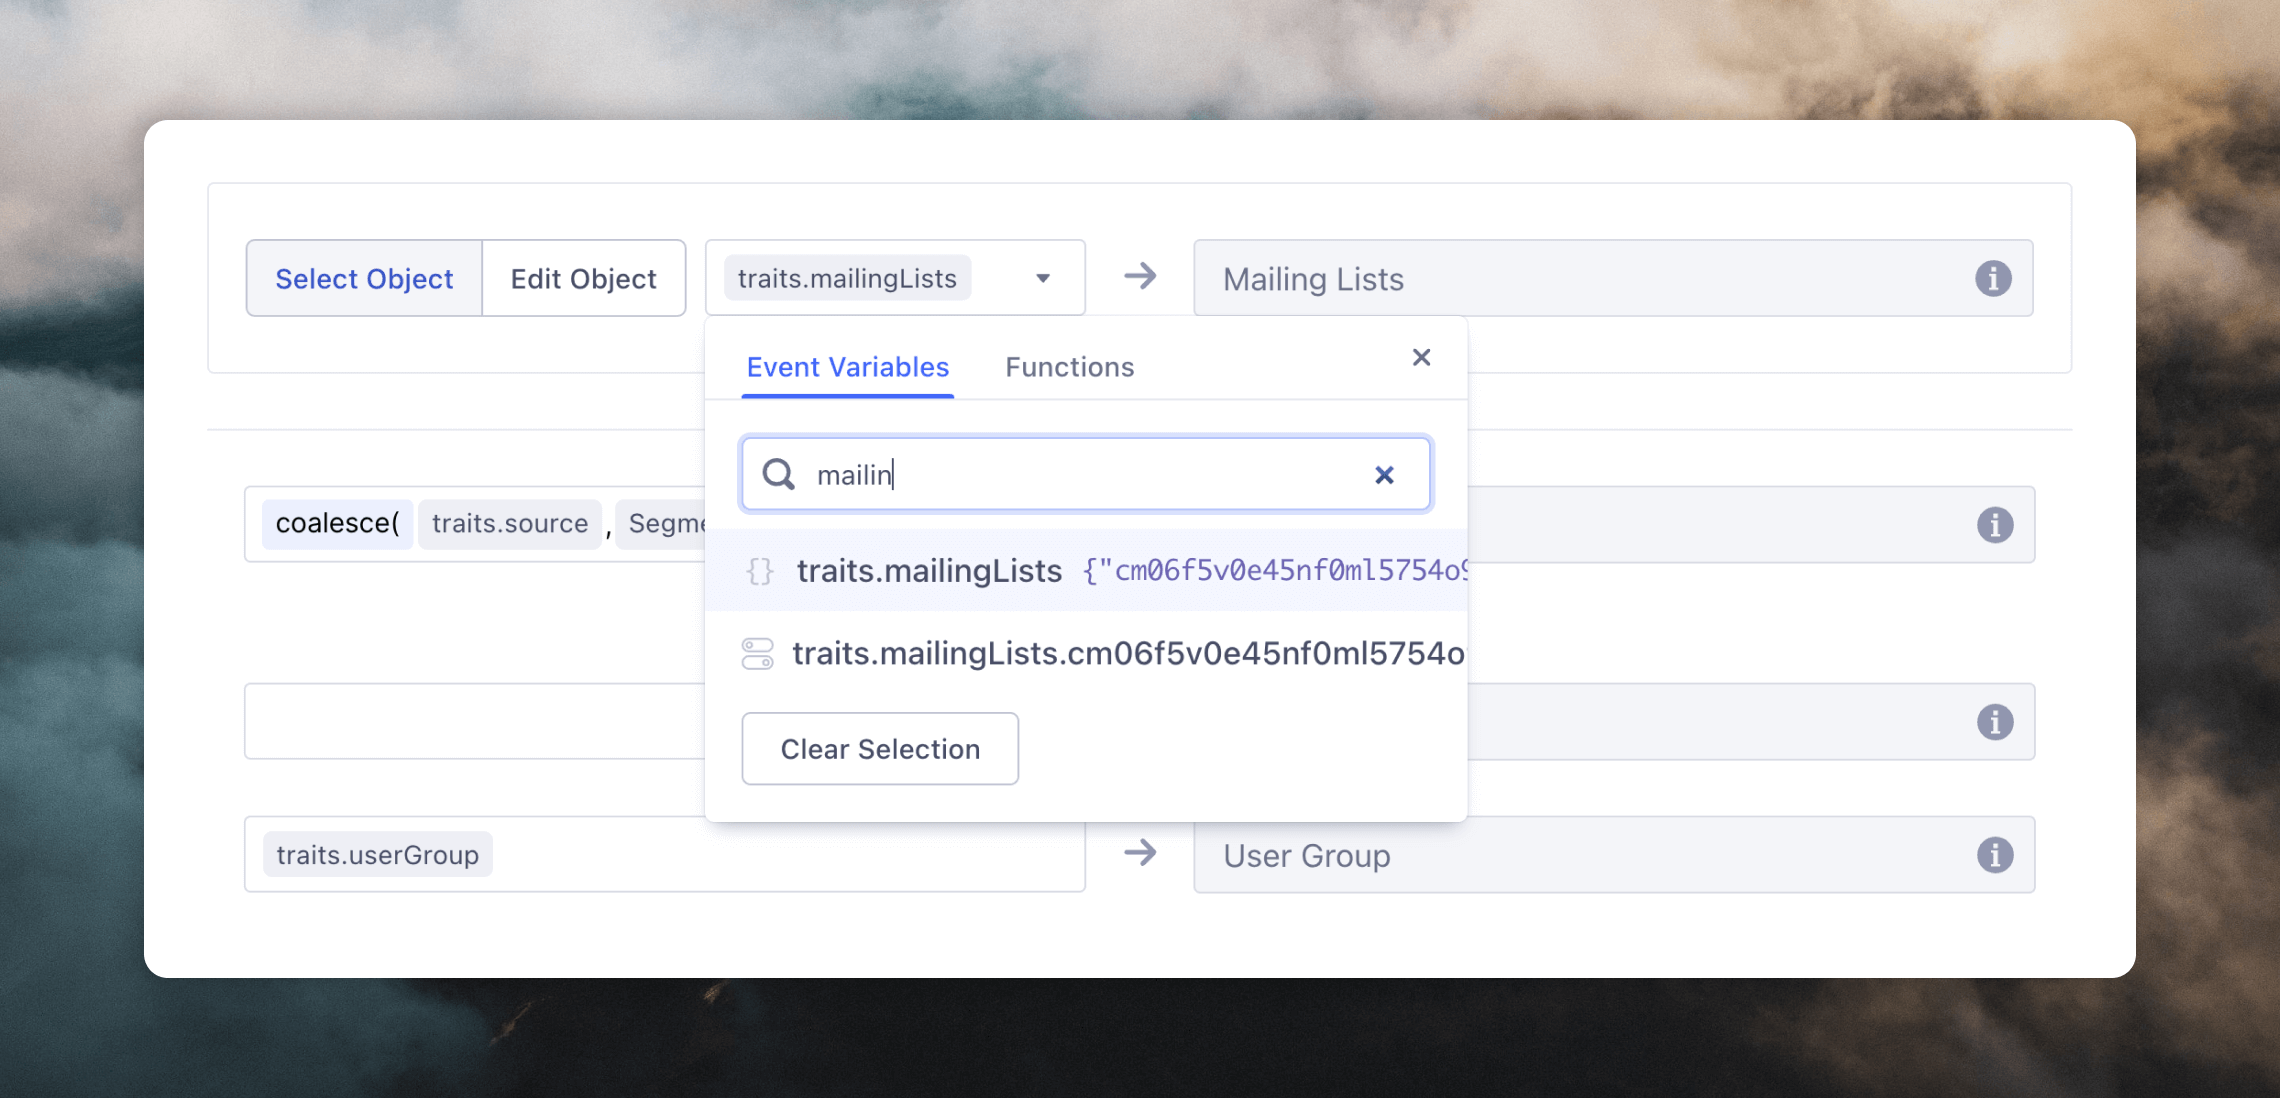
Mailing lists
To subscribe contacts to mailing lists there are two options. The first method is to manually edit the Mailing Lists data. This will allow you to enter list ID values that are the same for every contact. Click the Edit Object option, then the + Add Mapping Field button. In the Select event variable field enter “true” or “false” (to subscribe or unsubscribe) and in the Enter key name field enter your list ID(s). You can add multiple lists by clicking on the + Add Mapping Field button again. Make sure the data shown below the fields has the same structure as in the image below.
mailingLists object to traits in your test event with list IDs as keys and true (to subscribe) or false (to unsubscribe) as values.
traits.mailingLists from the Event Variables options.
Testing
After the mappings are configured you can preview the data that will be sent.
Send event
You can send events to trigger workflows. First, select which event(s) to map. Typically for sending an event, the most useful event to map will be “Track”. We recommend that you filter the events down to only ones that you plan on using within Loops using the Event Name filter: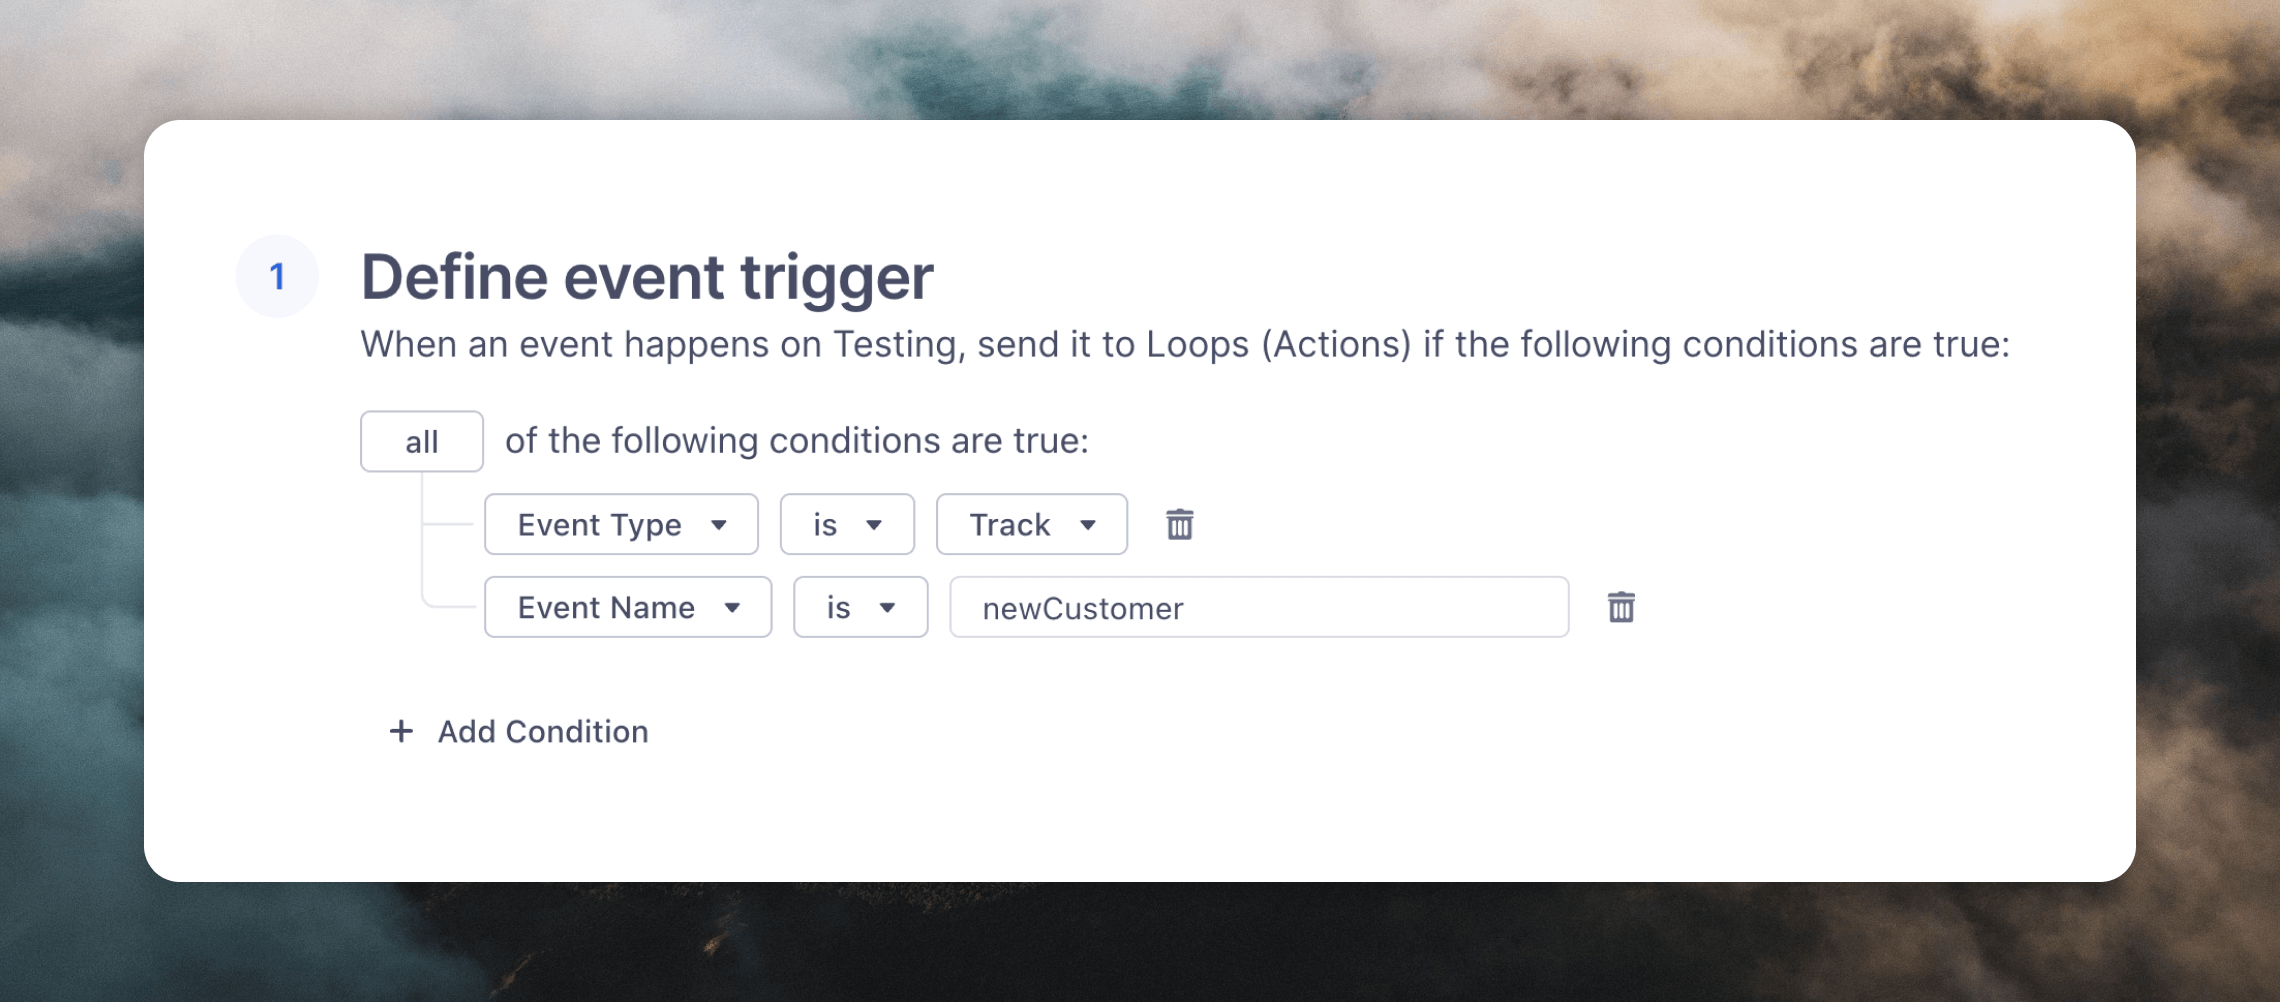
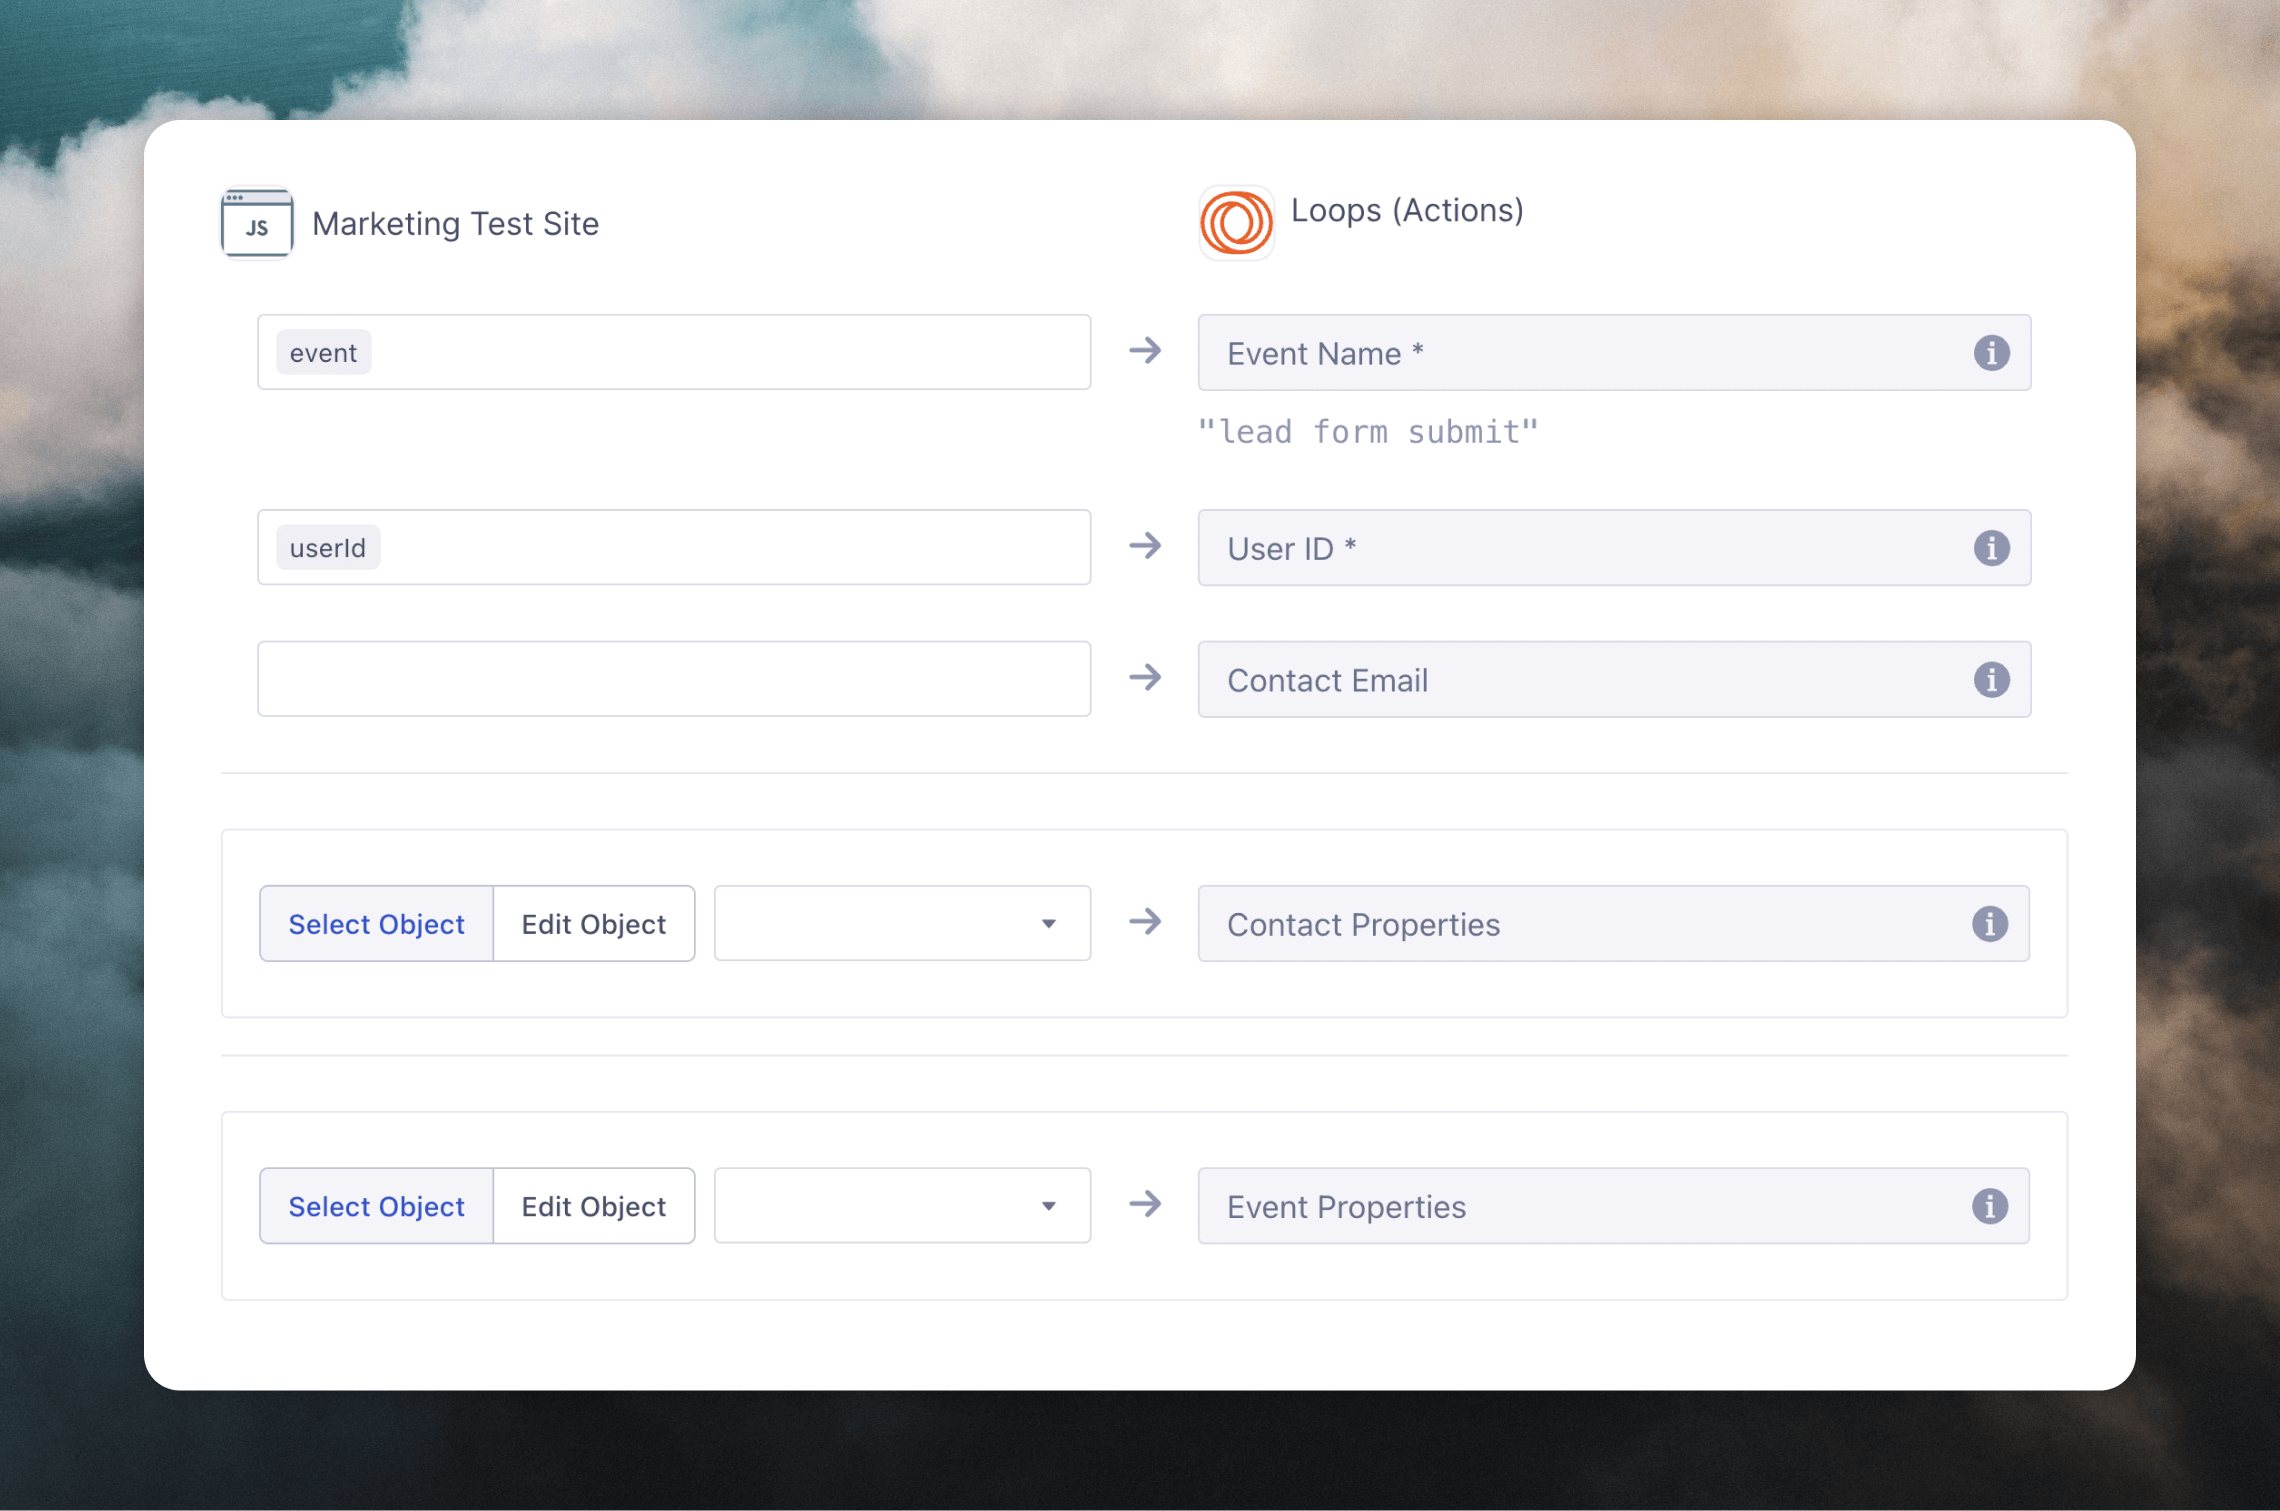
Required fields
The User ID field is required. If a contact already exists in your Loops audience, the Contact Email field is optional; if the contact does not exist in Loops you need to include an email address so that a contact can be created and an email can be sent (we recommend always including an email address).Event properties
If you want to add event properties, you can pass them as a dictionary to the Event Properties field. These properties can be included in emails triggered by your event. You can choose to select theproperties object to send all data from the track call. Or if you click Edit Object you can select individual properties. Make sure to enter the correct contact property name from Loops in the Enter key name field.
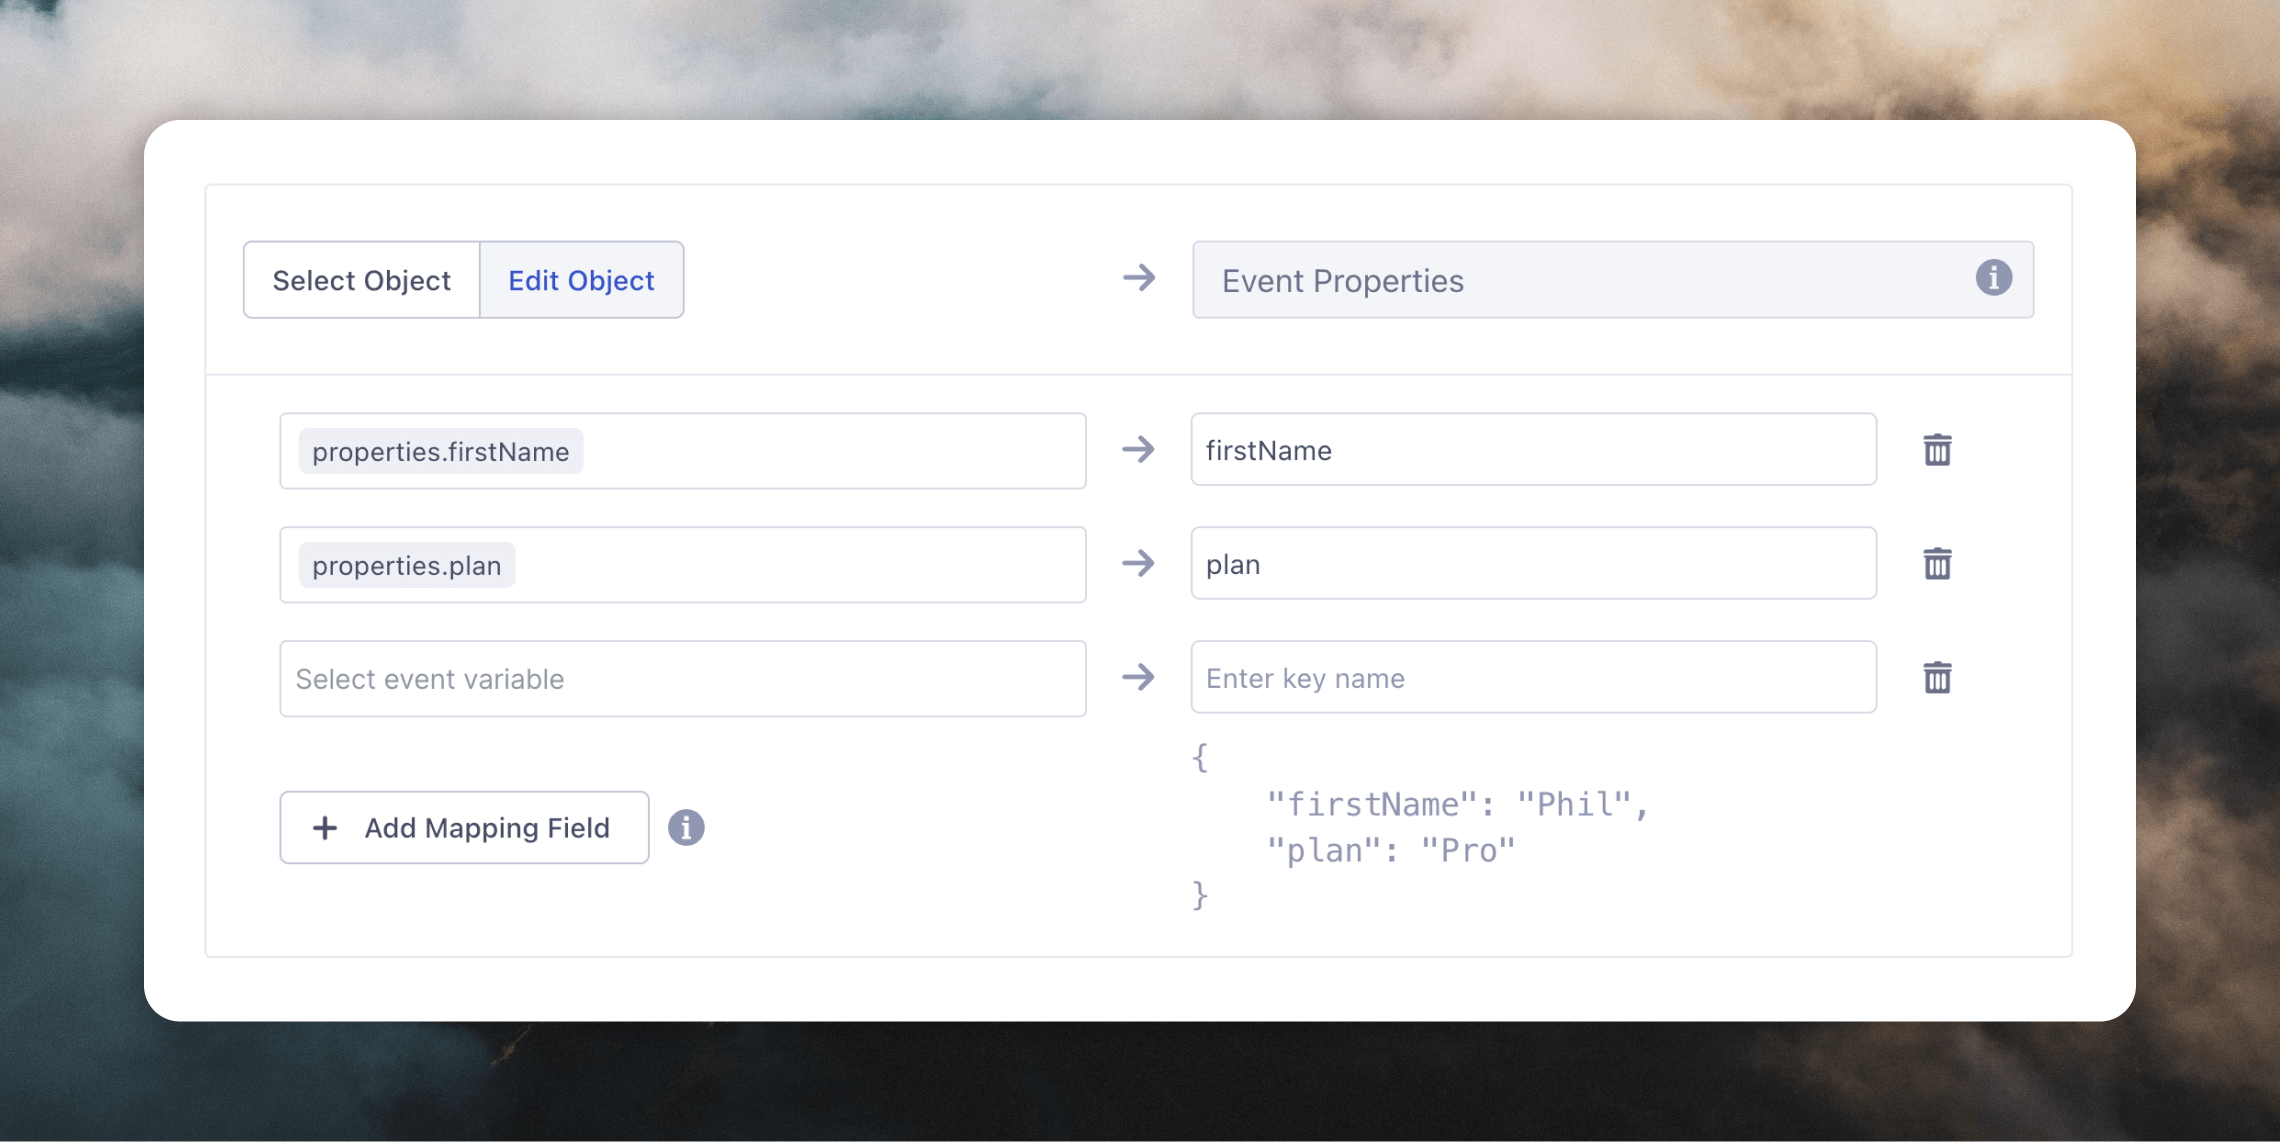
Contact properties
You can update contacts at the same time as sending an event with the Contact Properties field. Click Edit Object and specify the properties and values you want to update on your contacts.
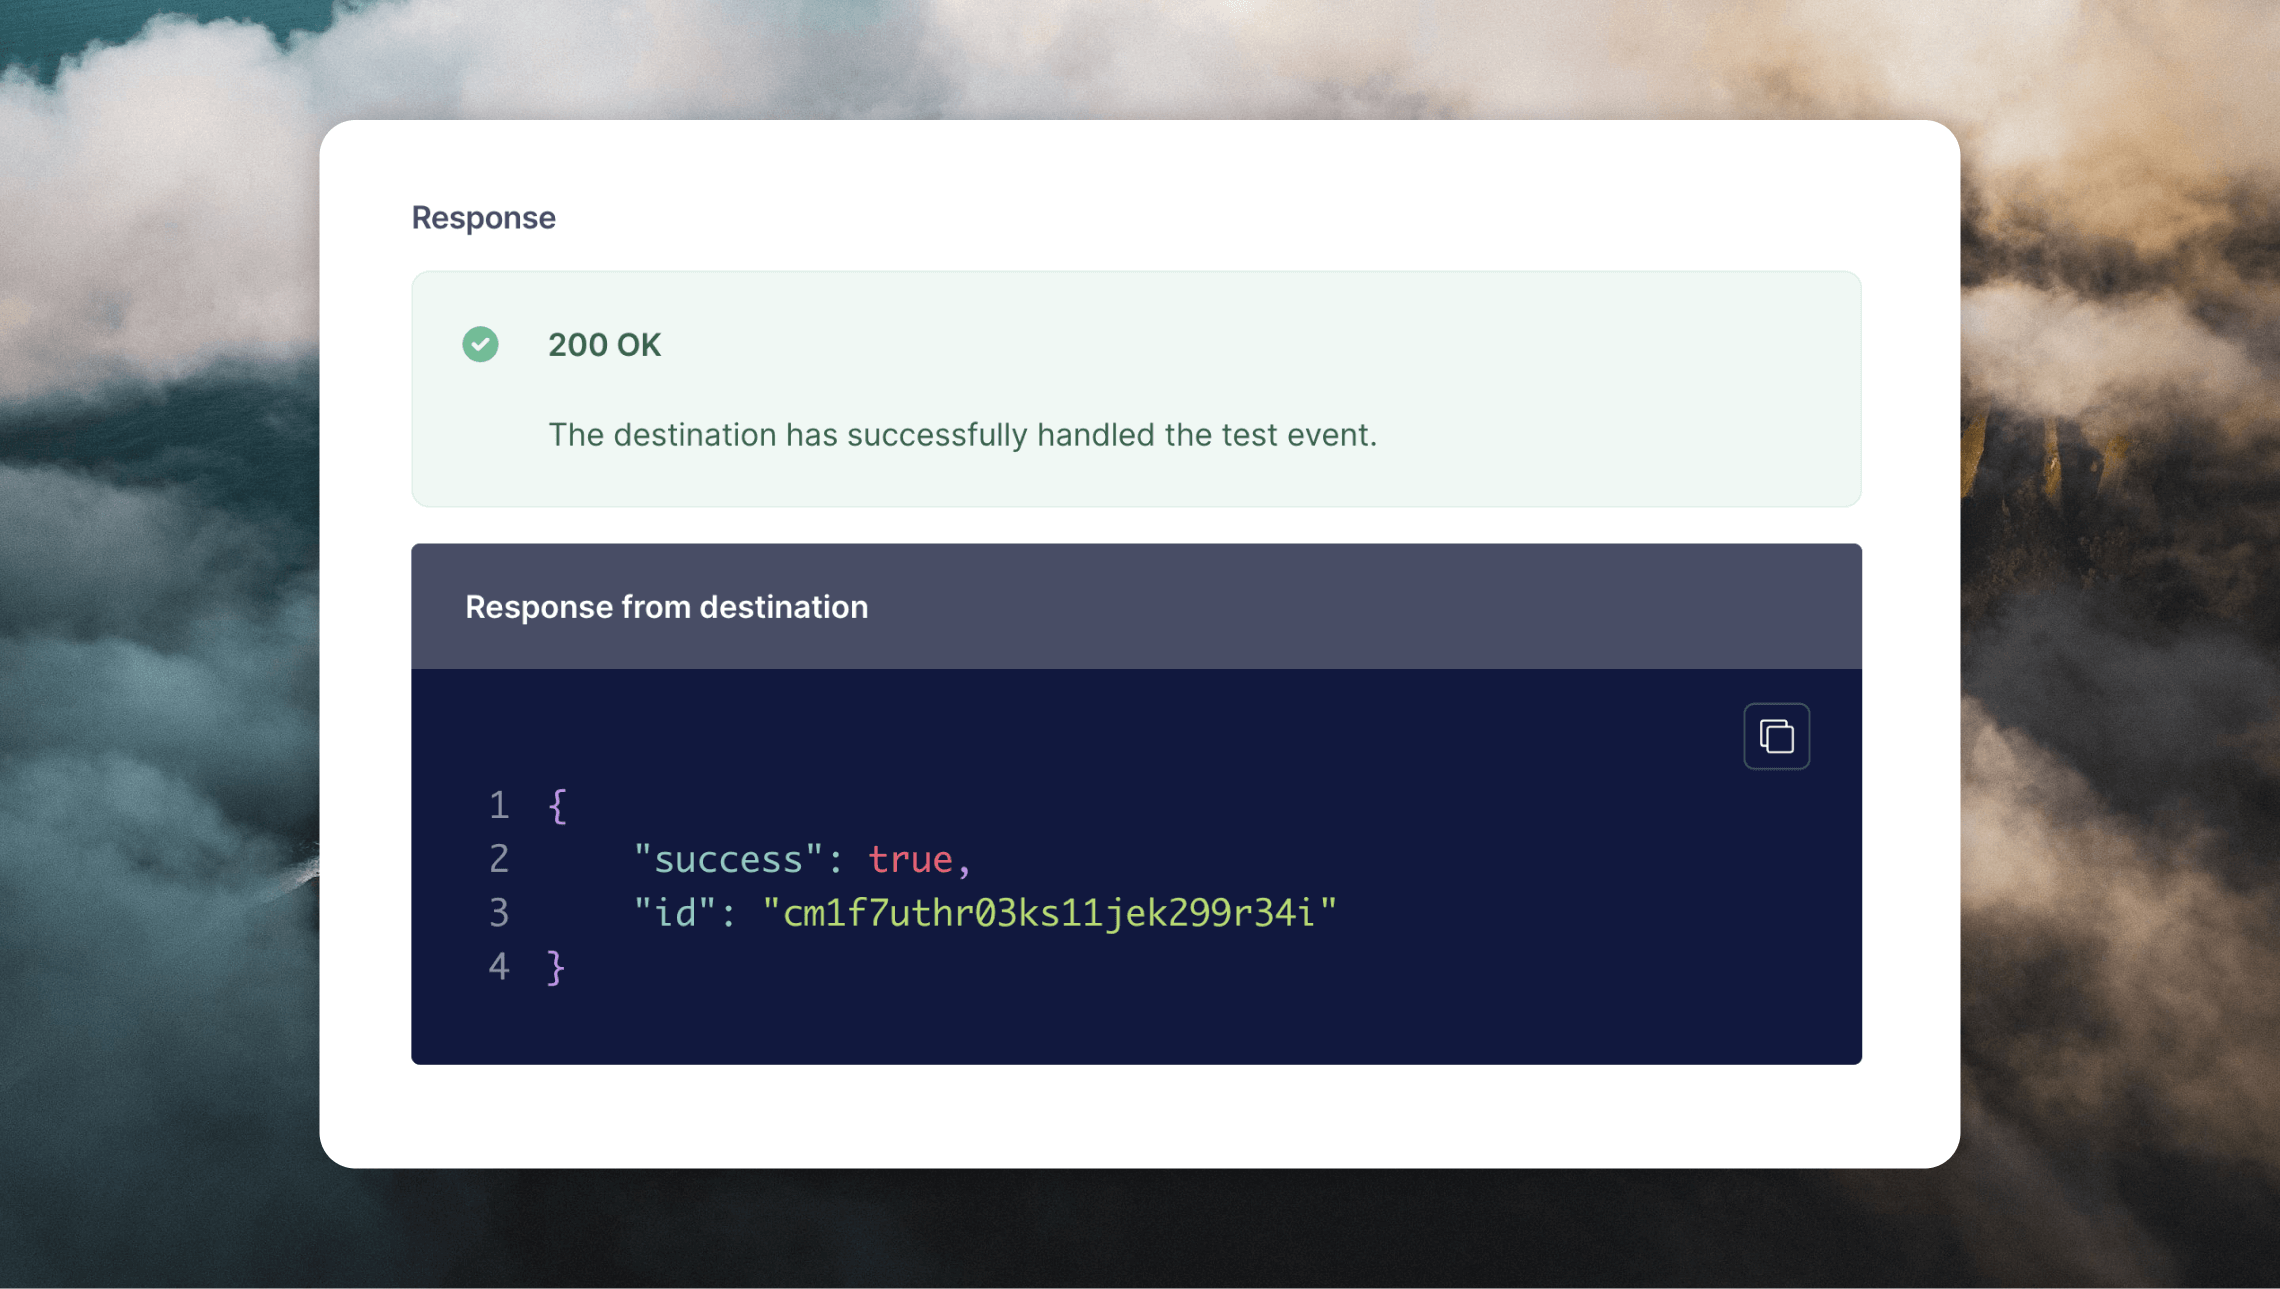
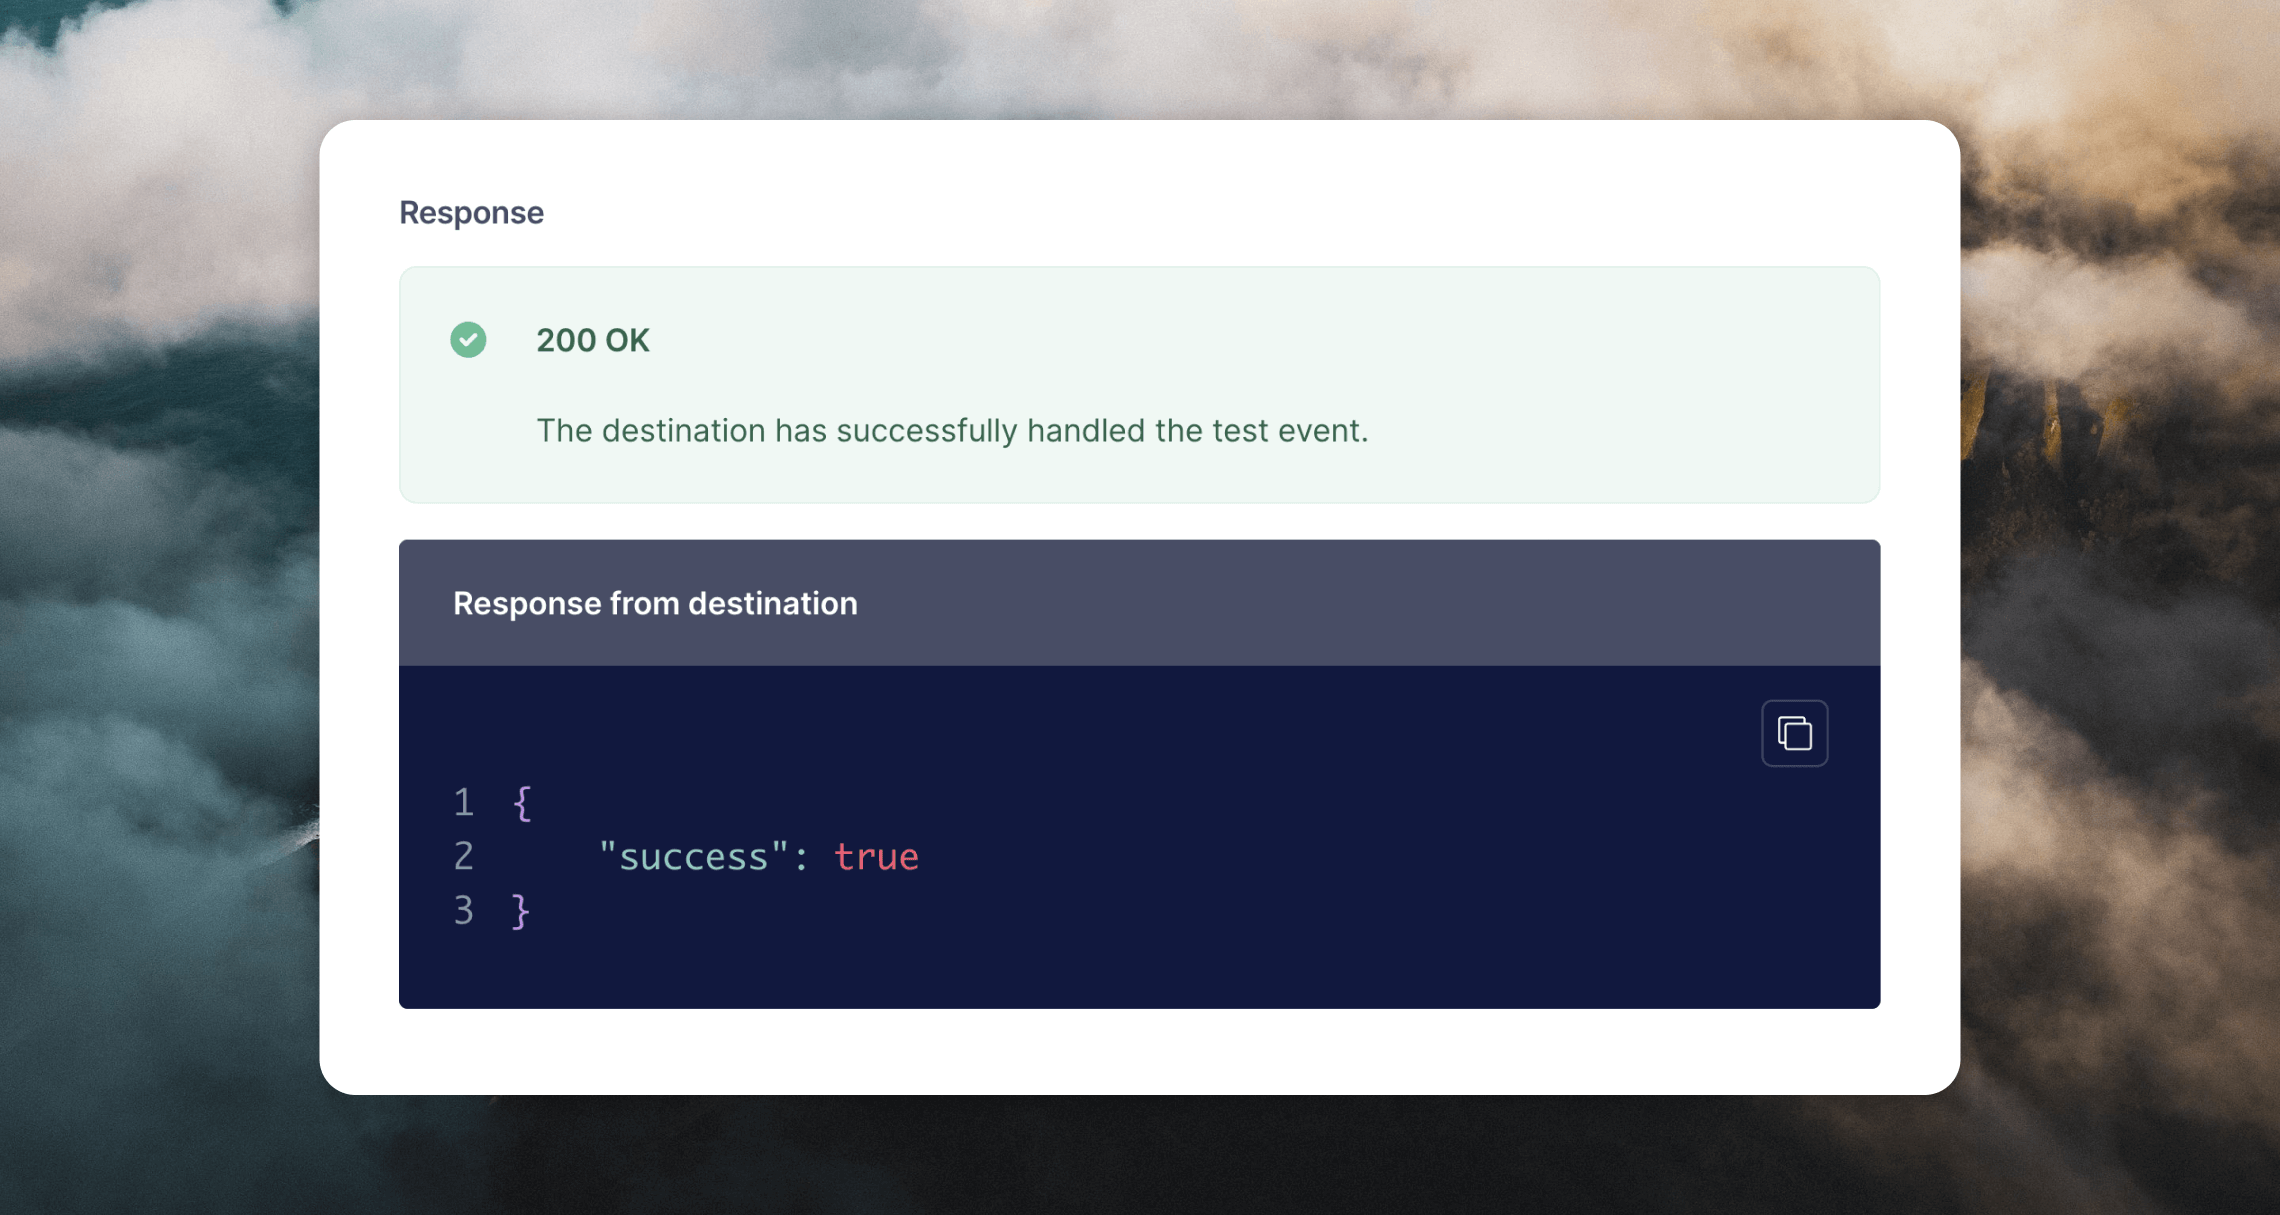
Testing
After configuring the mapping, you can send a test event at the bottom of the page (this will send actual data to your Loops account). You can preview the data that will be sent.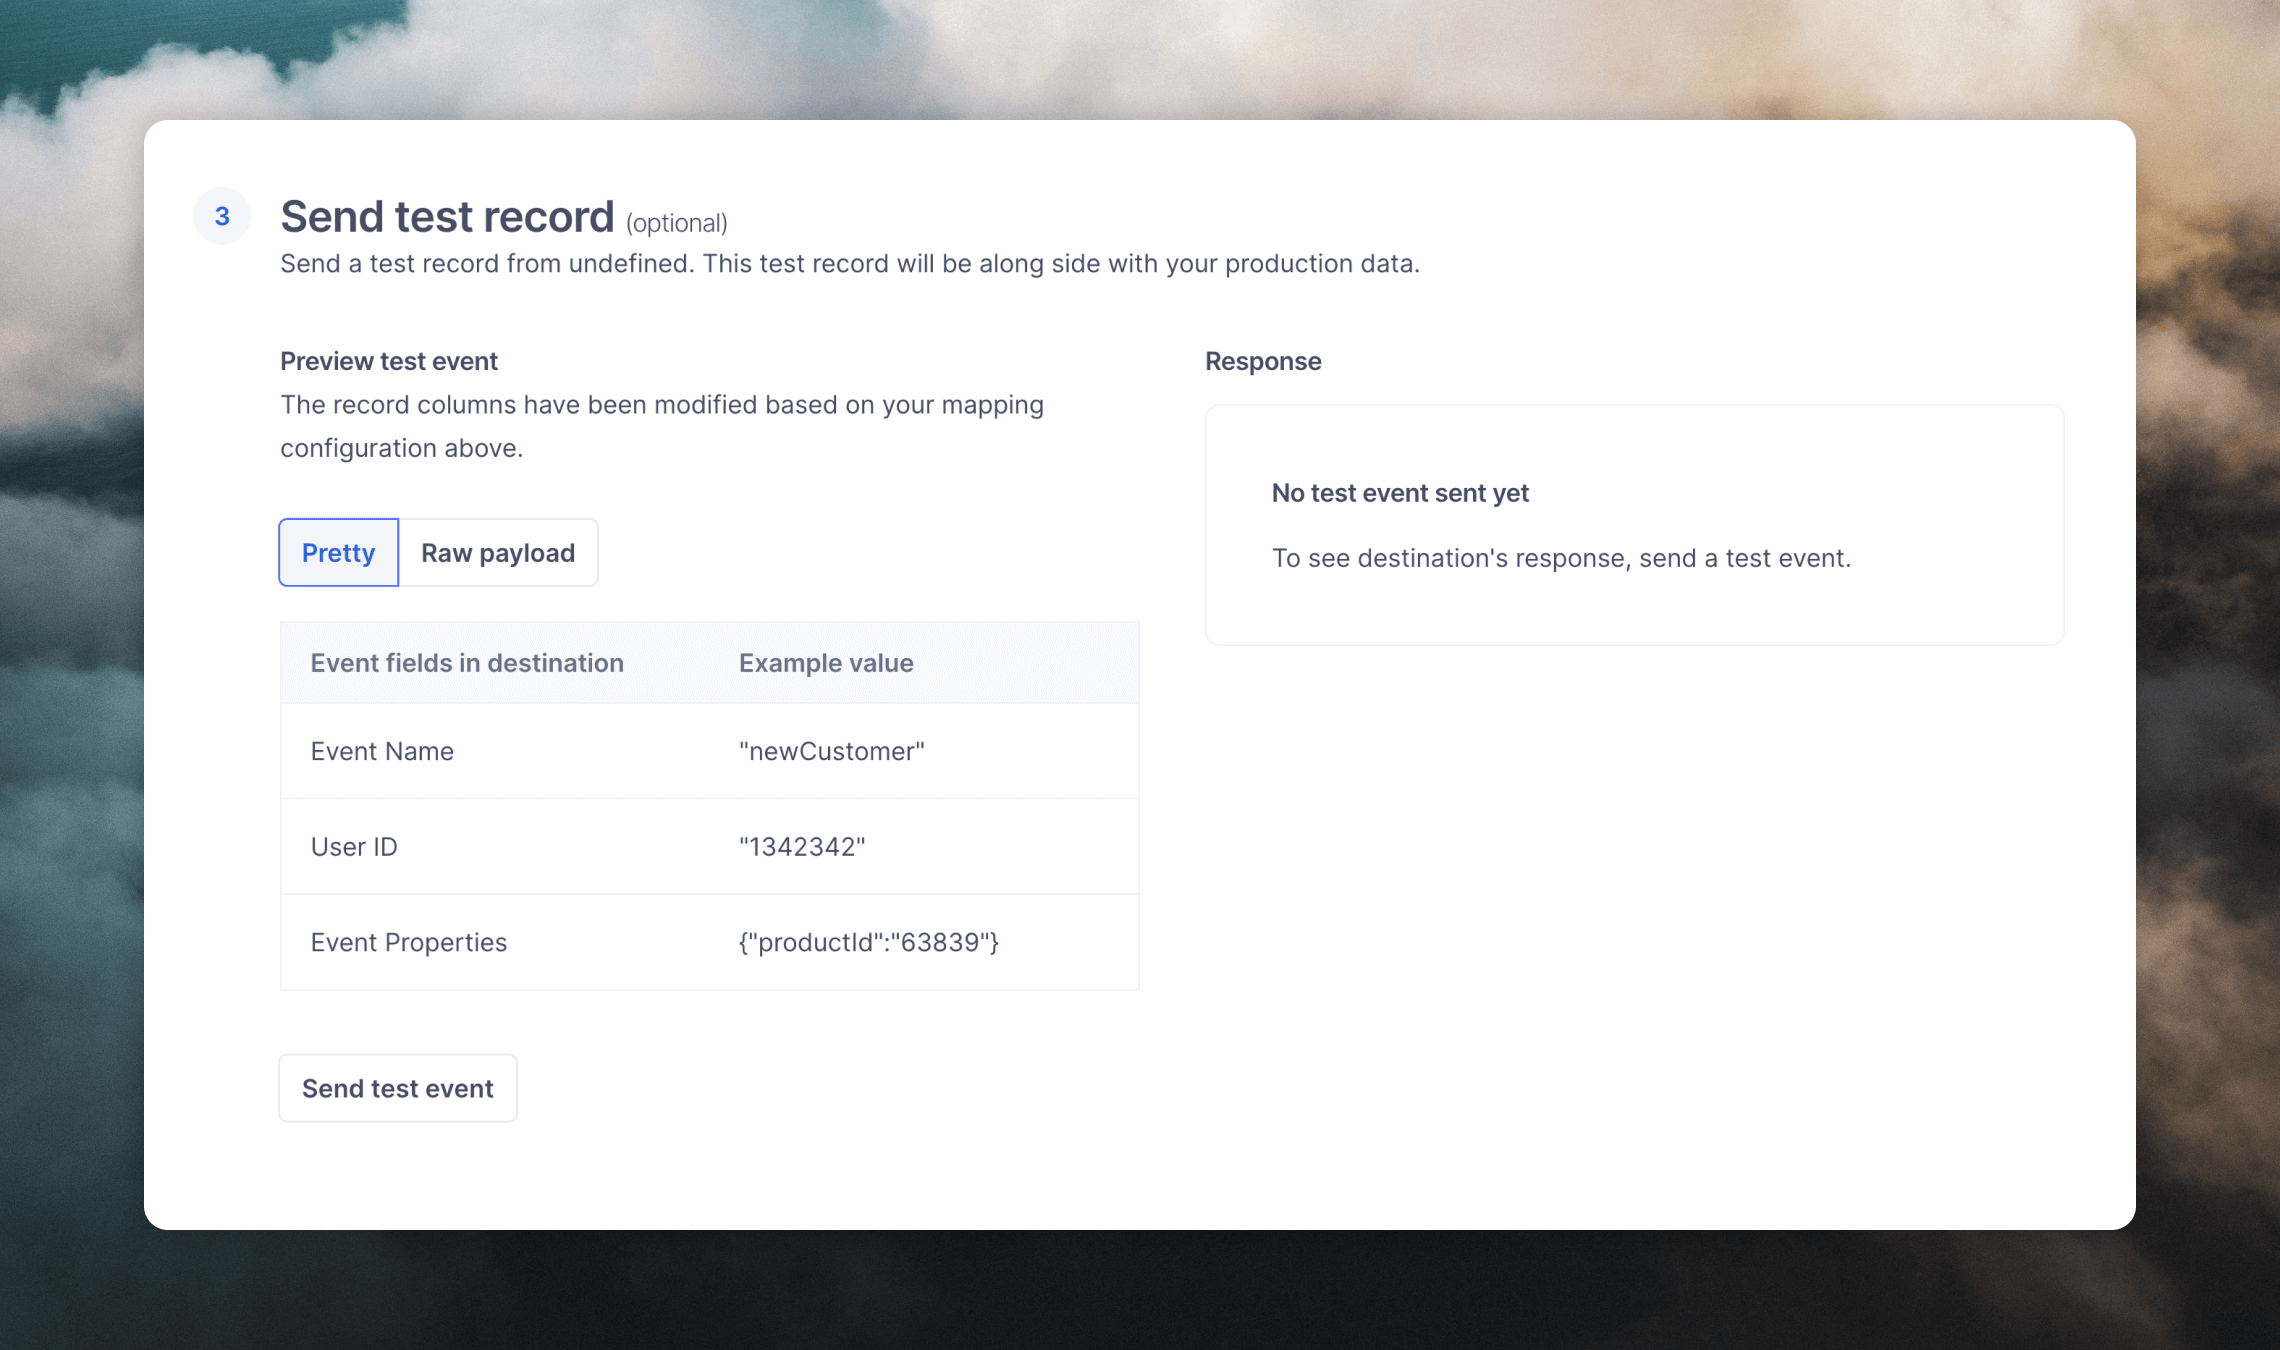
Sending data to Segment
The following examples show how you can send data from your application to Segment for the two Loops actions. The examples use Segment’s Analytics.js library, but the premise is similar for other libraries.Create or update contact
For this action you should send aidentify() event. Add contact properties (including any custom properties) in the traits object:
mailingLists object from traits (read more above) add it like this:
Send event
For this action send atrack() event. Data sent in the properties object will be sent as event properties to Loops. Make sure that you have added these event properties in your Events Settings in Loops before sending the event to Segment.
firstName) by mapping values in your properties within the Contact Properties object (see above).