List types
Each list you create can be Public or Private. By default lists are private, meaning they are only shown to their subscribed contacts (non-subscribers won’t be able to see or subscribe to private lists in the Preference Center). If you want to allow general opt-in to a list, you can set the list visibility toPublic. Public lists will be shown to all contacts in the Preference Center.
You can also sign up new subscribers to public lists with Forms.
Both private and public lists are visible within your Loops admin and can be
used for filtering contacts when sending campaigns and loops.
Preference Center
The Preference Center allows your contacts to manage their own subscription preferences.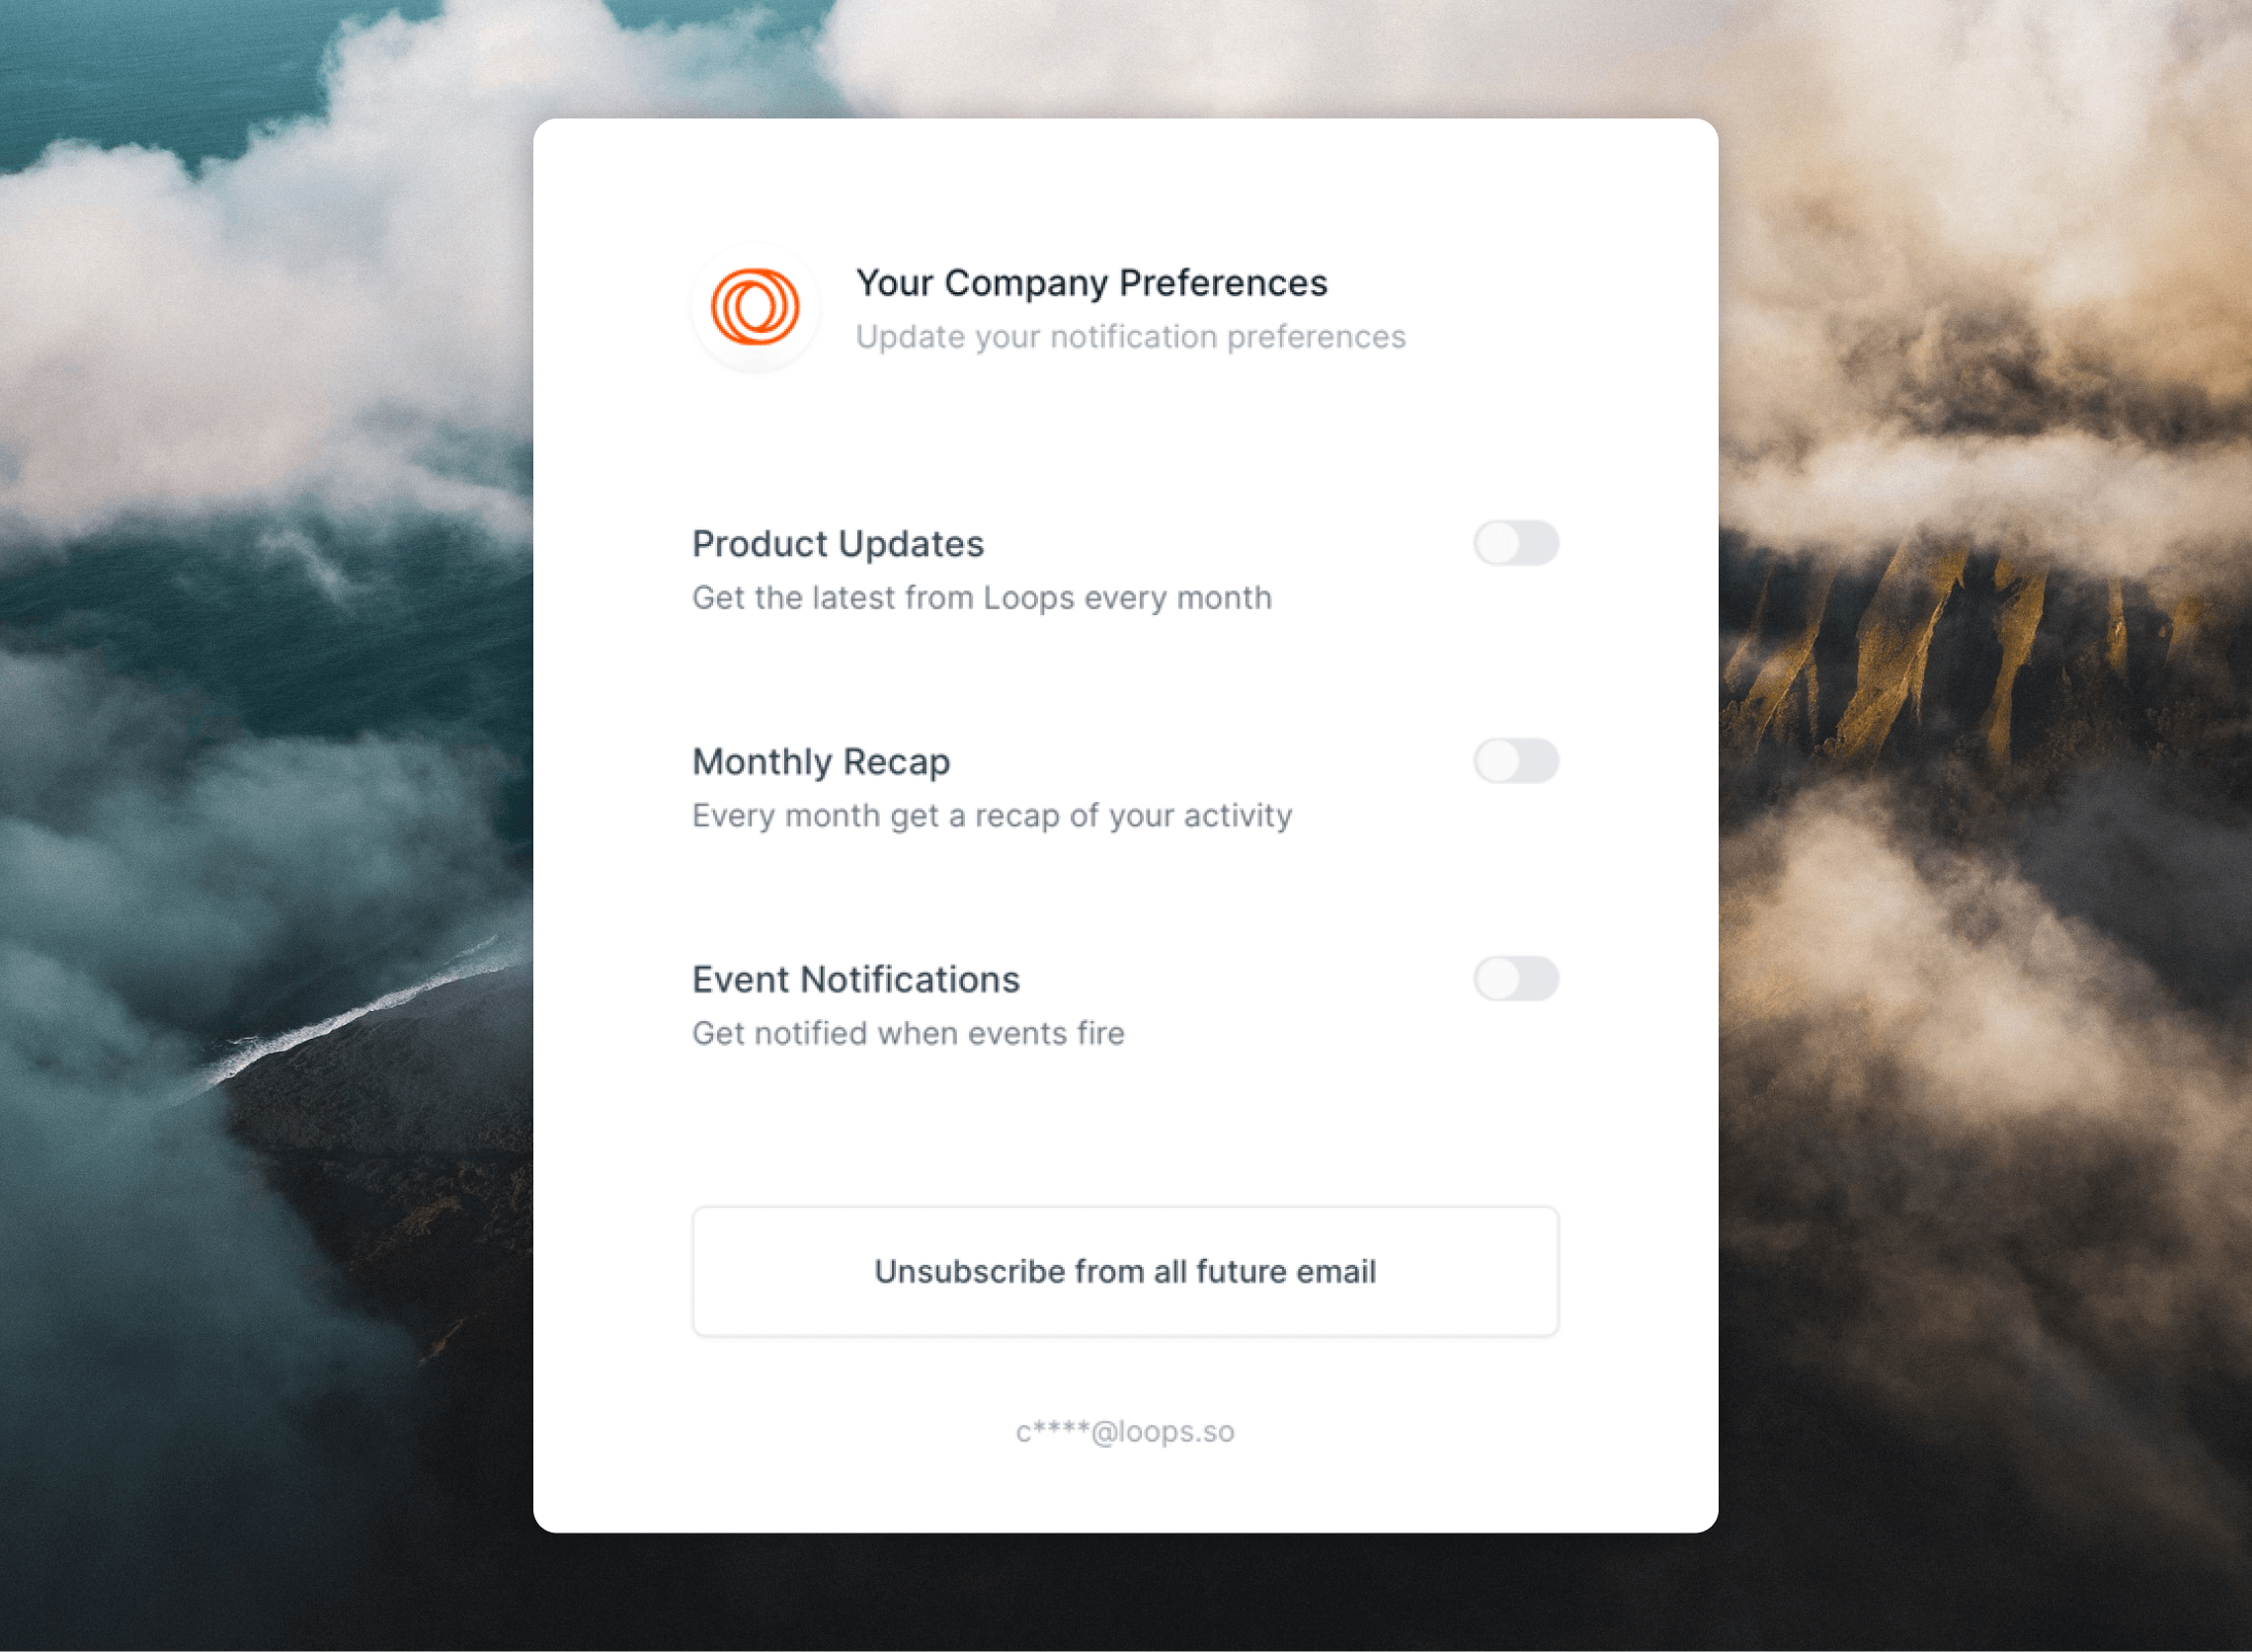
{unsubscribe_link} dynamic tag.
You can upload a company icon to brand your Preference Center. This option is shown just below your mailing lists in the Lists settings page.
Within the Preference Center, contacts will see:
- your company icon (if uploaded)
- the names and descriptions of all public lists
- the names and descriptions of all private lists they are subscribed to
- the option to unsubscribe from each list they are subscribed to
Email footers
When sending campaigns and loops emails to specific lists, the email footer will include the name of the list the email was sent to. This is useful for contacts to see which list the email was sent to, as well as unsubscribe from a certain list.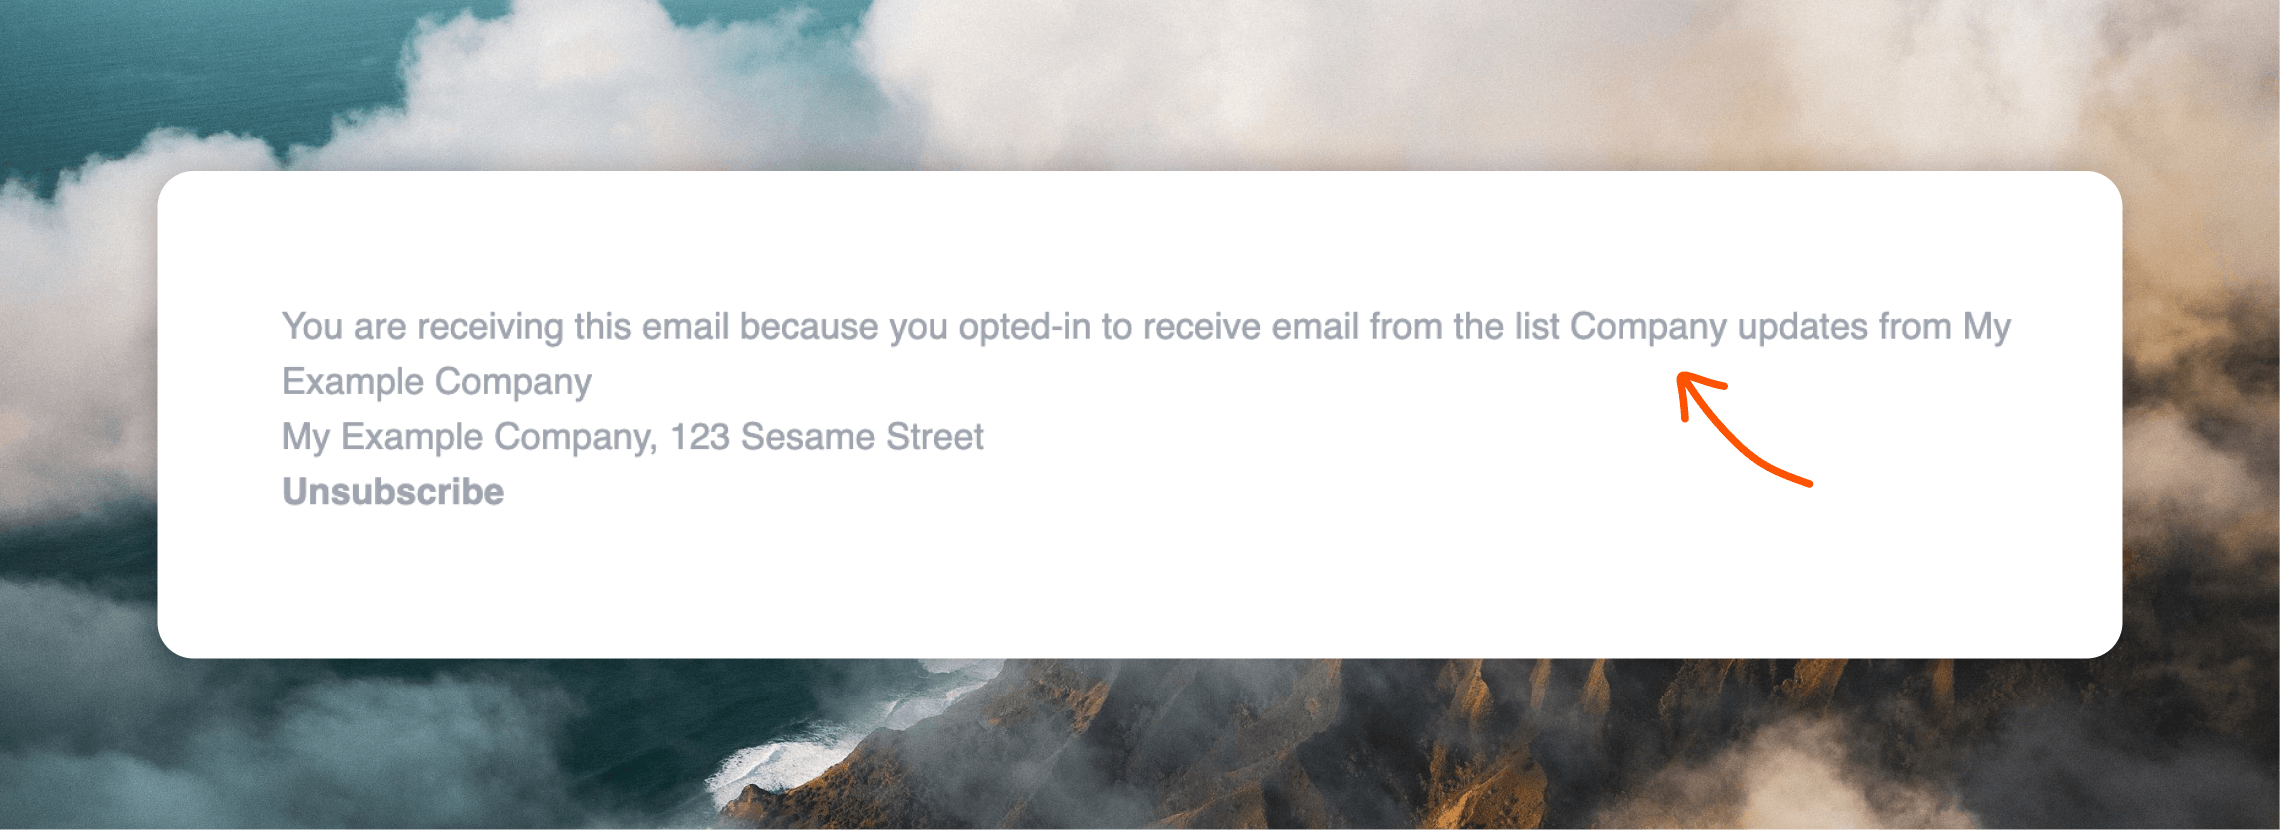
Create a list
Go to Settings -> Lists.Create
Click on the Create a list button.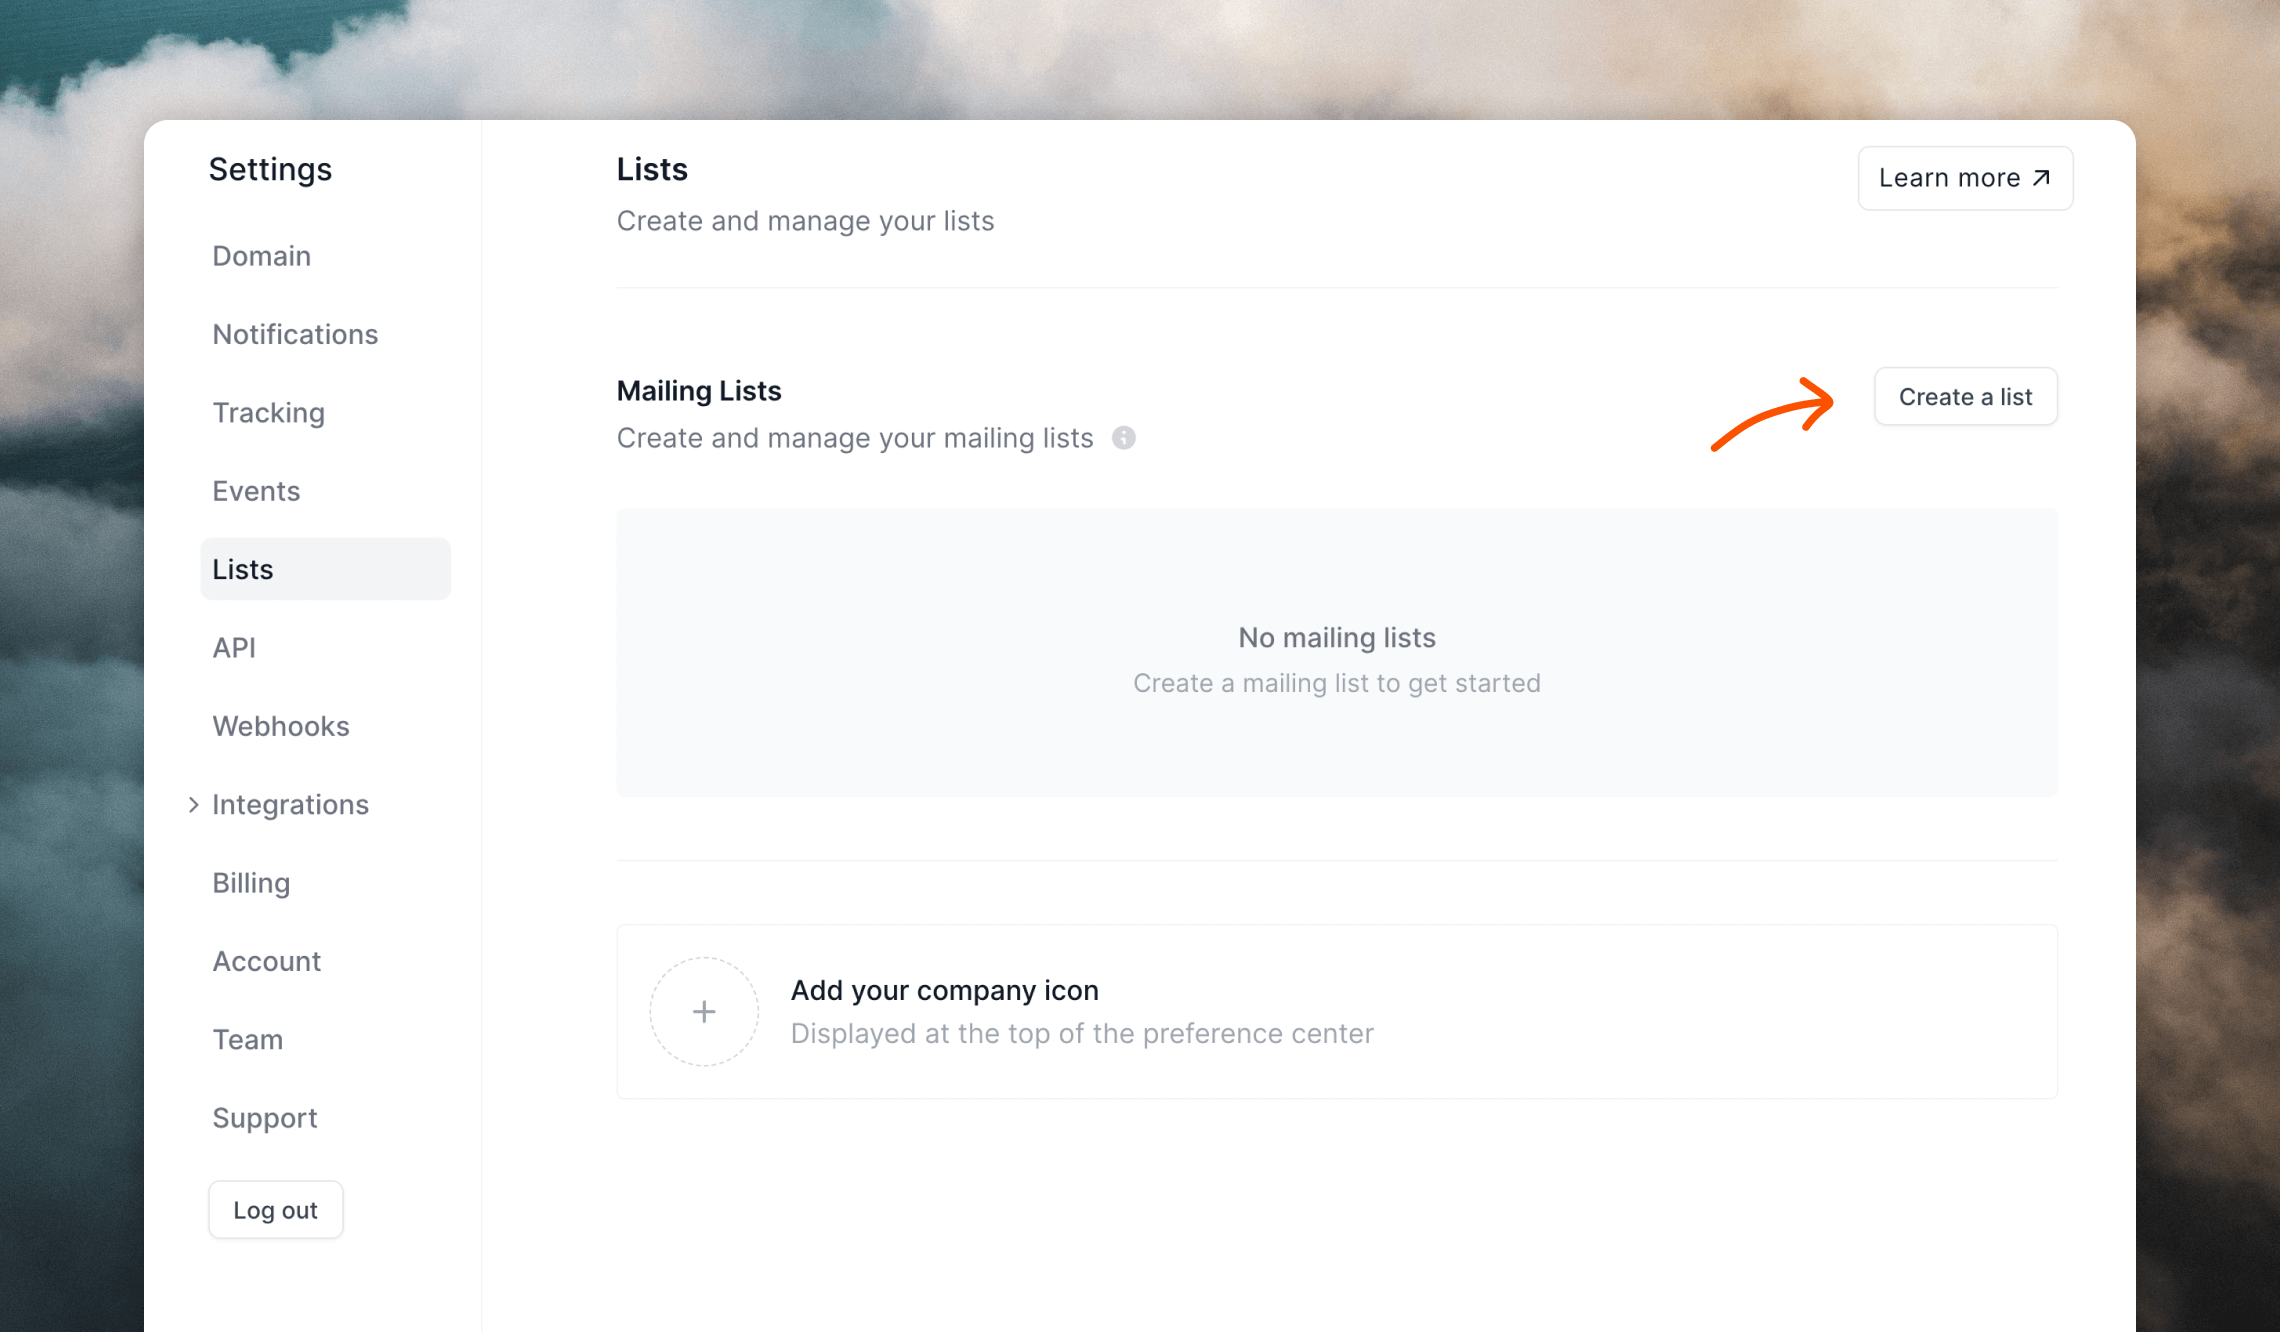

Set visibility
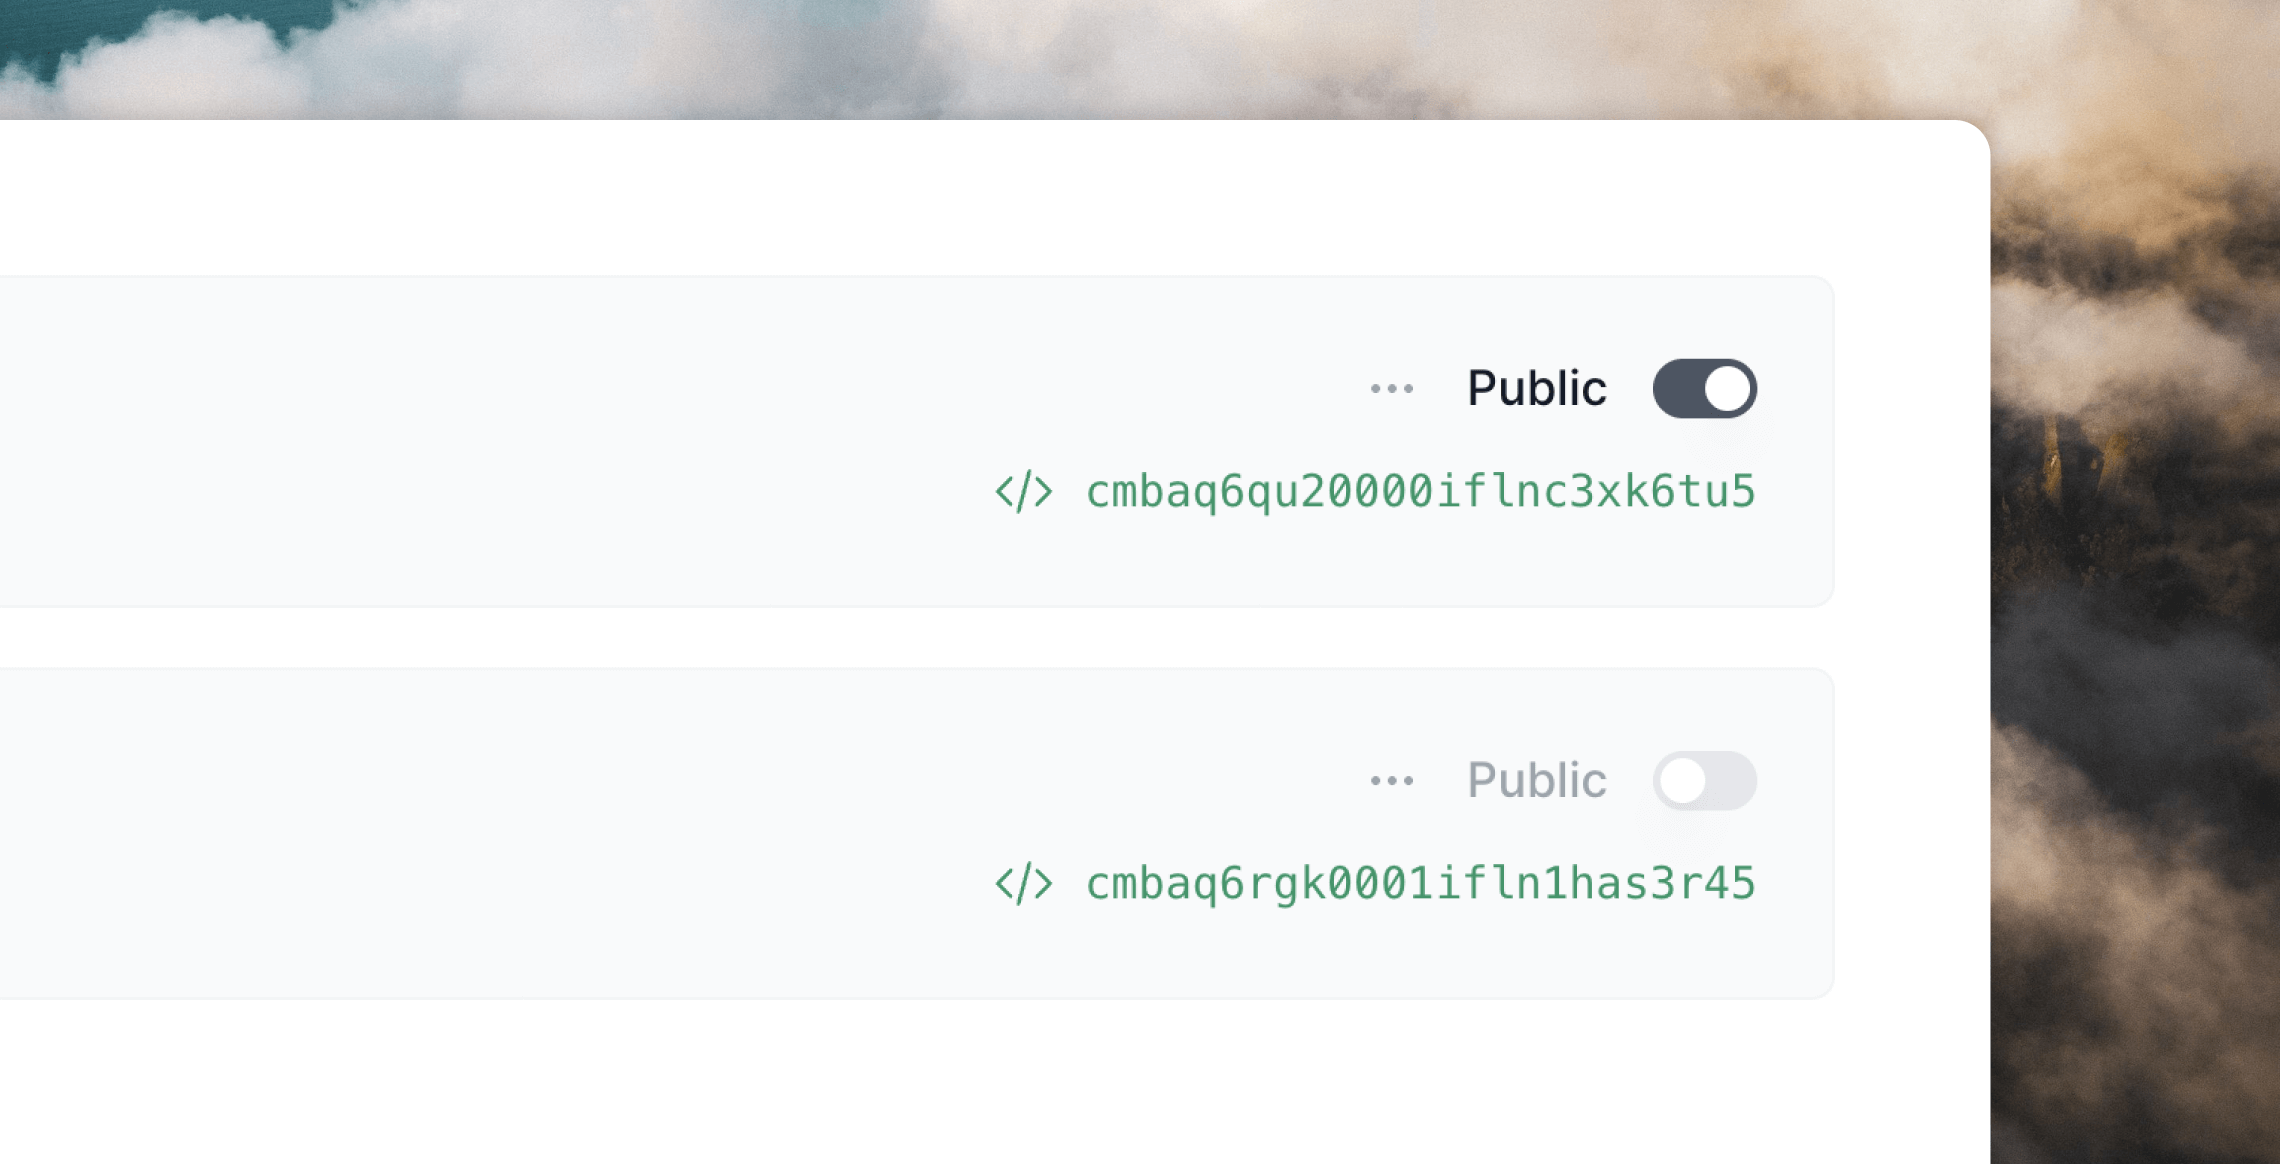
Private or Public (see above).Edit a list
To edit an existing list, go to Settings -> Lists. Edit the name, description, visibility and color. Click Save changes to apply the changes.After saving your changes, the updated list data will be instantly available
to your contacts in their Preference Centers.
Delete a list
You can delete lists by clicking on a list’s••• menu icon and selecting Delete.
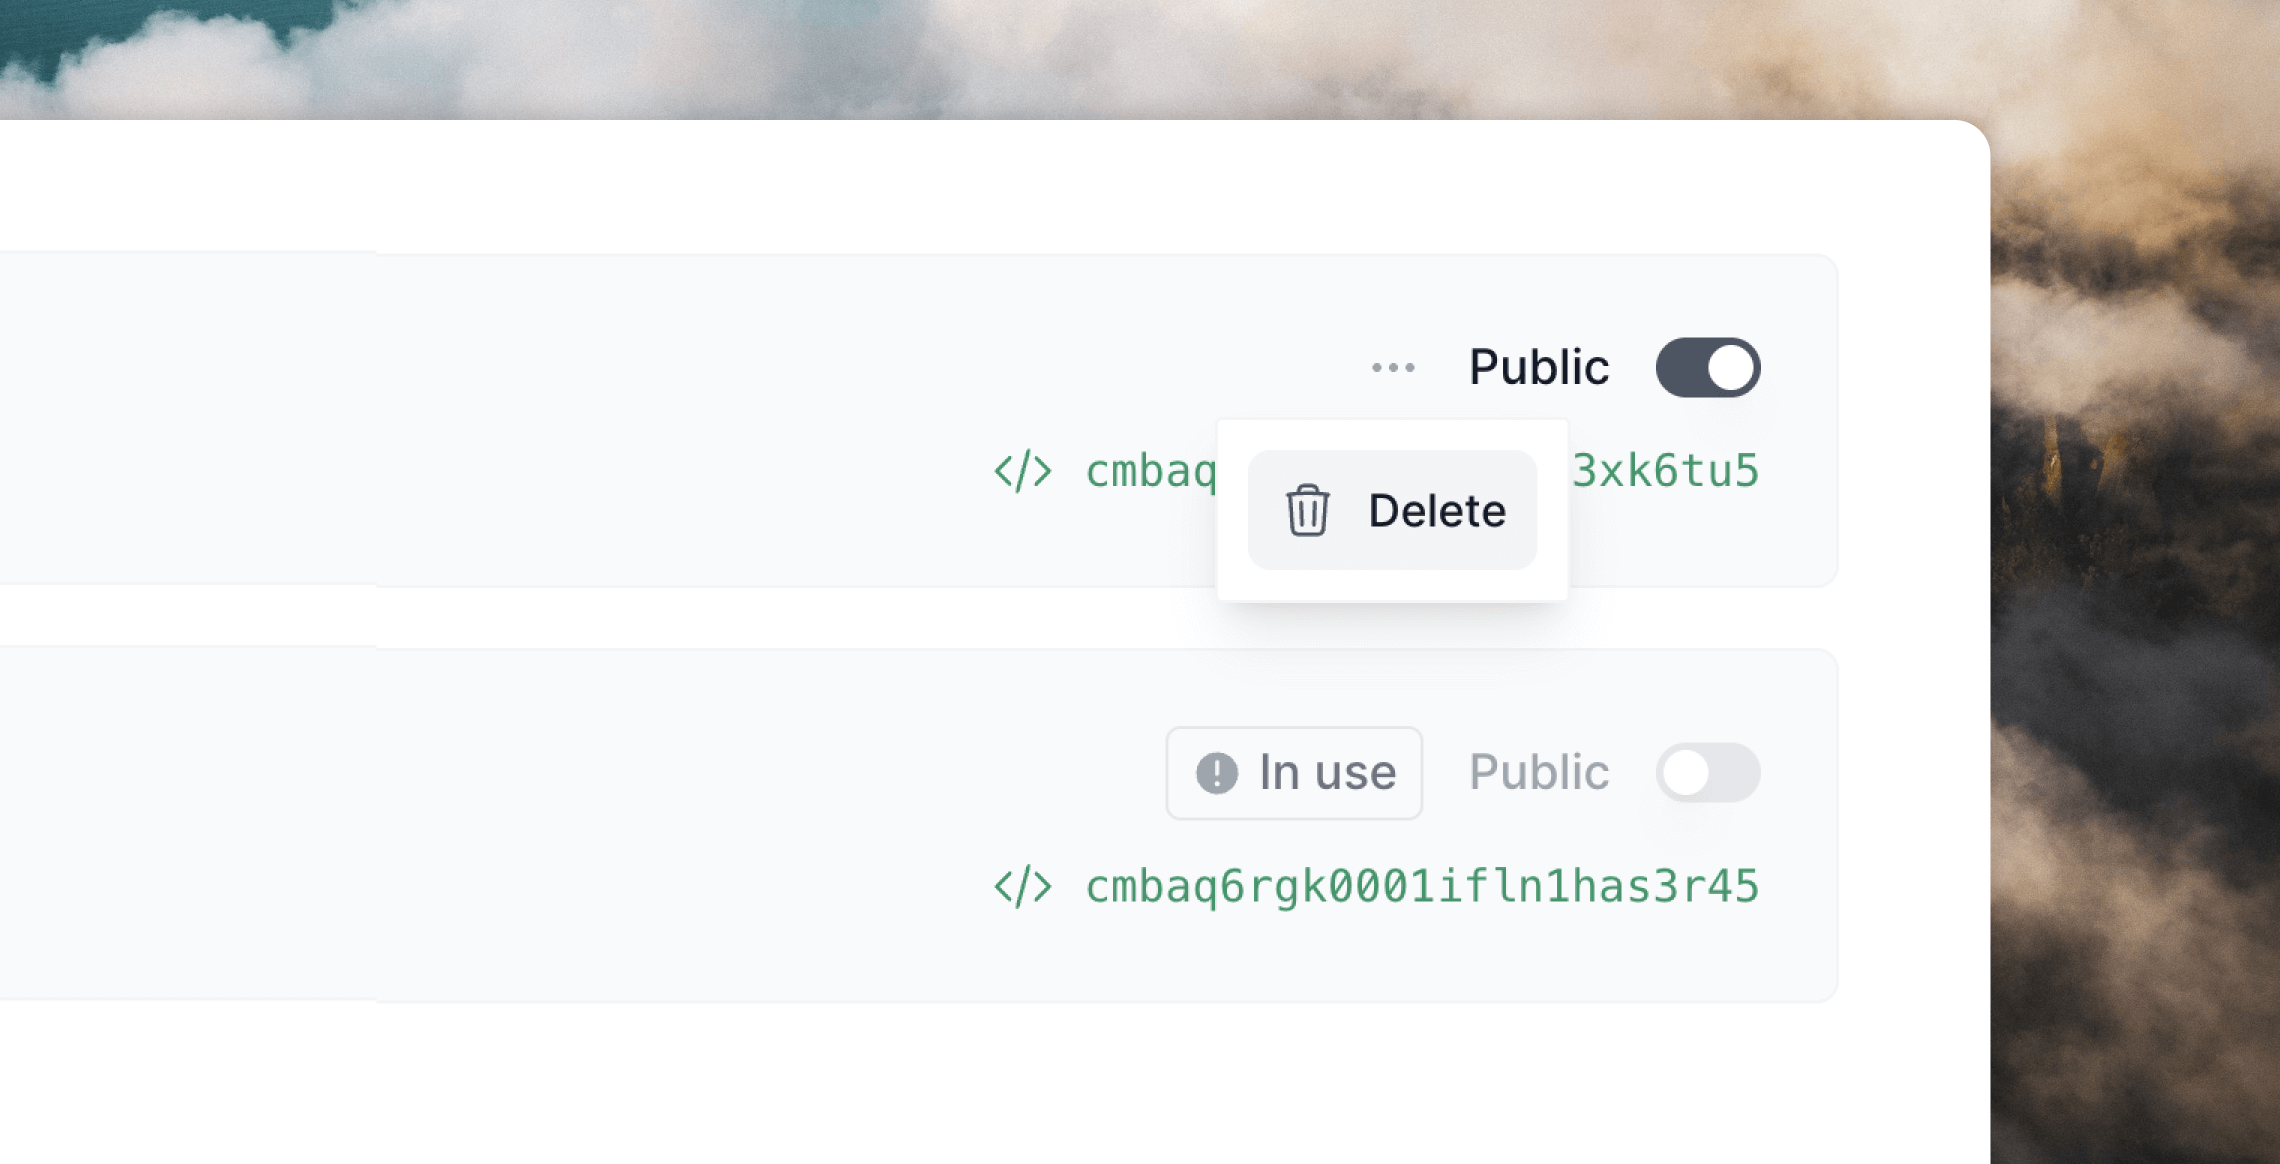
- has been sent a campaign, or has a sending or draft campaign
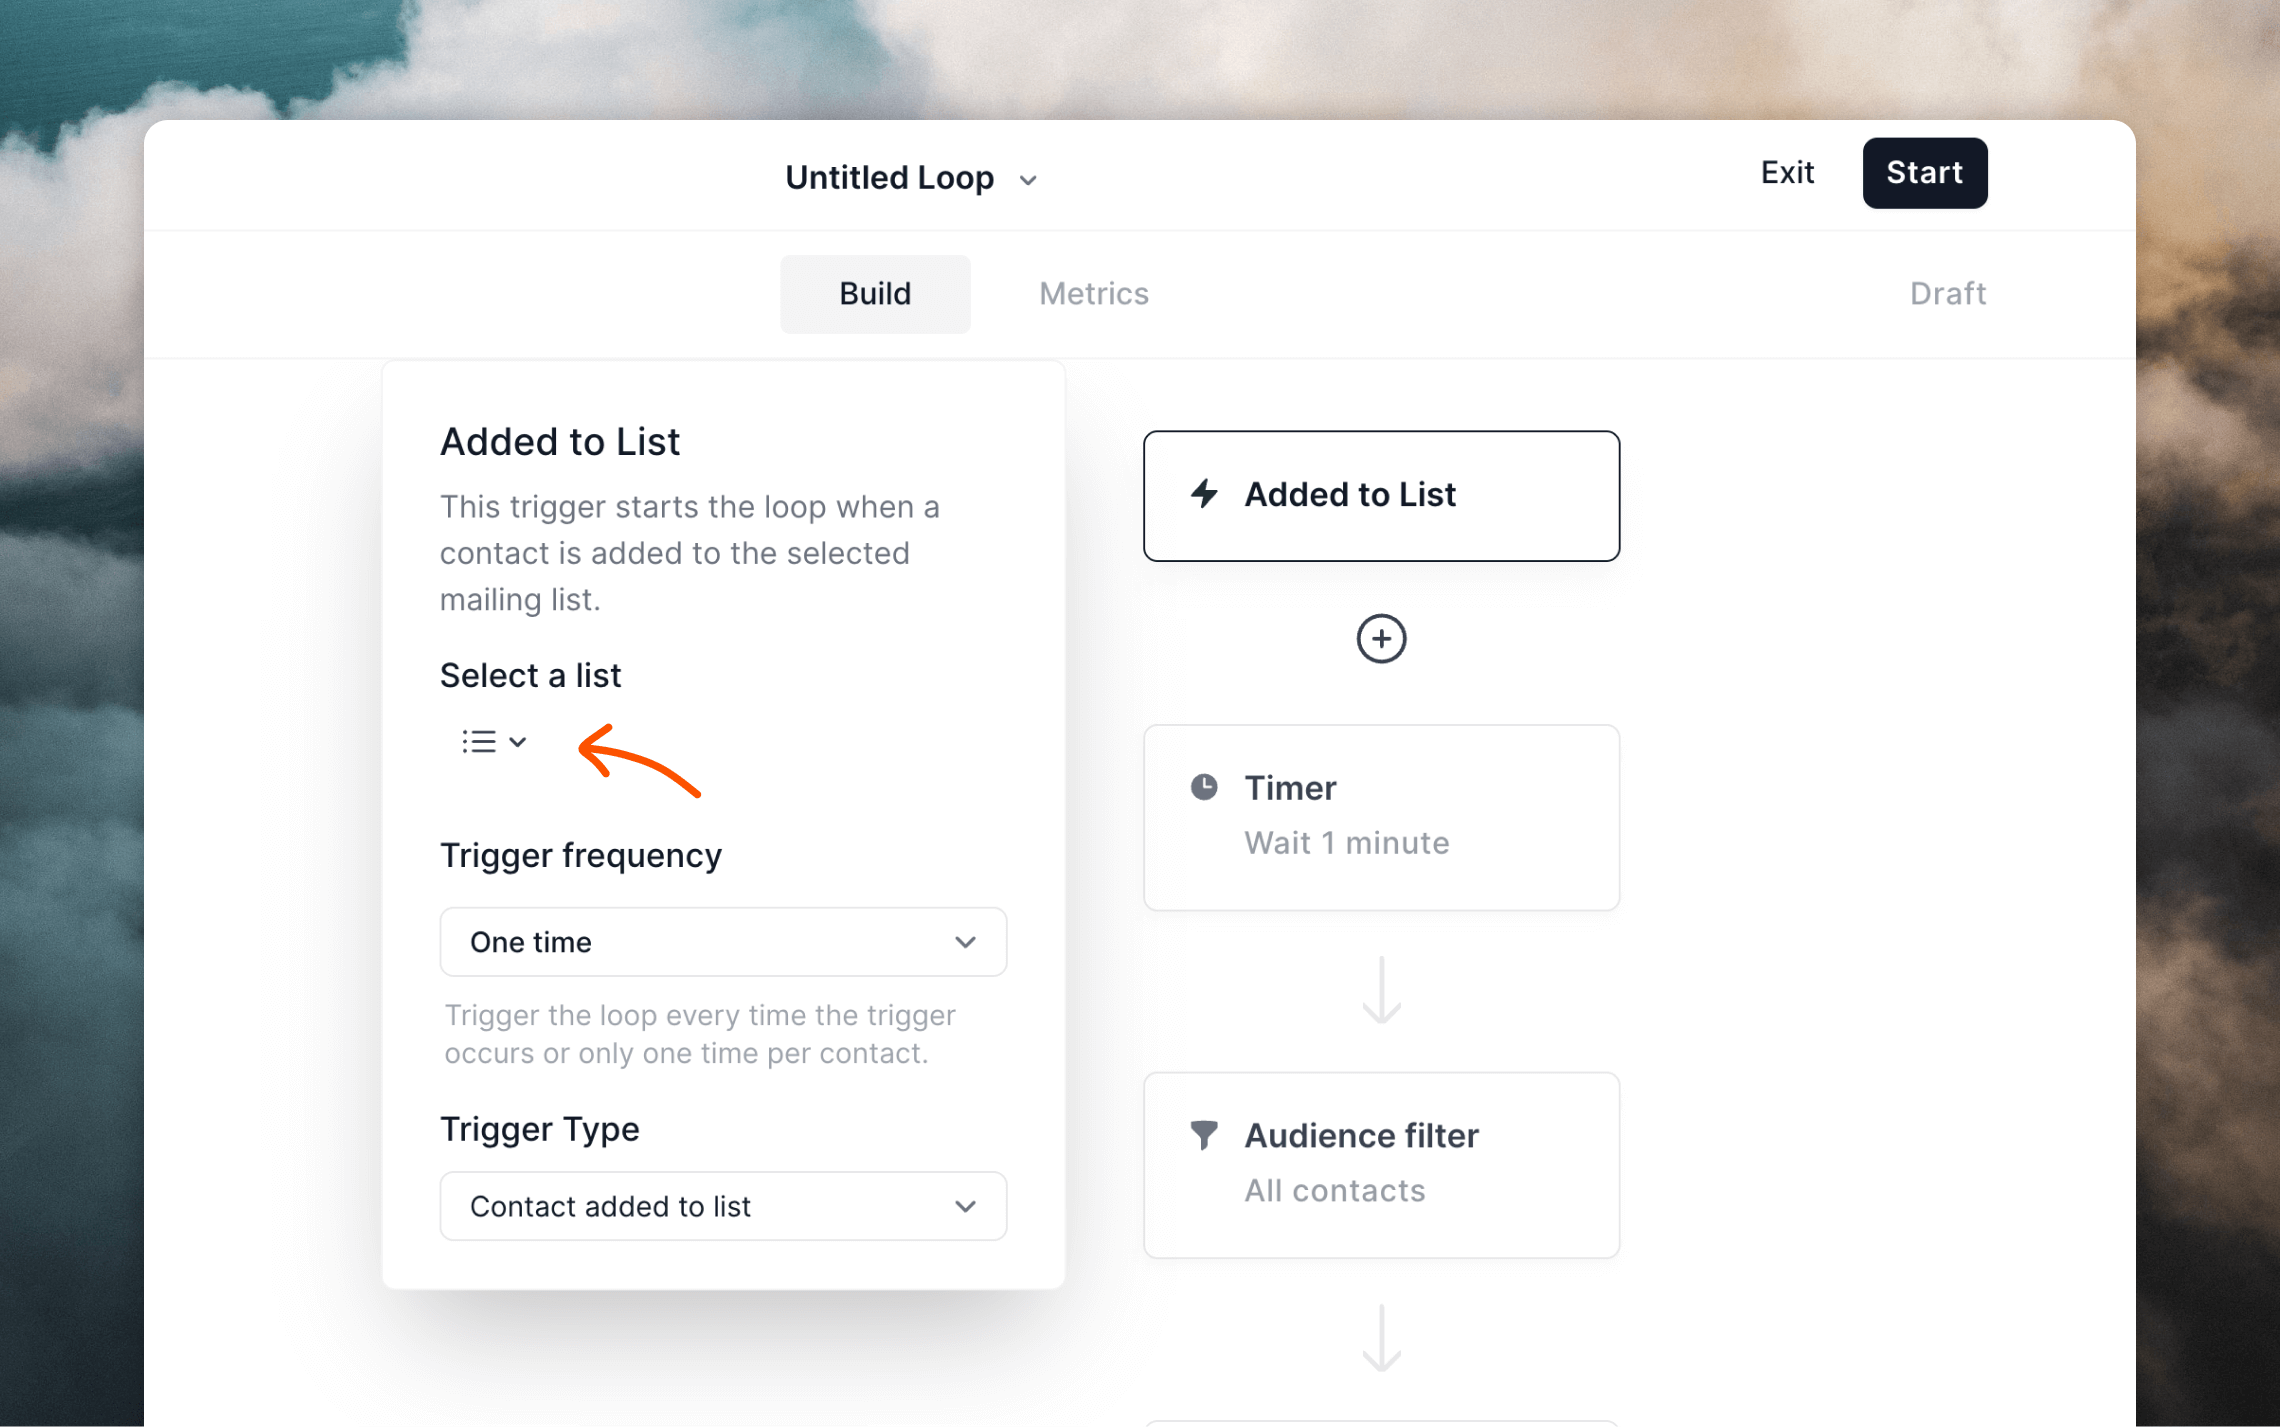
- is selected in the “Contact added to list” trigger in a loop
- has been applied to a loop
- is being used in a form
Utilizing lists
Here are a few ways you can use lists to send emails and organise contacts.Send campaigns to a list
Instead of sending campaigns to your whole audience, you can send emails to a specific list.Choose a campaign
Create a campaign or edit an existing one.
Select the list
On the Audience page, select the list you want to send to.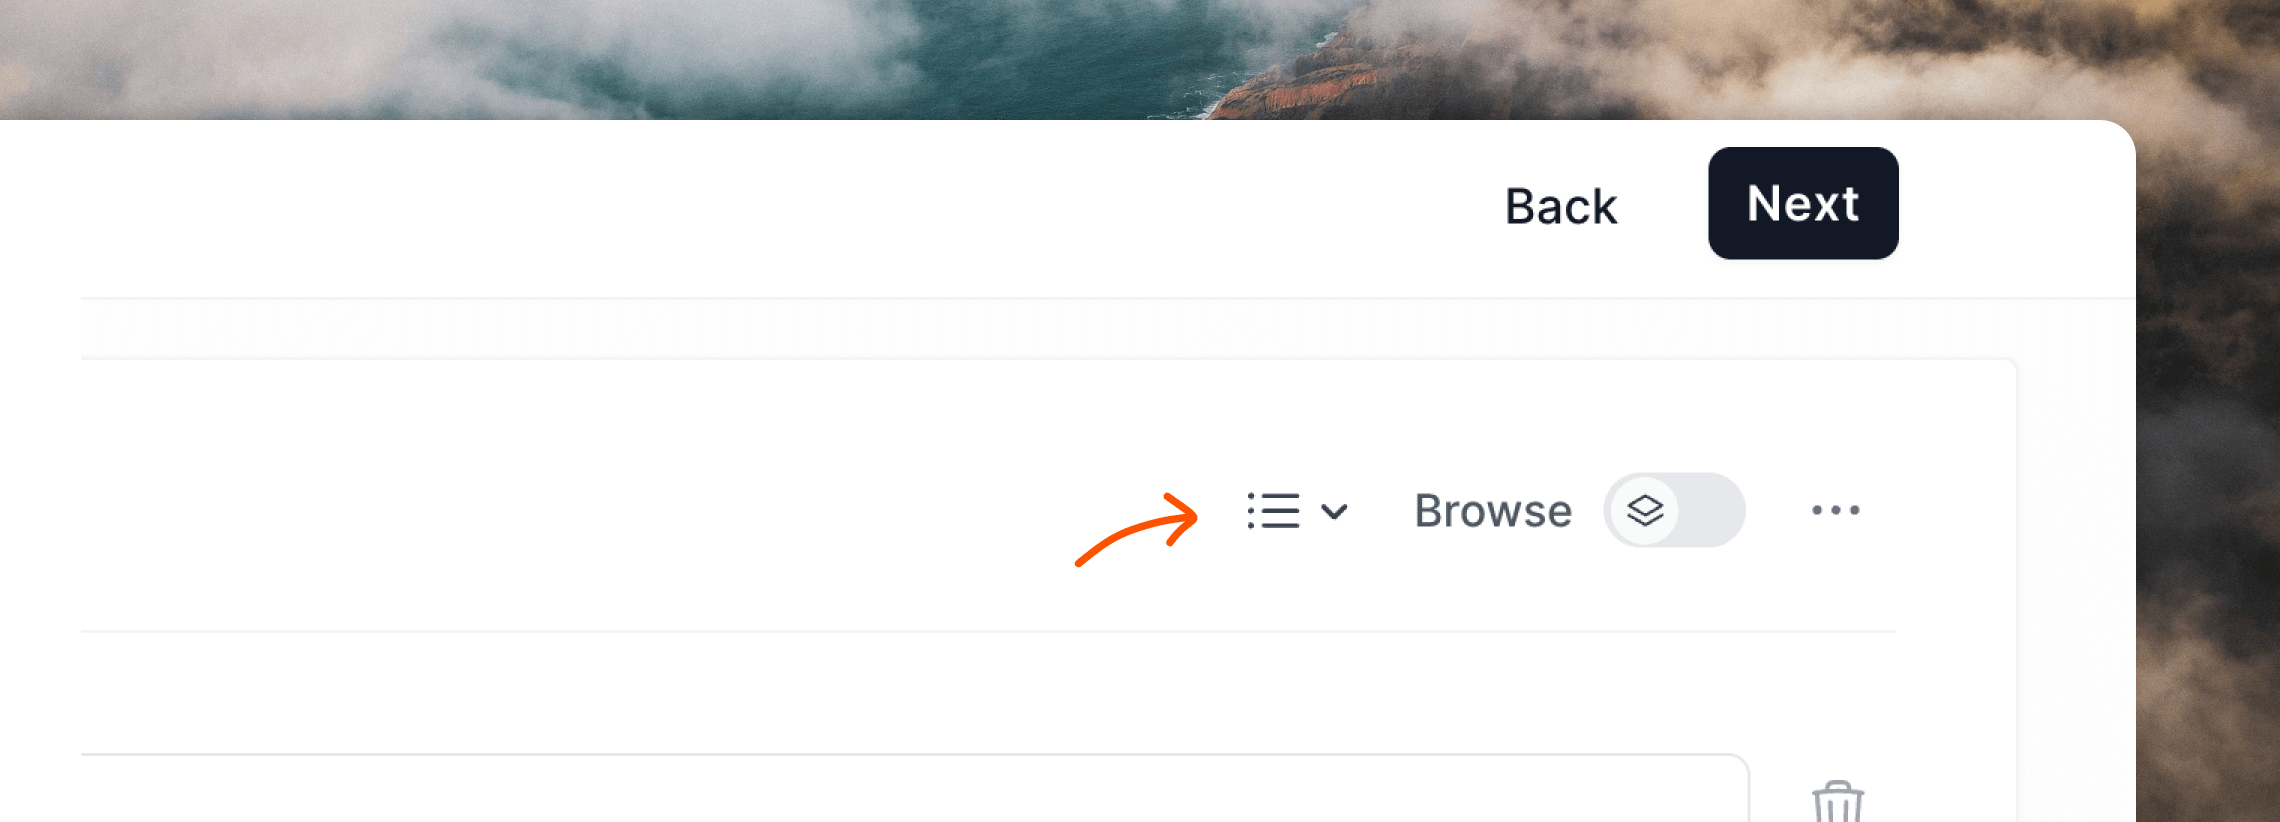

Apply additional filters
Optionally, you can apply additional filters or segments to further refine your audience.
Send loops to a list
You can configure loops to only send to contacts in a specific list (this applies to all triggers).Choose a loop
Create a loop or edit an existing one.
Trigger a loop when a contact is added to a list
This example is a typical use case of sending an email sequence to new contacts when they are added to a specific list.Choose a loop
Create a loop or edit an existing one.
Manually add contacts to lists
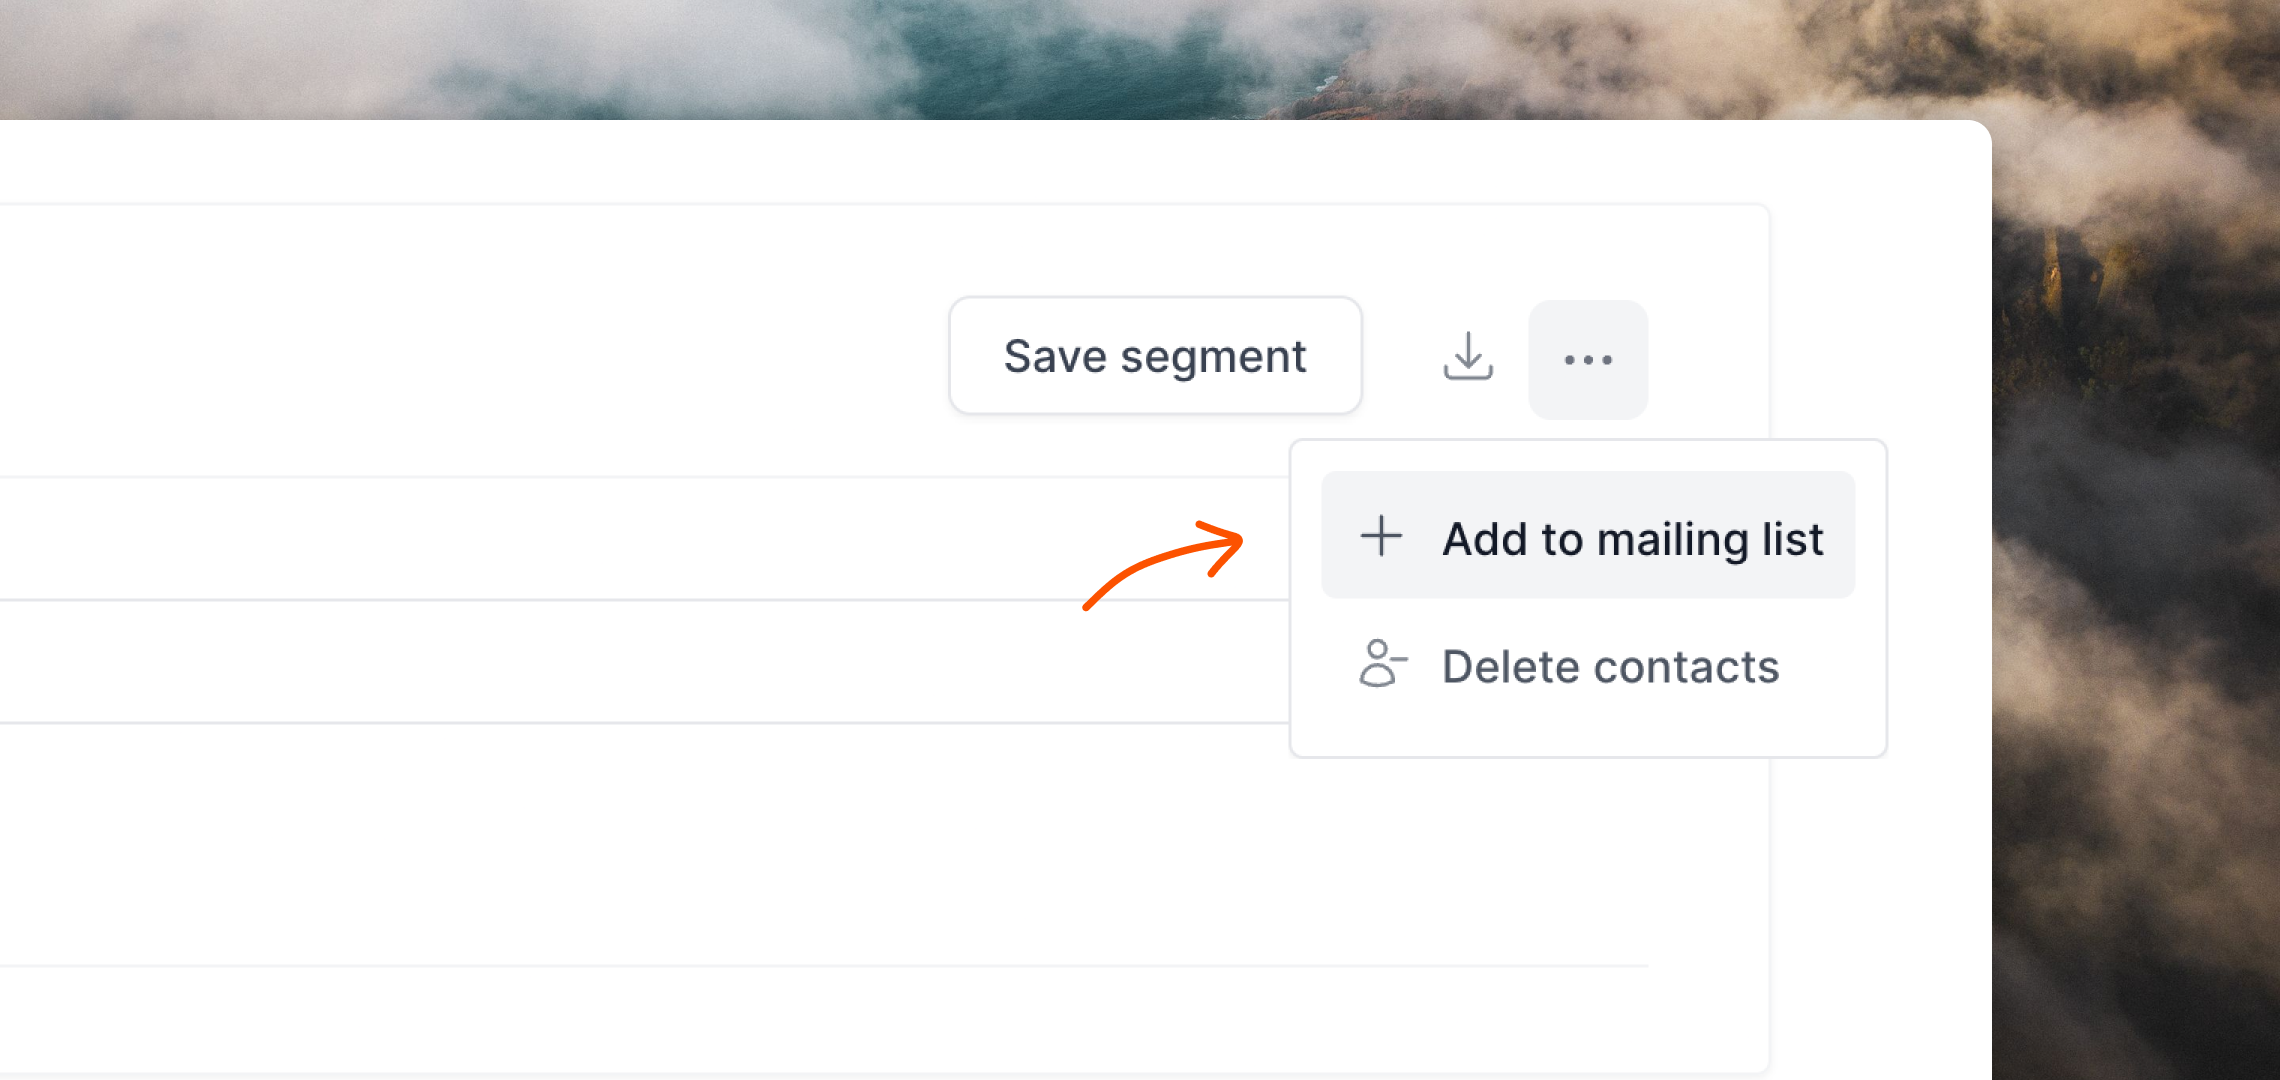
How to add existing contacts to your different mailing lists within Loops.Individual contacts
Go to Contacts
Go to your Audience page.
Bulk contacts
You can easily add any filtered group of contacts to a specific list on the Audience page.Go to Audience
Go to your Audience page.
Filter your audience
Add filters to segment your audience into the group of contacts you’d like
to add to a list.
Upload a CSV to a list
If you want to import contacts to a list in bulk you can use our CSV importer. In the final stage of the form you can select a list, which will add all contacts (new or existing) in the CSV file to that list.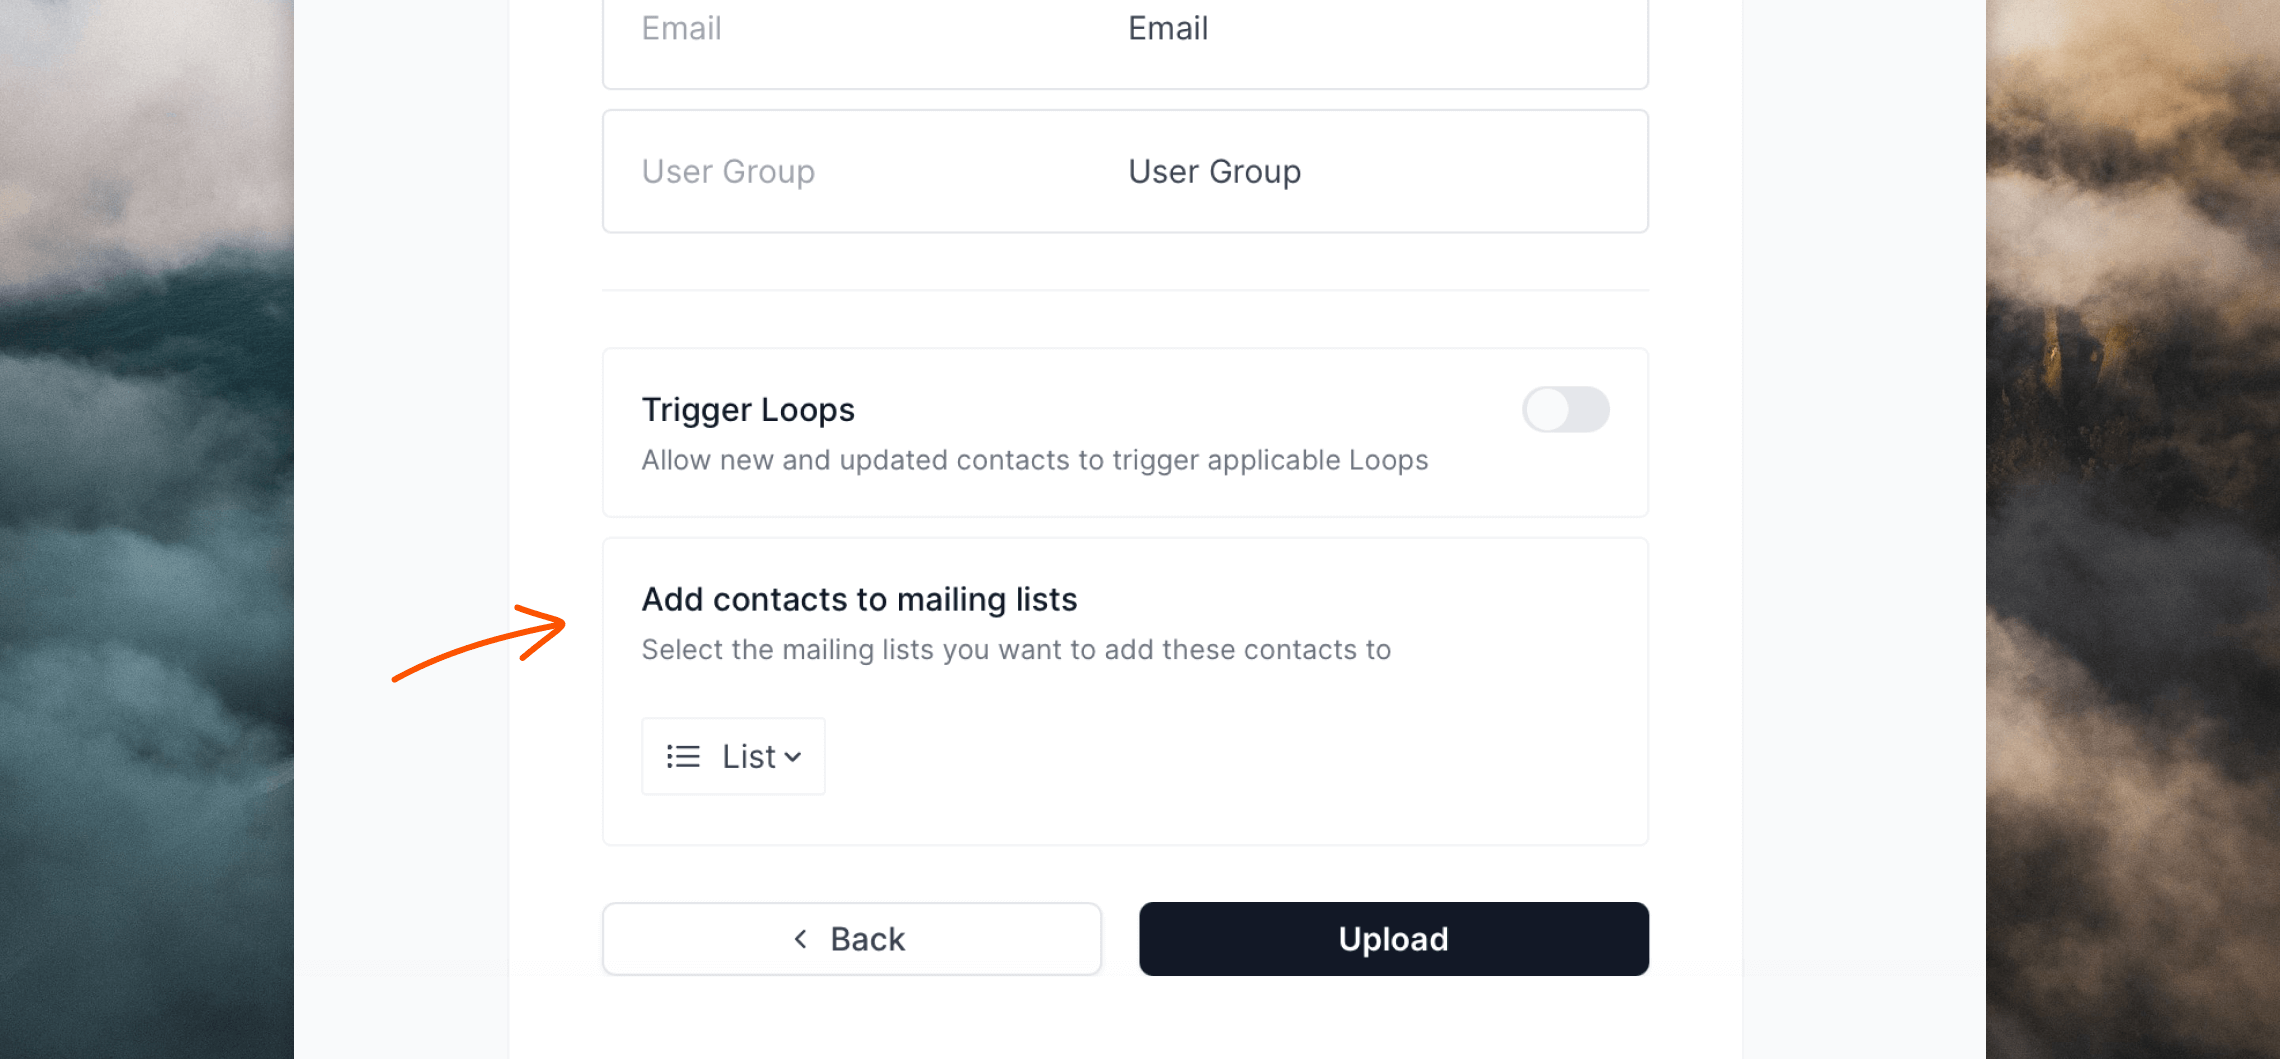
Add contacts to lists with the API
Utilizing the Loops API you can programmatically add and remove contacts to and from Lists. When creating a contact, updating a contact, or sending an event with the API, you can include amailingLists object in the payload.
This mailingLists object is a key-value pair of list IDs and a subscription status. The subscription status can be true or false.
cm06f5v0e45nf0ml5754o9cix and unsubscribed from cm16k73gq014h0mmj5b6jdi9r.
Mailing list IDs can be found in the app (click the ID to add it to your clipboard) or by using the API.

Add contacts to lists with forms
If you use a form on your website you can subscribe contacts to specific lists. When exporting HTML from the Forms page in Loops, choose a list from the Settings tab.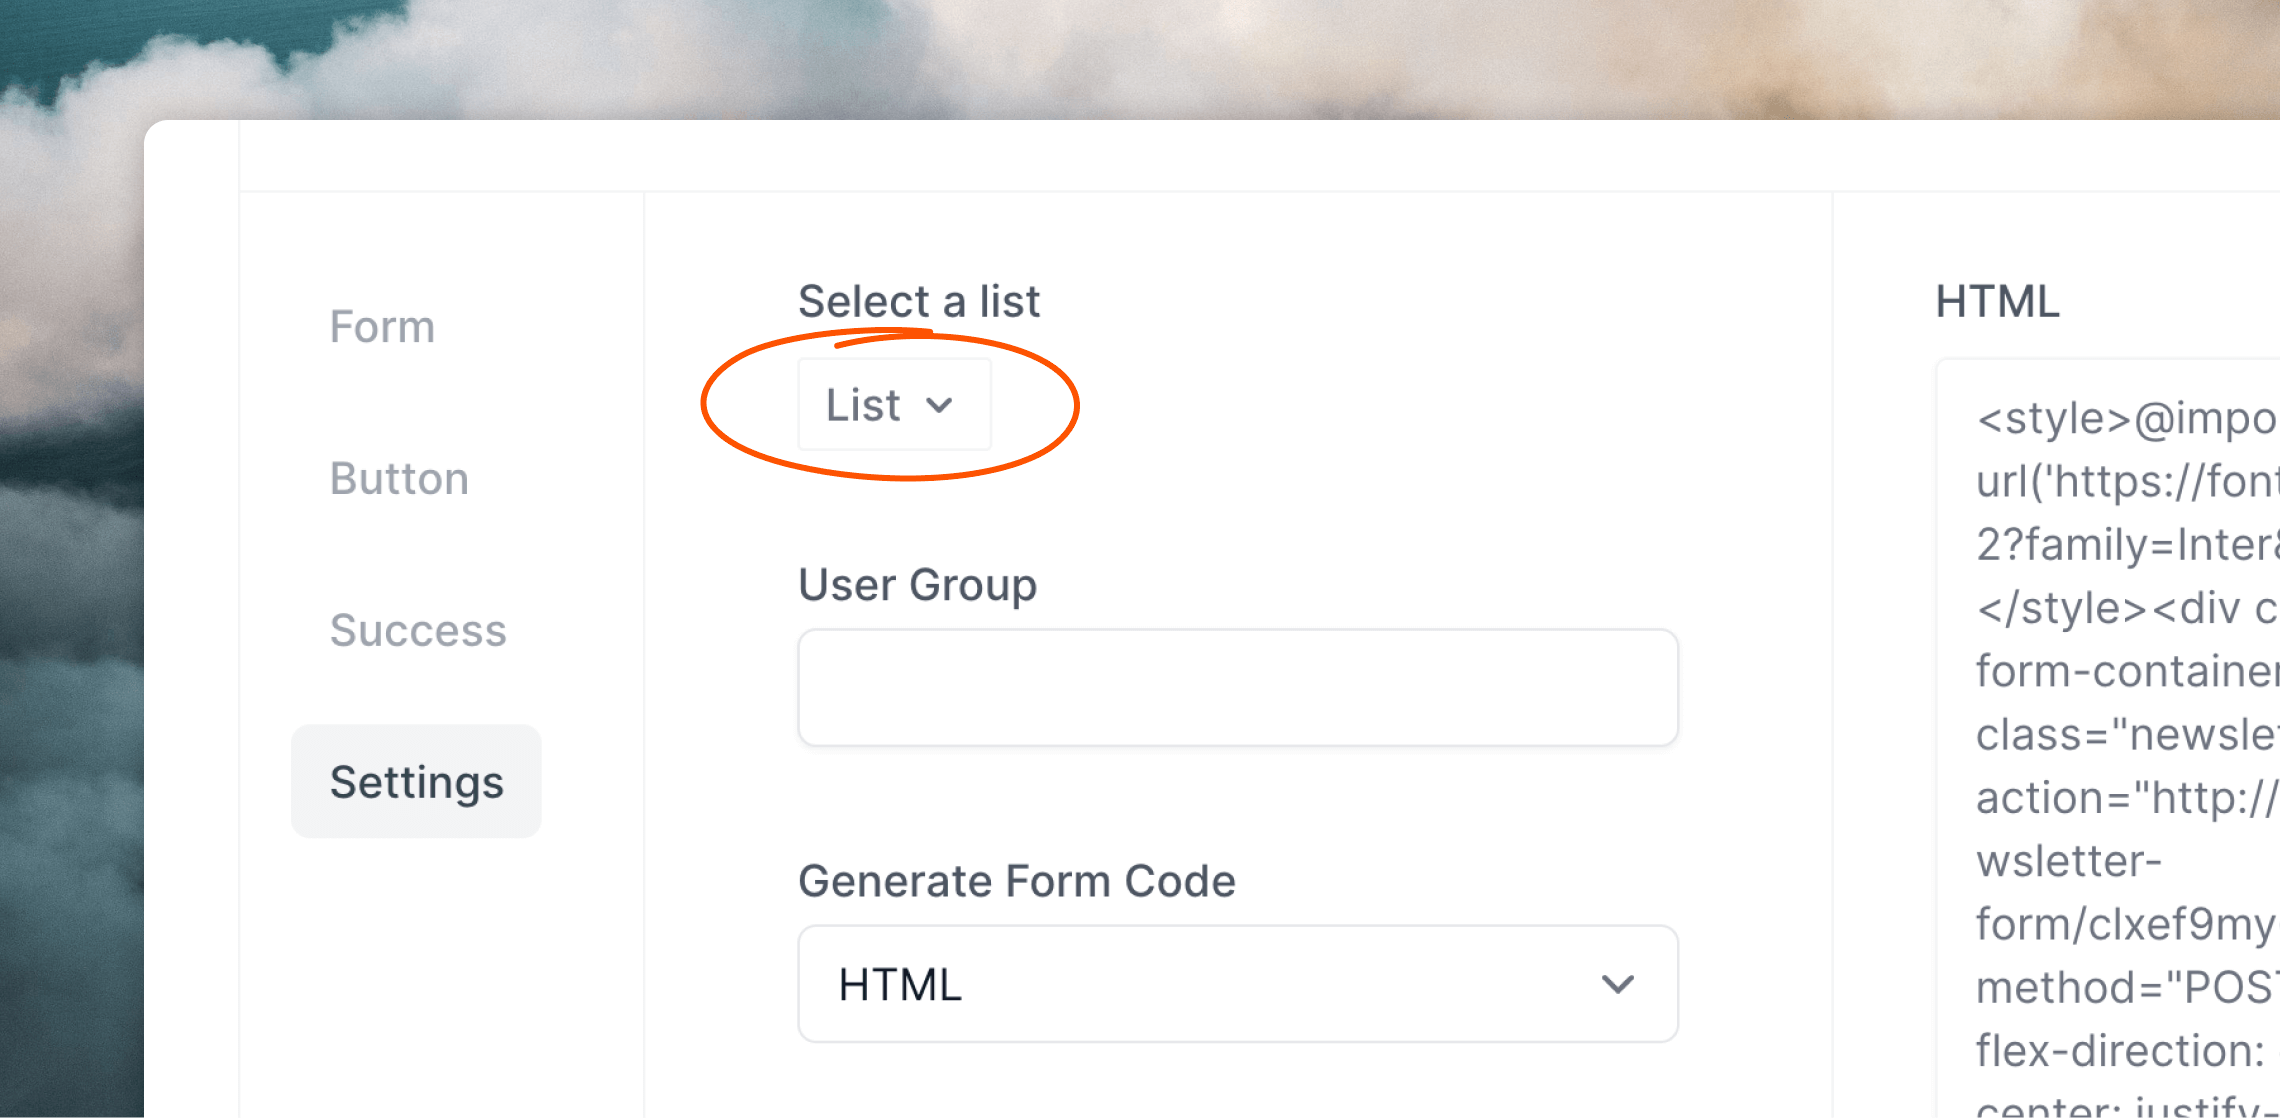
Adding contacts to a list via a form only works with public lists. The option
to select a list will only appear in the form settings if you have at least
one public list.
mailingLists parameter to the form body with the value a comma-separated list of mailing list IDs.


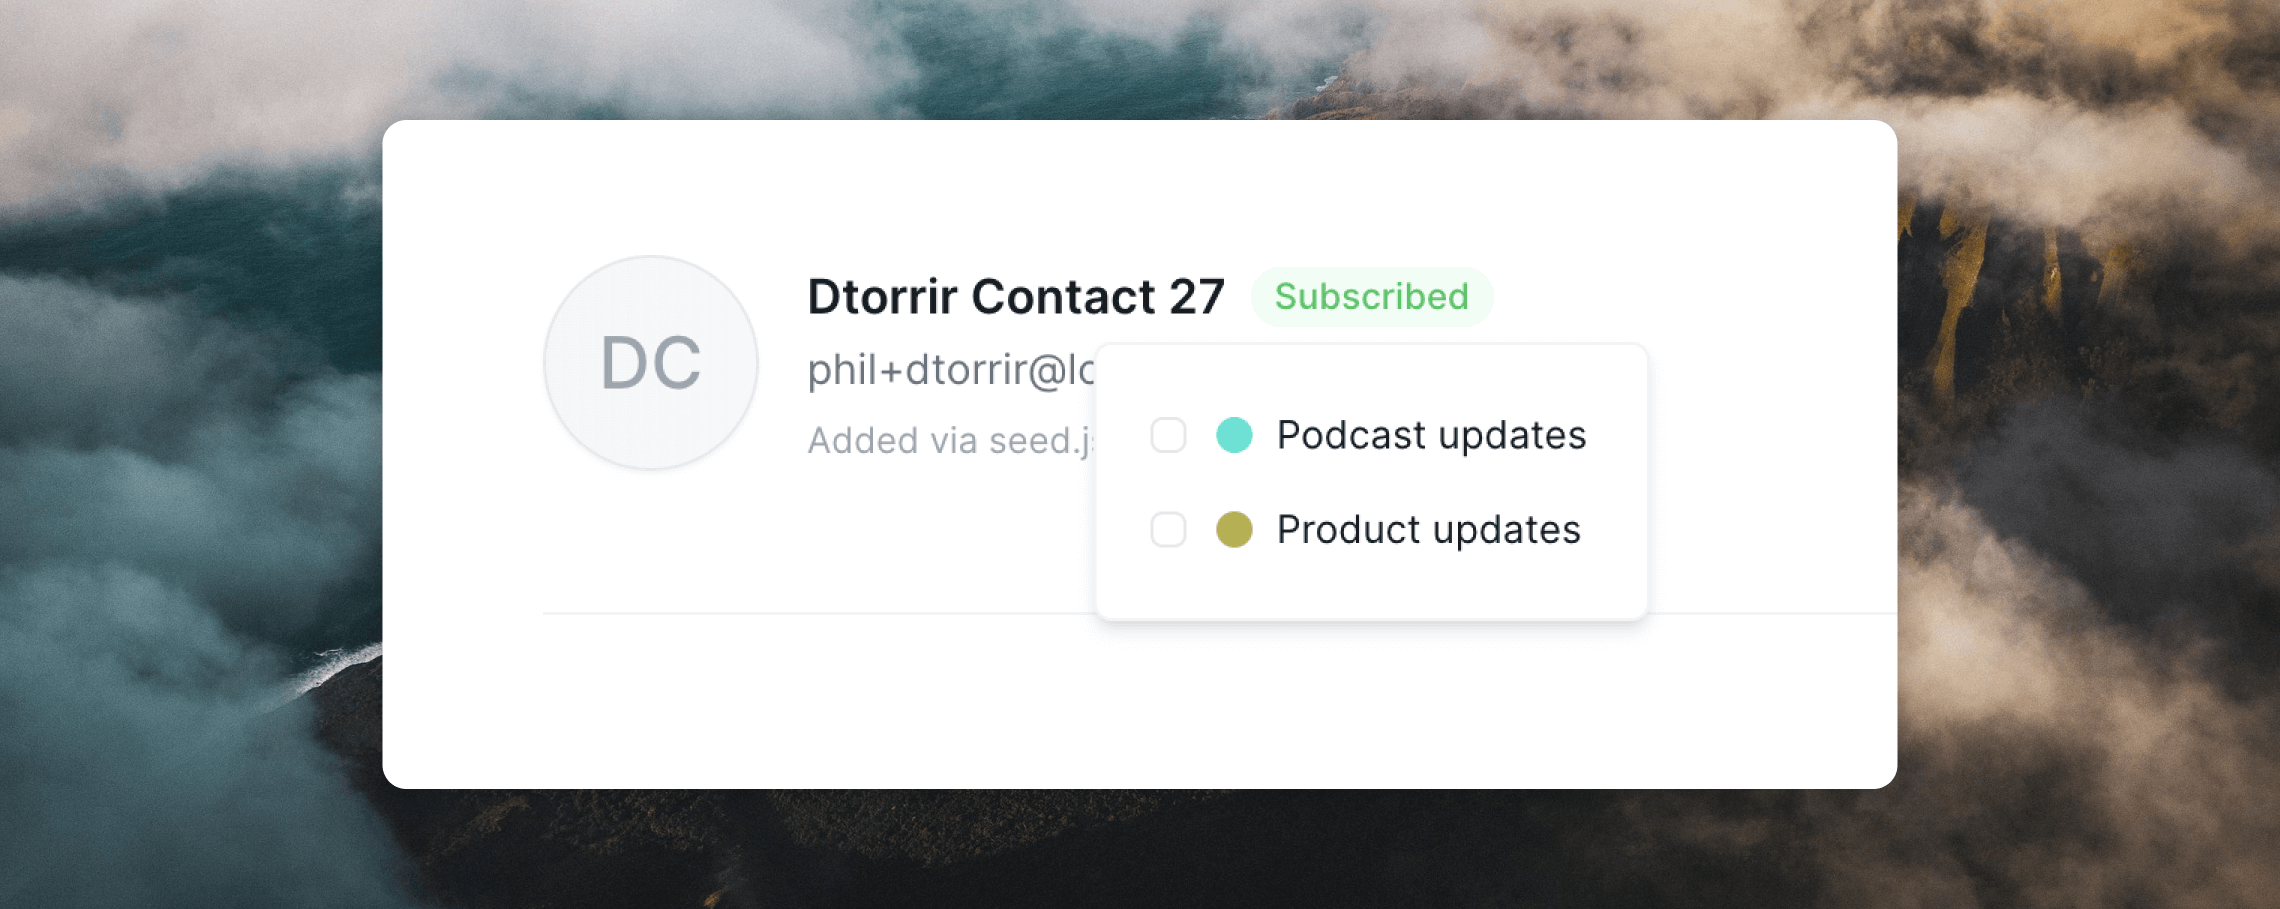 Toggle each list on or off as needed. Click Save changes in the top
right to apply the changes.