Add new contacts via CSV
-
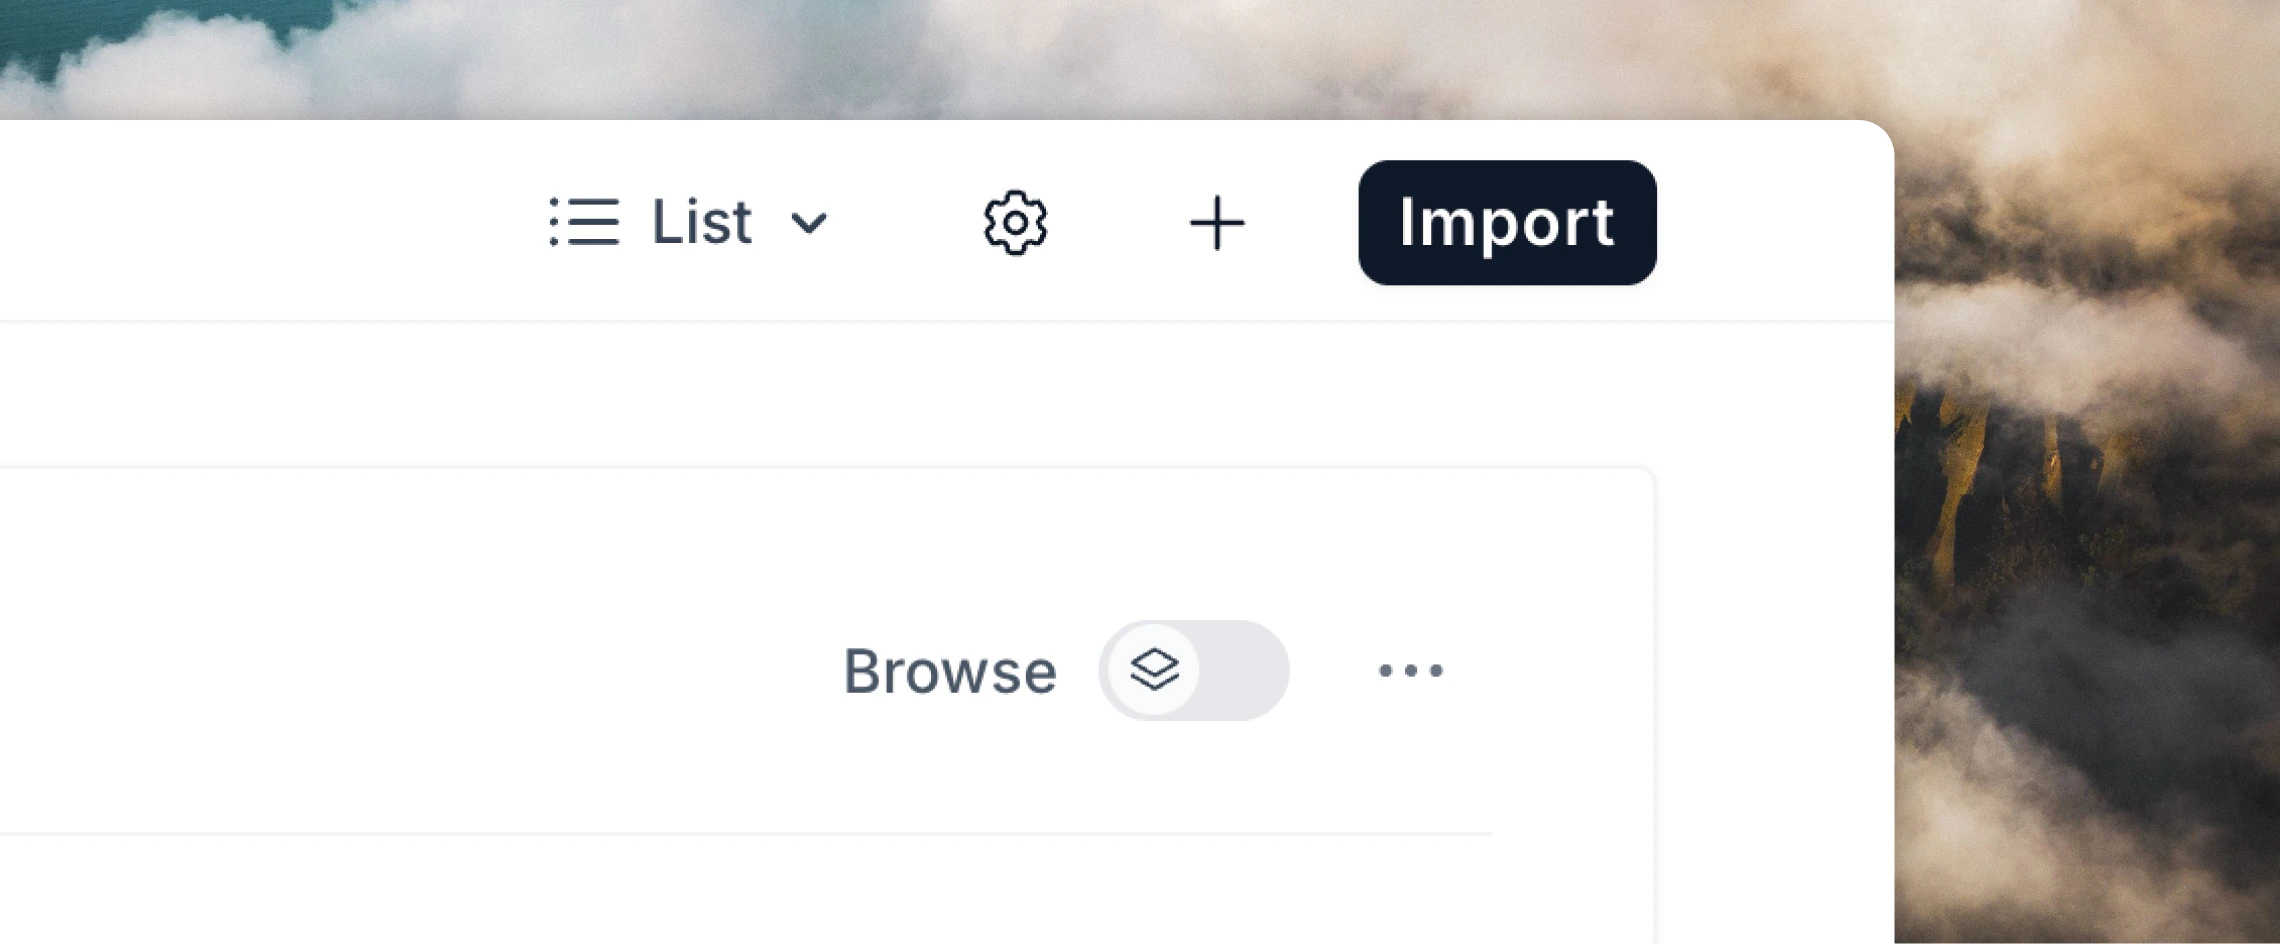
Select Import in the top right of the Audience page.
-
Hover on CSV and click Upload CSV. Download the example formatted CSV to get an idea of the columns we use. By default, we recommend using at least
Email,First Name,Last Name,User GroupandSourcecolumns.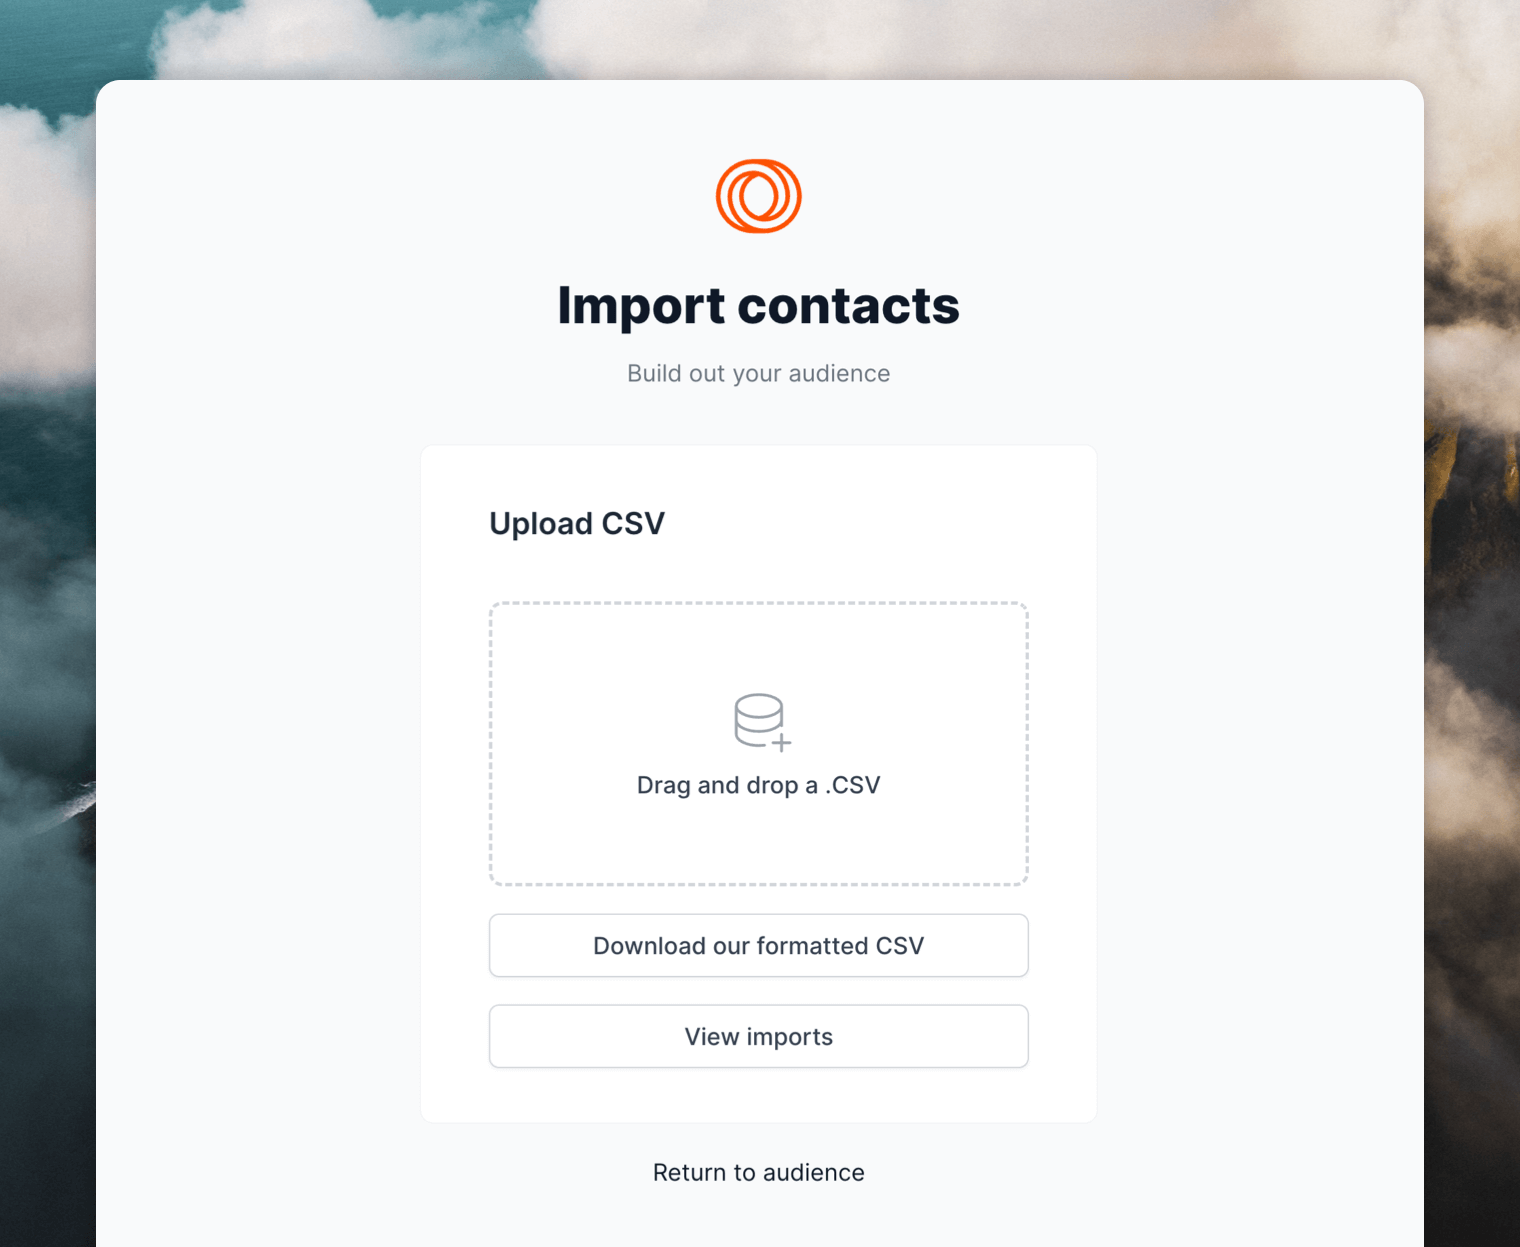
- After uploading the CSV you’ll have a chance to review any duplicates or missing information before finishing.
- When the upload is finished, all the uploaded contacts can be viewed in the Audience page. That’s it! 🎊
Some important notes
- All new contacts uploaded will be automatically marked as subscribed. If you want to mark imported contacts as unsubscribed add a
Subscribedcolumn into your CSV file and use “false” as the column value. - The default
Sourcevalue for each uploaded contact will be “CSV Upload”. You can change this by adding aSourcecolumn to your CSV file and specifying a custom value. - Dates in your CSV file must be in one of the accepted formats listed on the contact properties page (timestamps are not supported).
Update contacts via CSV
You can also upload a CSV file to update your existing contacts in bulk. You can either download a CSV from your Audience page in Loops, edit the data and re-upload it, or start with a new CSV file and just include the contacts and columns you want to update. When updating contacts, Loops will first look for a matching contact using the value in theUser ID column, then the Email column.
If a contact is found, Loops will update the contact using the data provided in the CSV file. If a contact is not found with either User ID or Email values, a new contact will be created using the data provided.
Some important notes
- The importer does not re-subscribe contacts who are marked as unsubscribed in your Audience, so updating the
Subscribedcolumn totruewill not re-subscribe the contact. - Cells that are empty in the CSV file will not overwrite existing data in Loops. If you want to clear a field, you will need to provide a value of
nullin the CSV file (4 characters, all lowercase). Note, this only works forstringtype fields.
Trigger workflows via CSV
You can use CSV uploads as a way to trigger workflows on a group of new or existing contacts. If you want to trigger workflows for existing contacts, download a CSV from your Audience page then re-upload the file. Only include the contacts you want to trigger workflows for in the CSV file. After uploading the CSV, on the Review page select the Trigger workflows option. This will trigger all applicable workflows you have set up with Contact created and Contact updated triggers. If you select to add contacts to mailing lists on this same page as well as toggle Trigger workflows ON, you will also trigger Contact added to list workflows.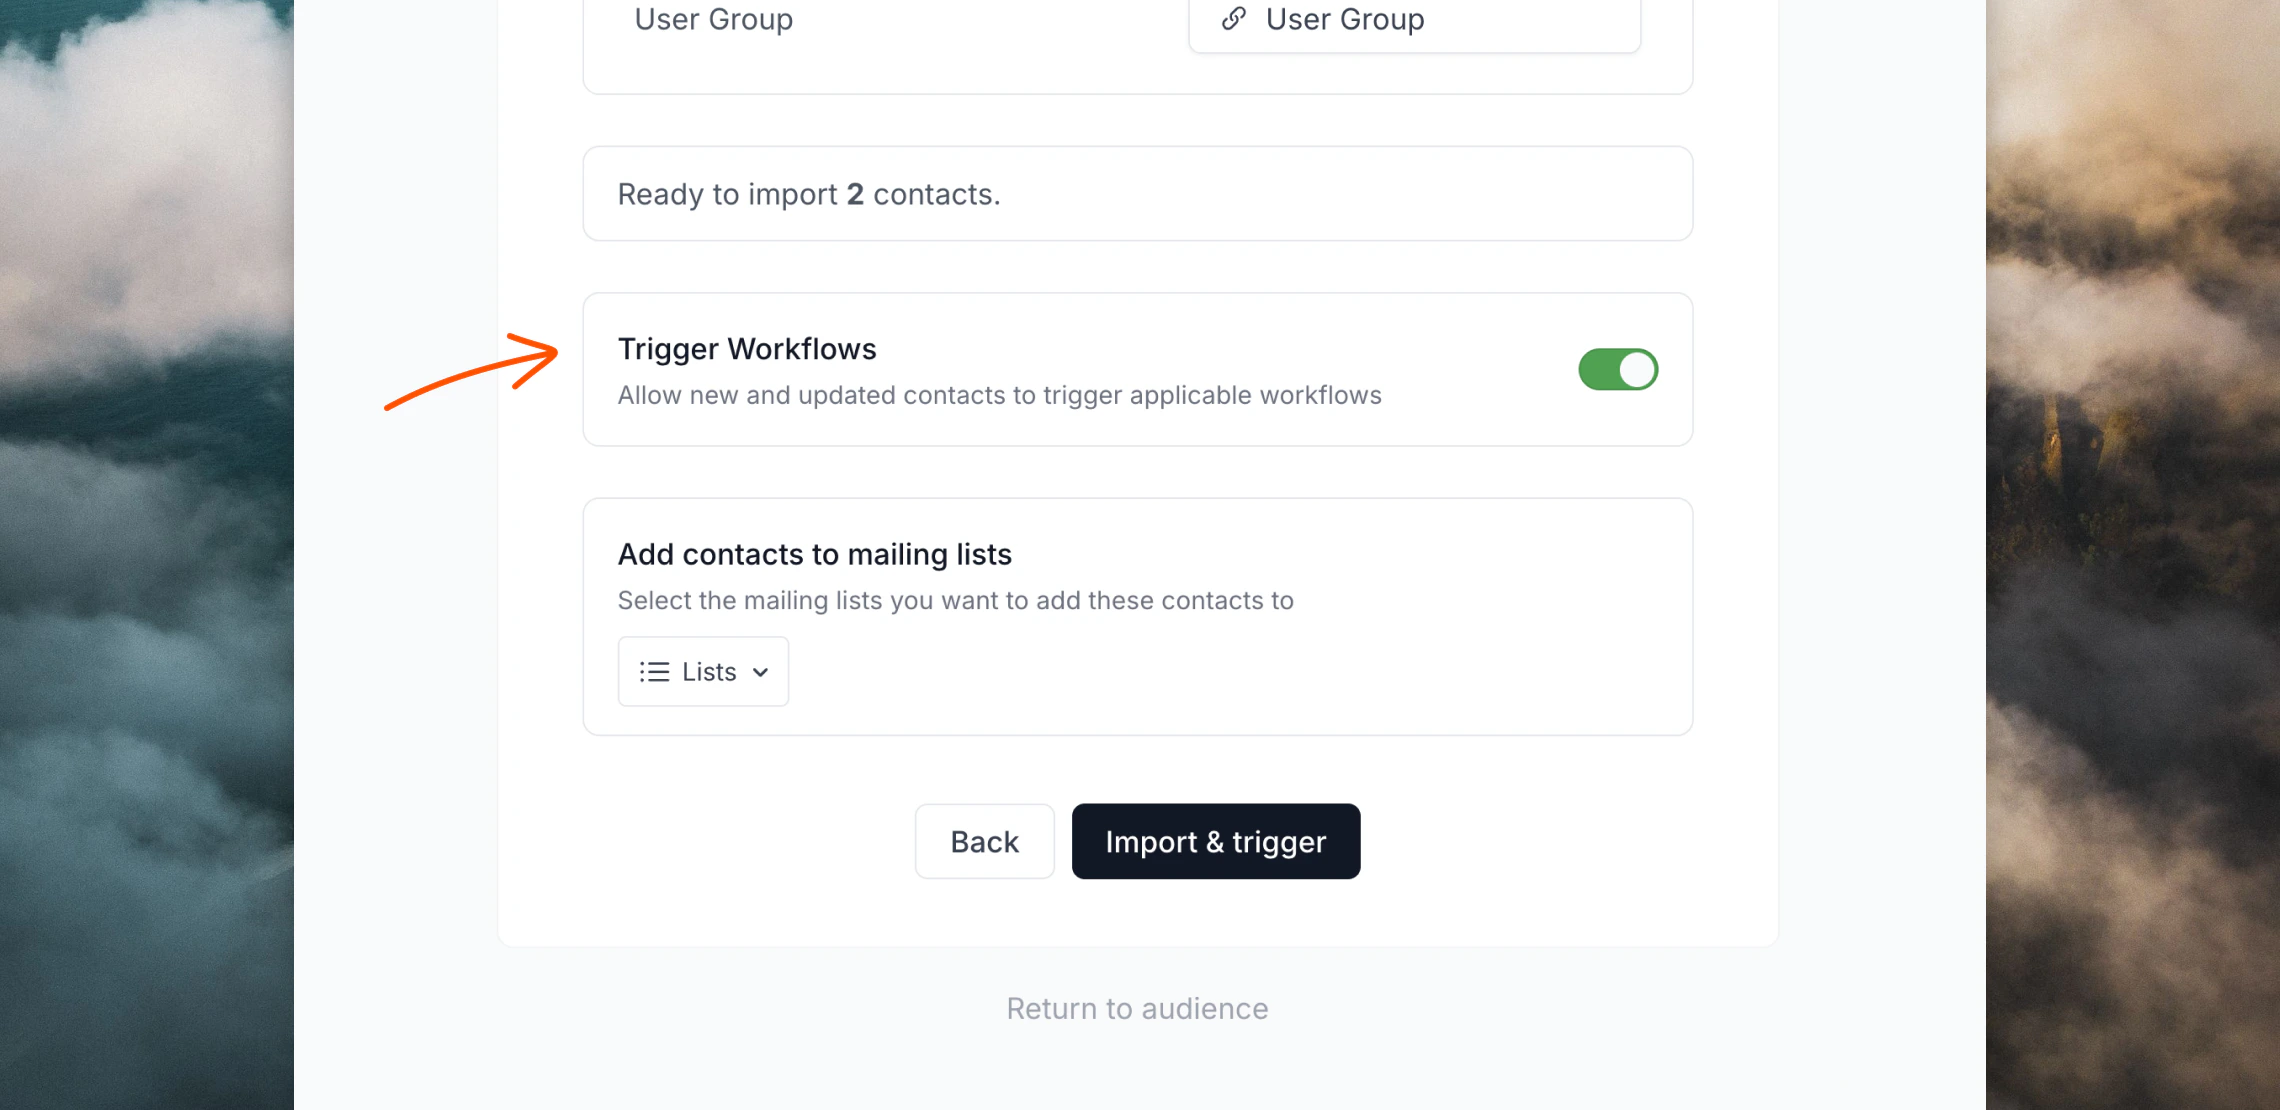
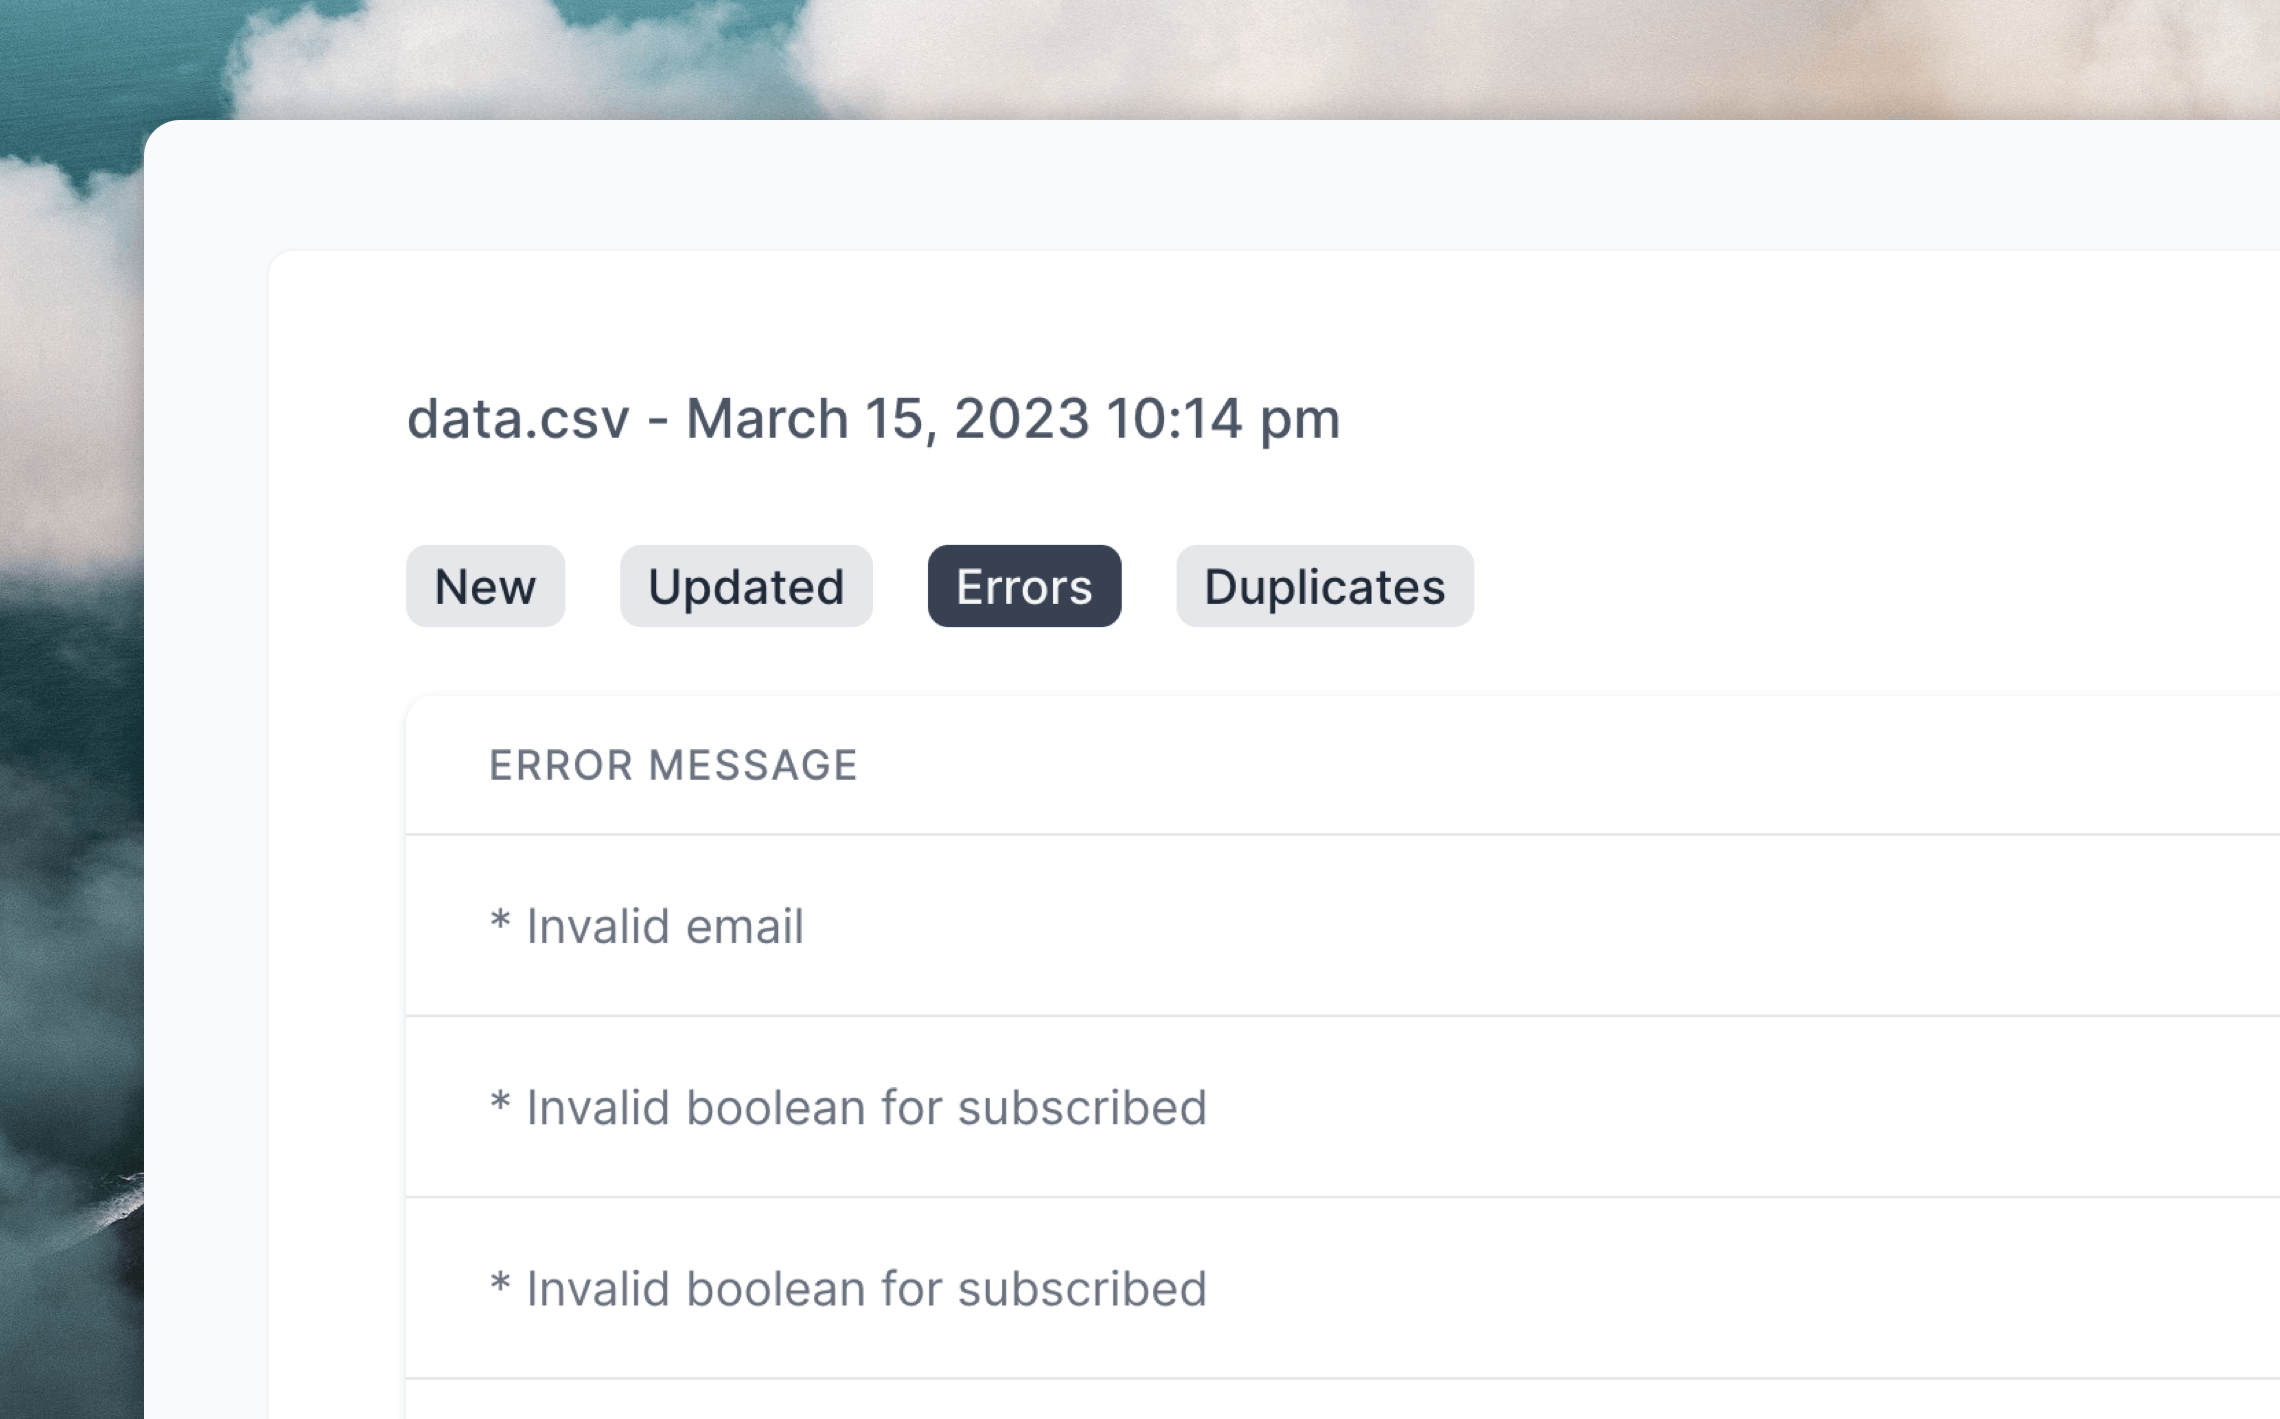
View previous CSV uploads
After uploading CSV files you can view a history of your uploads plus details for each file’s rows. On the Audience page click Import contacts, hover on CSV and click Upload CSV. On the next page click on View imports, which will show you a list of all of your past uploads. Clicking on one of your uploads will let you view lists of all new, updated or duplicated contacts plus a list of any errors from the import.