You can use layouts of 2 to 4 columns. Nesting columns within columns is not
yet supported.
Adding columns
You can add columns to your email in several ways:- Using the editor toolbar: Click on the columns icon to insert a column layout.
- Using the
/slash menu in the editor: Type/to open the slash menu then start typing “columns” or click on the Columns option. - Using the
+icon: hover over an existing element in your email and click the+plus icon on the left, then select Columns. - Dragging two blocks together: Click and hold the block settings icon (six dots) to the left of a block. Drag the block next to another one until you see a vertical gray line on the right, which indicates a new column will be created.

Customizing columns
Once you’ve added columns, you can customize their appearance and behavior to suit your design needs.Number of columns
You can choose the number of columns you want to use by clicking on the number of columns you want to use in the Block styles editor panel.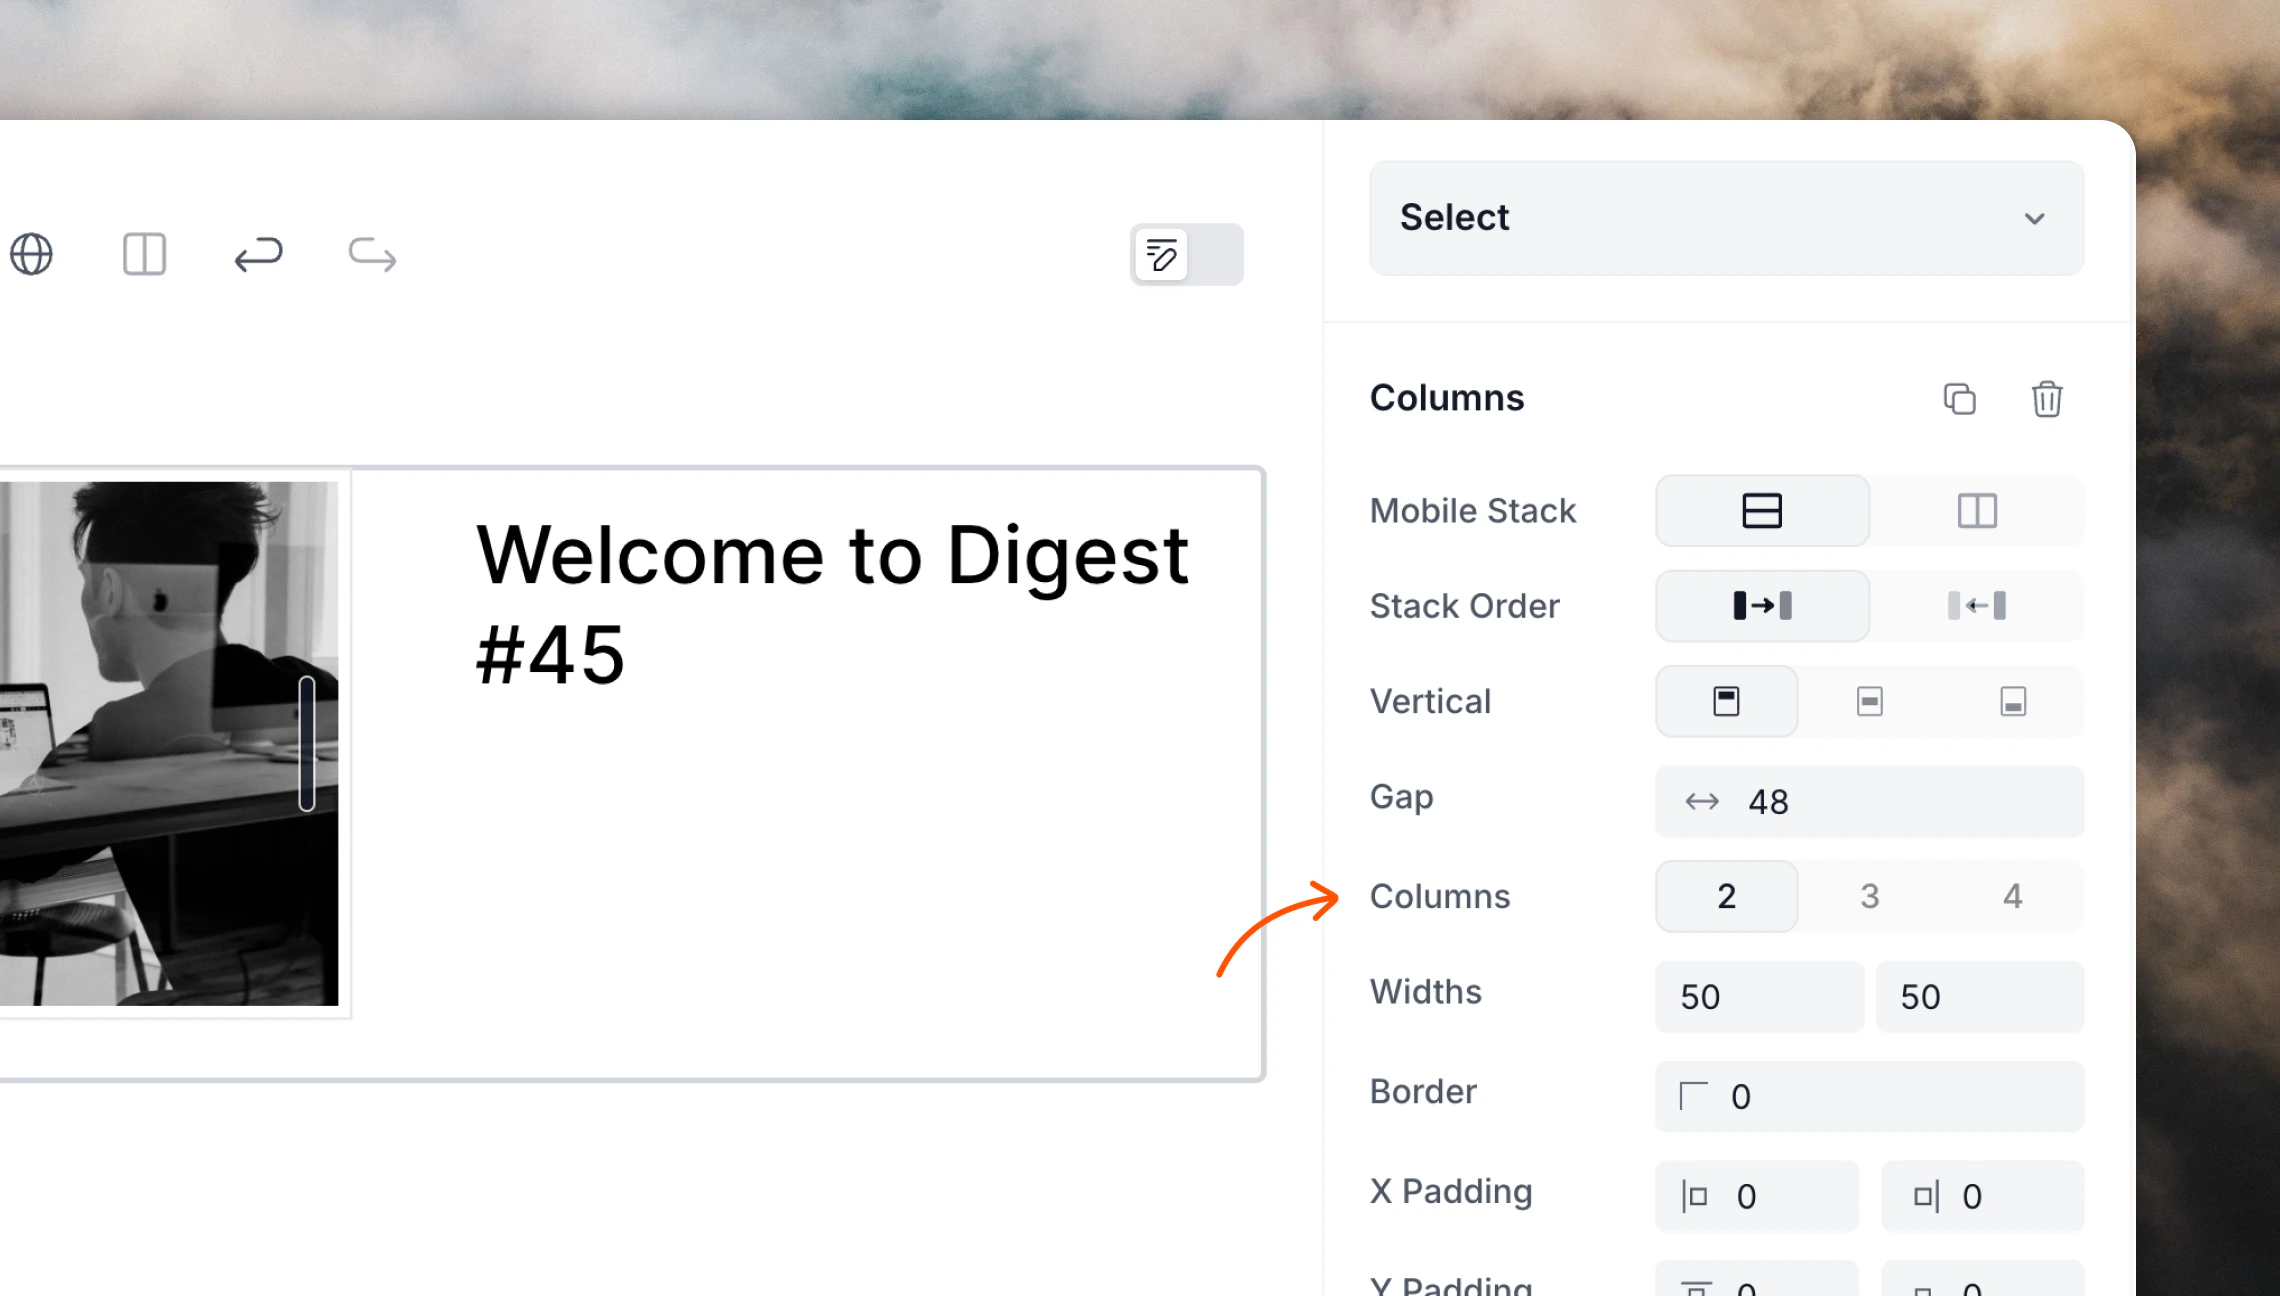
Width and spacing
You can adjust the width of a column by clicking and dragging the gray bar between the columns.

Stacking columns on mobile
When emails are viewed on a mobile device (when there is less horizontal space available) you can choose if your columns should stack vertically for better readability or stay as columns. In the Block styles editor panel you’ll find the option to stack columns vertically on mobile (when the viewport is 479px or smaller).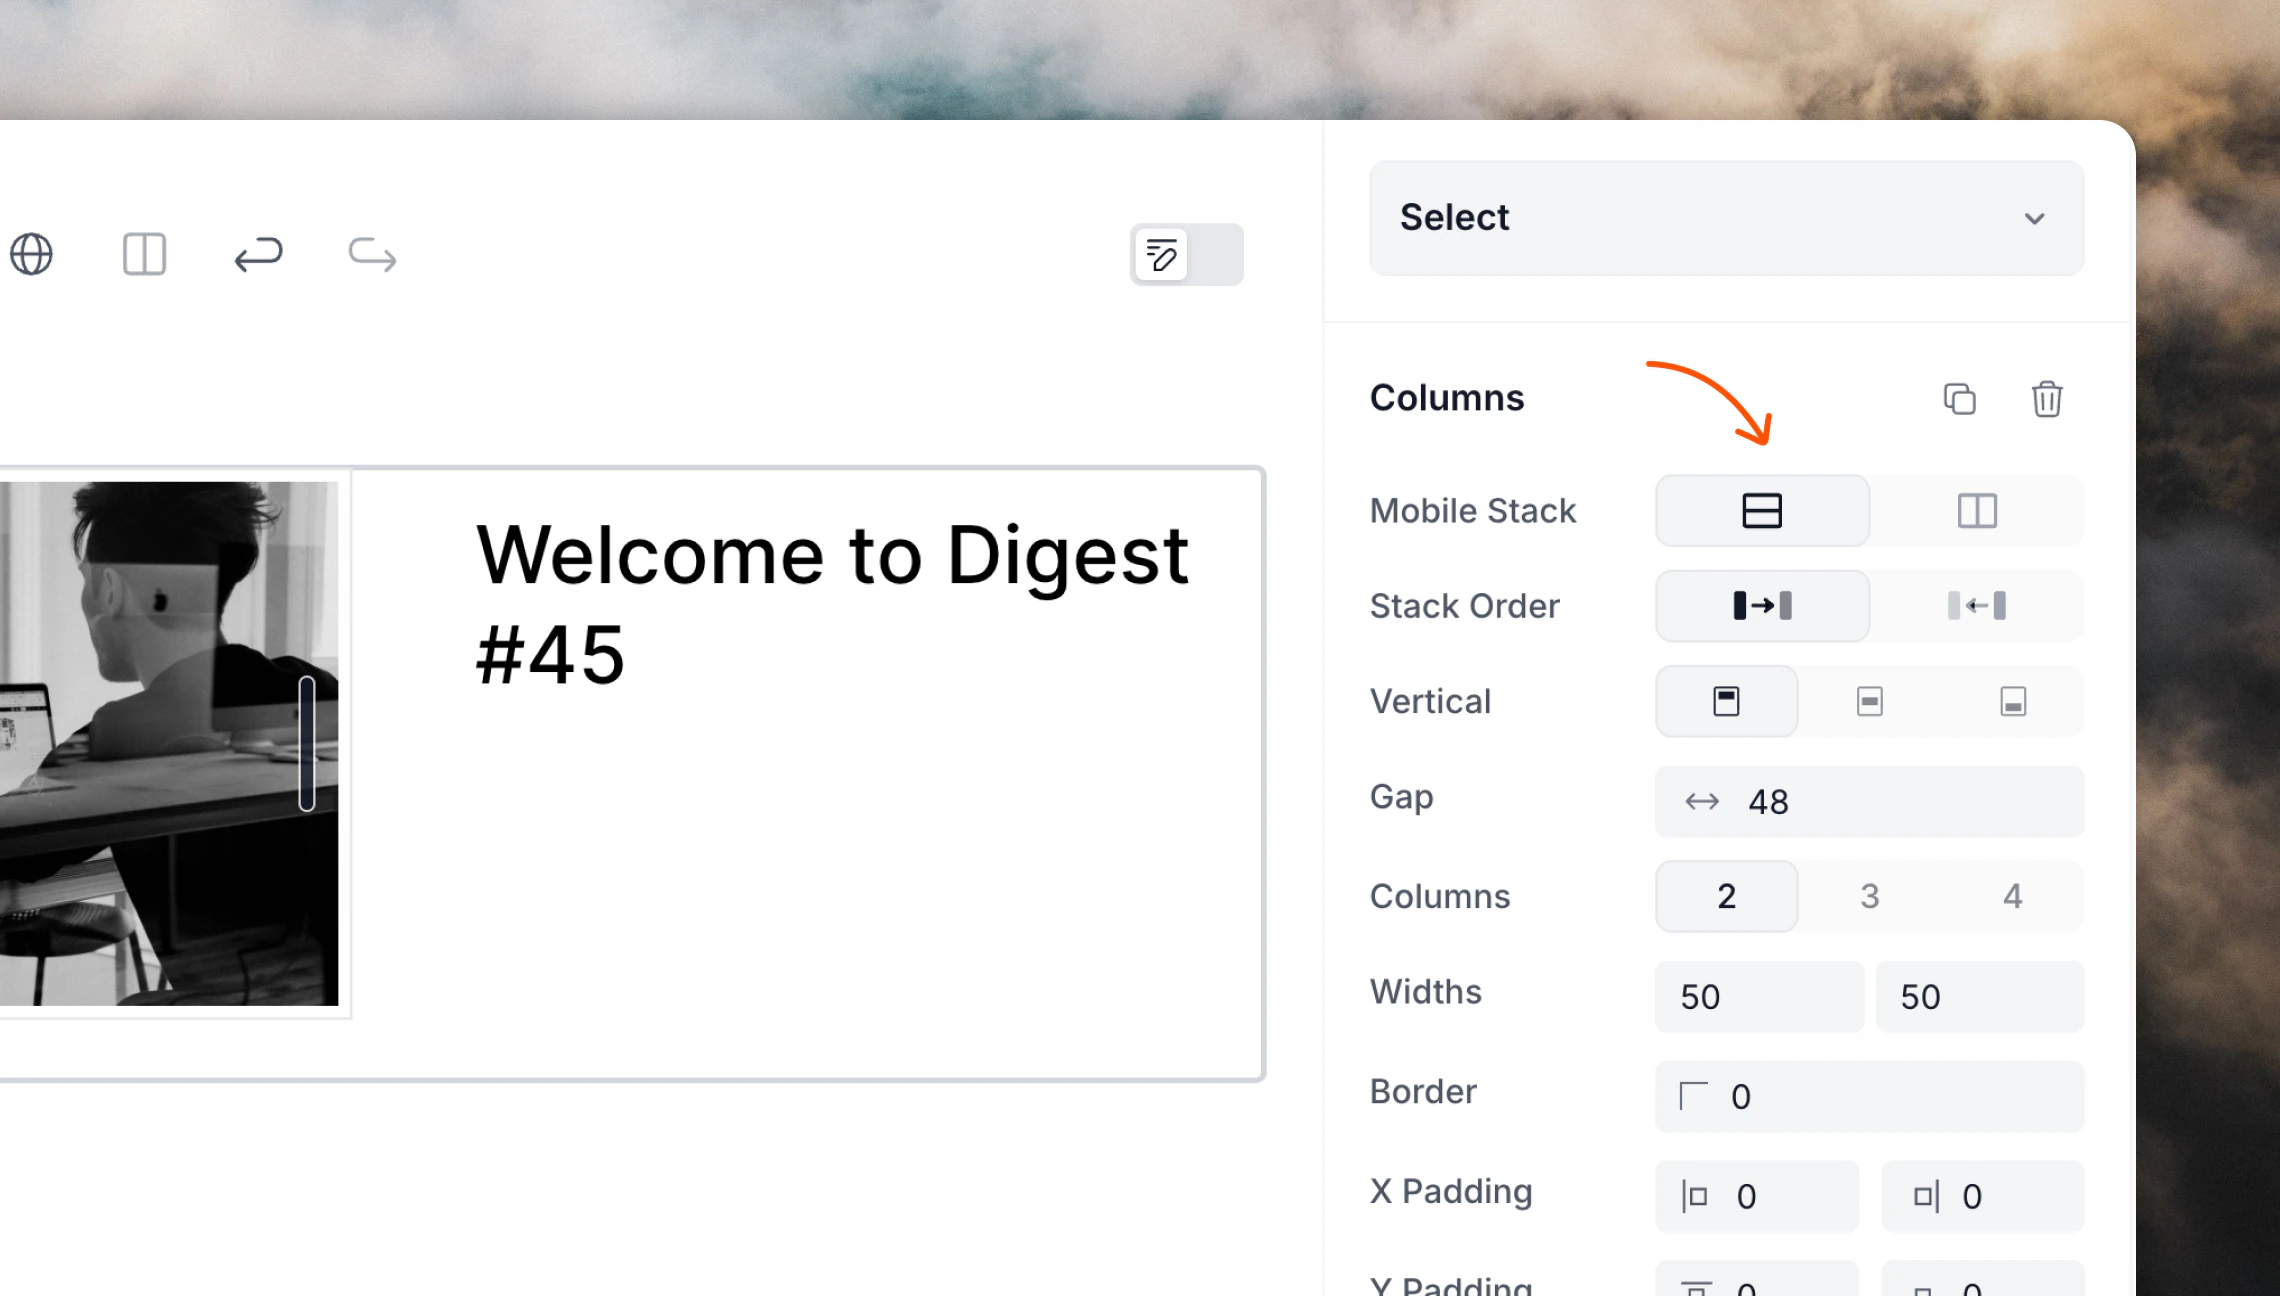
Adding and moving content
You can drag elements like text blocks, images, and buttons in and out of your columns. To do this, hold down the⌘ key (Mac) or Ctrl key (Windows) while hovering over the element you want to move. Then click and drag the block settings icon (six dots) to move the block to its new position.

Tips
- No nested columns: Keep in mind that nesting columns within columns is not supported. If you need a complex layout, consider adjusting your design to fit within the 2 to 4 column limit.
- Consistent styling: Use the block settings to ensure that padding and alignment are consistent across your columns for a polished look.