Example components
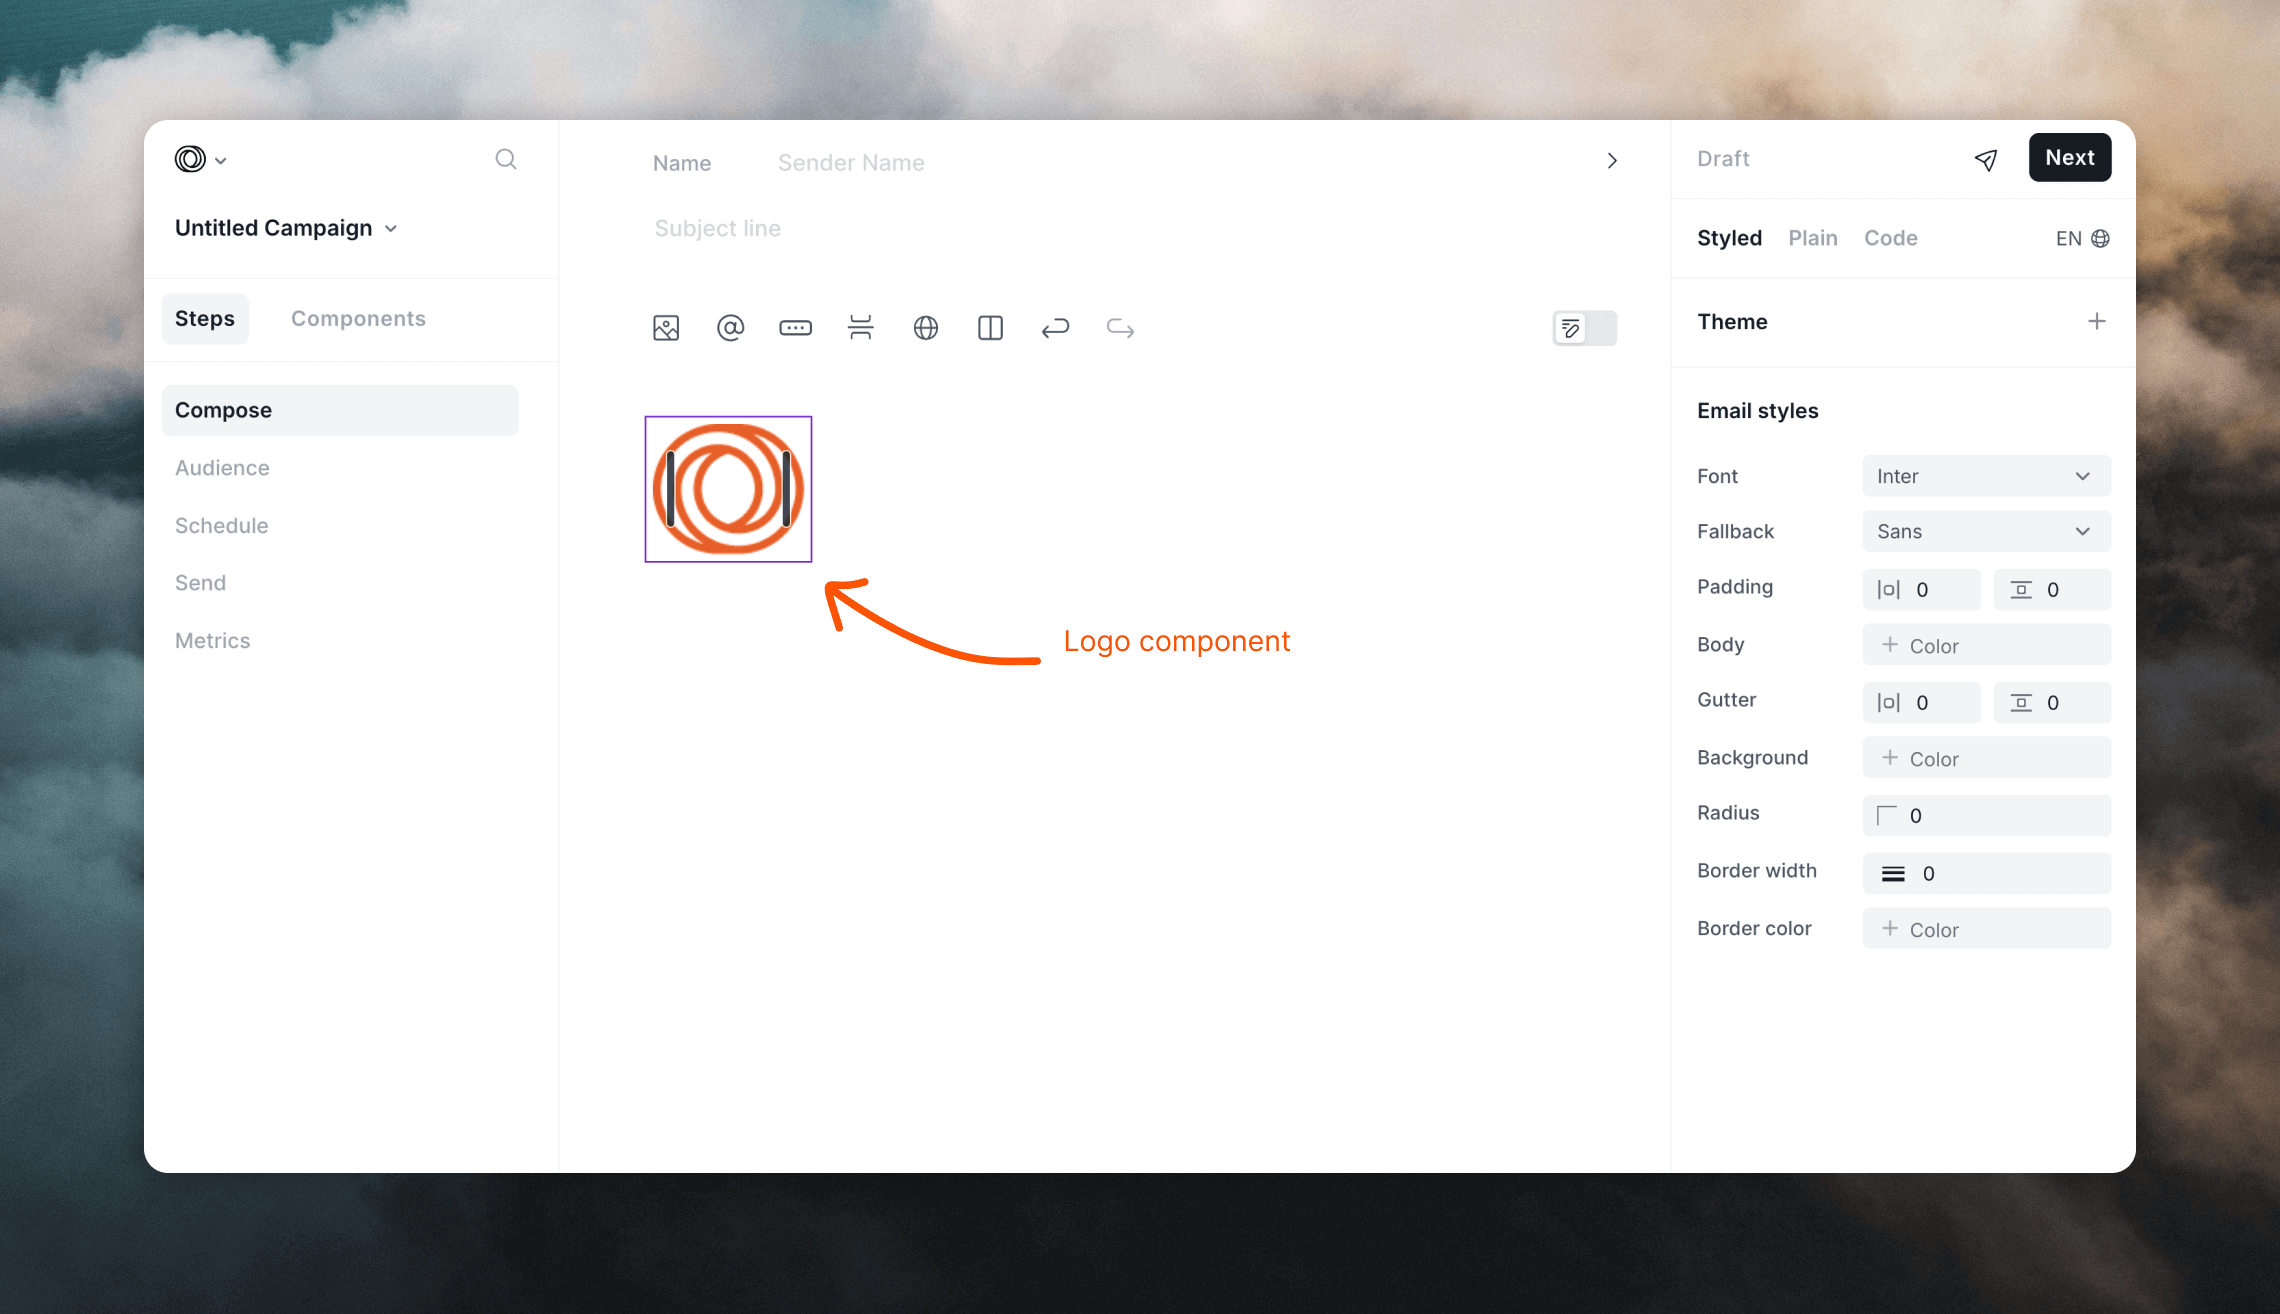
Some useful examples of components are logos and social icons. These elements are typically the same across multiple emails; using components will make sure they are the same everywhere. Most of the time you will want your logo to have the same alignment, spacing and size in your emails. Similarly, you will want the same set of social icons readily available to drop into every new email you create.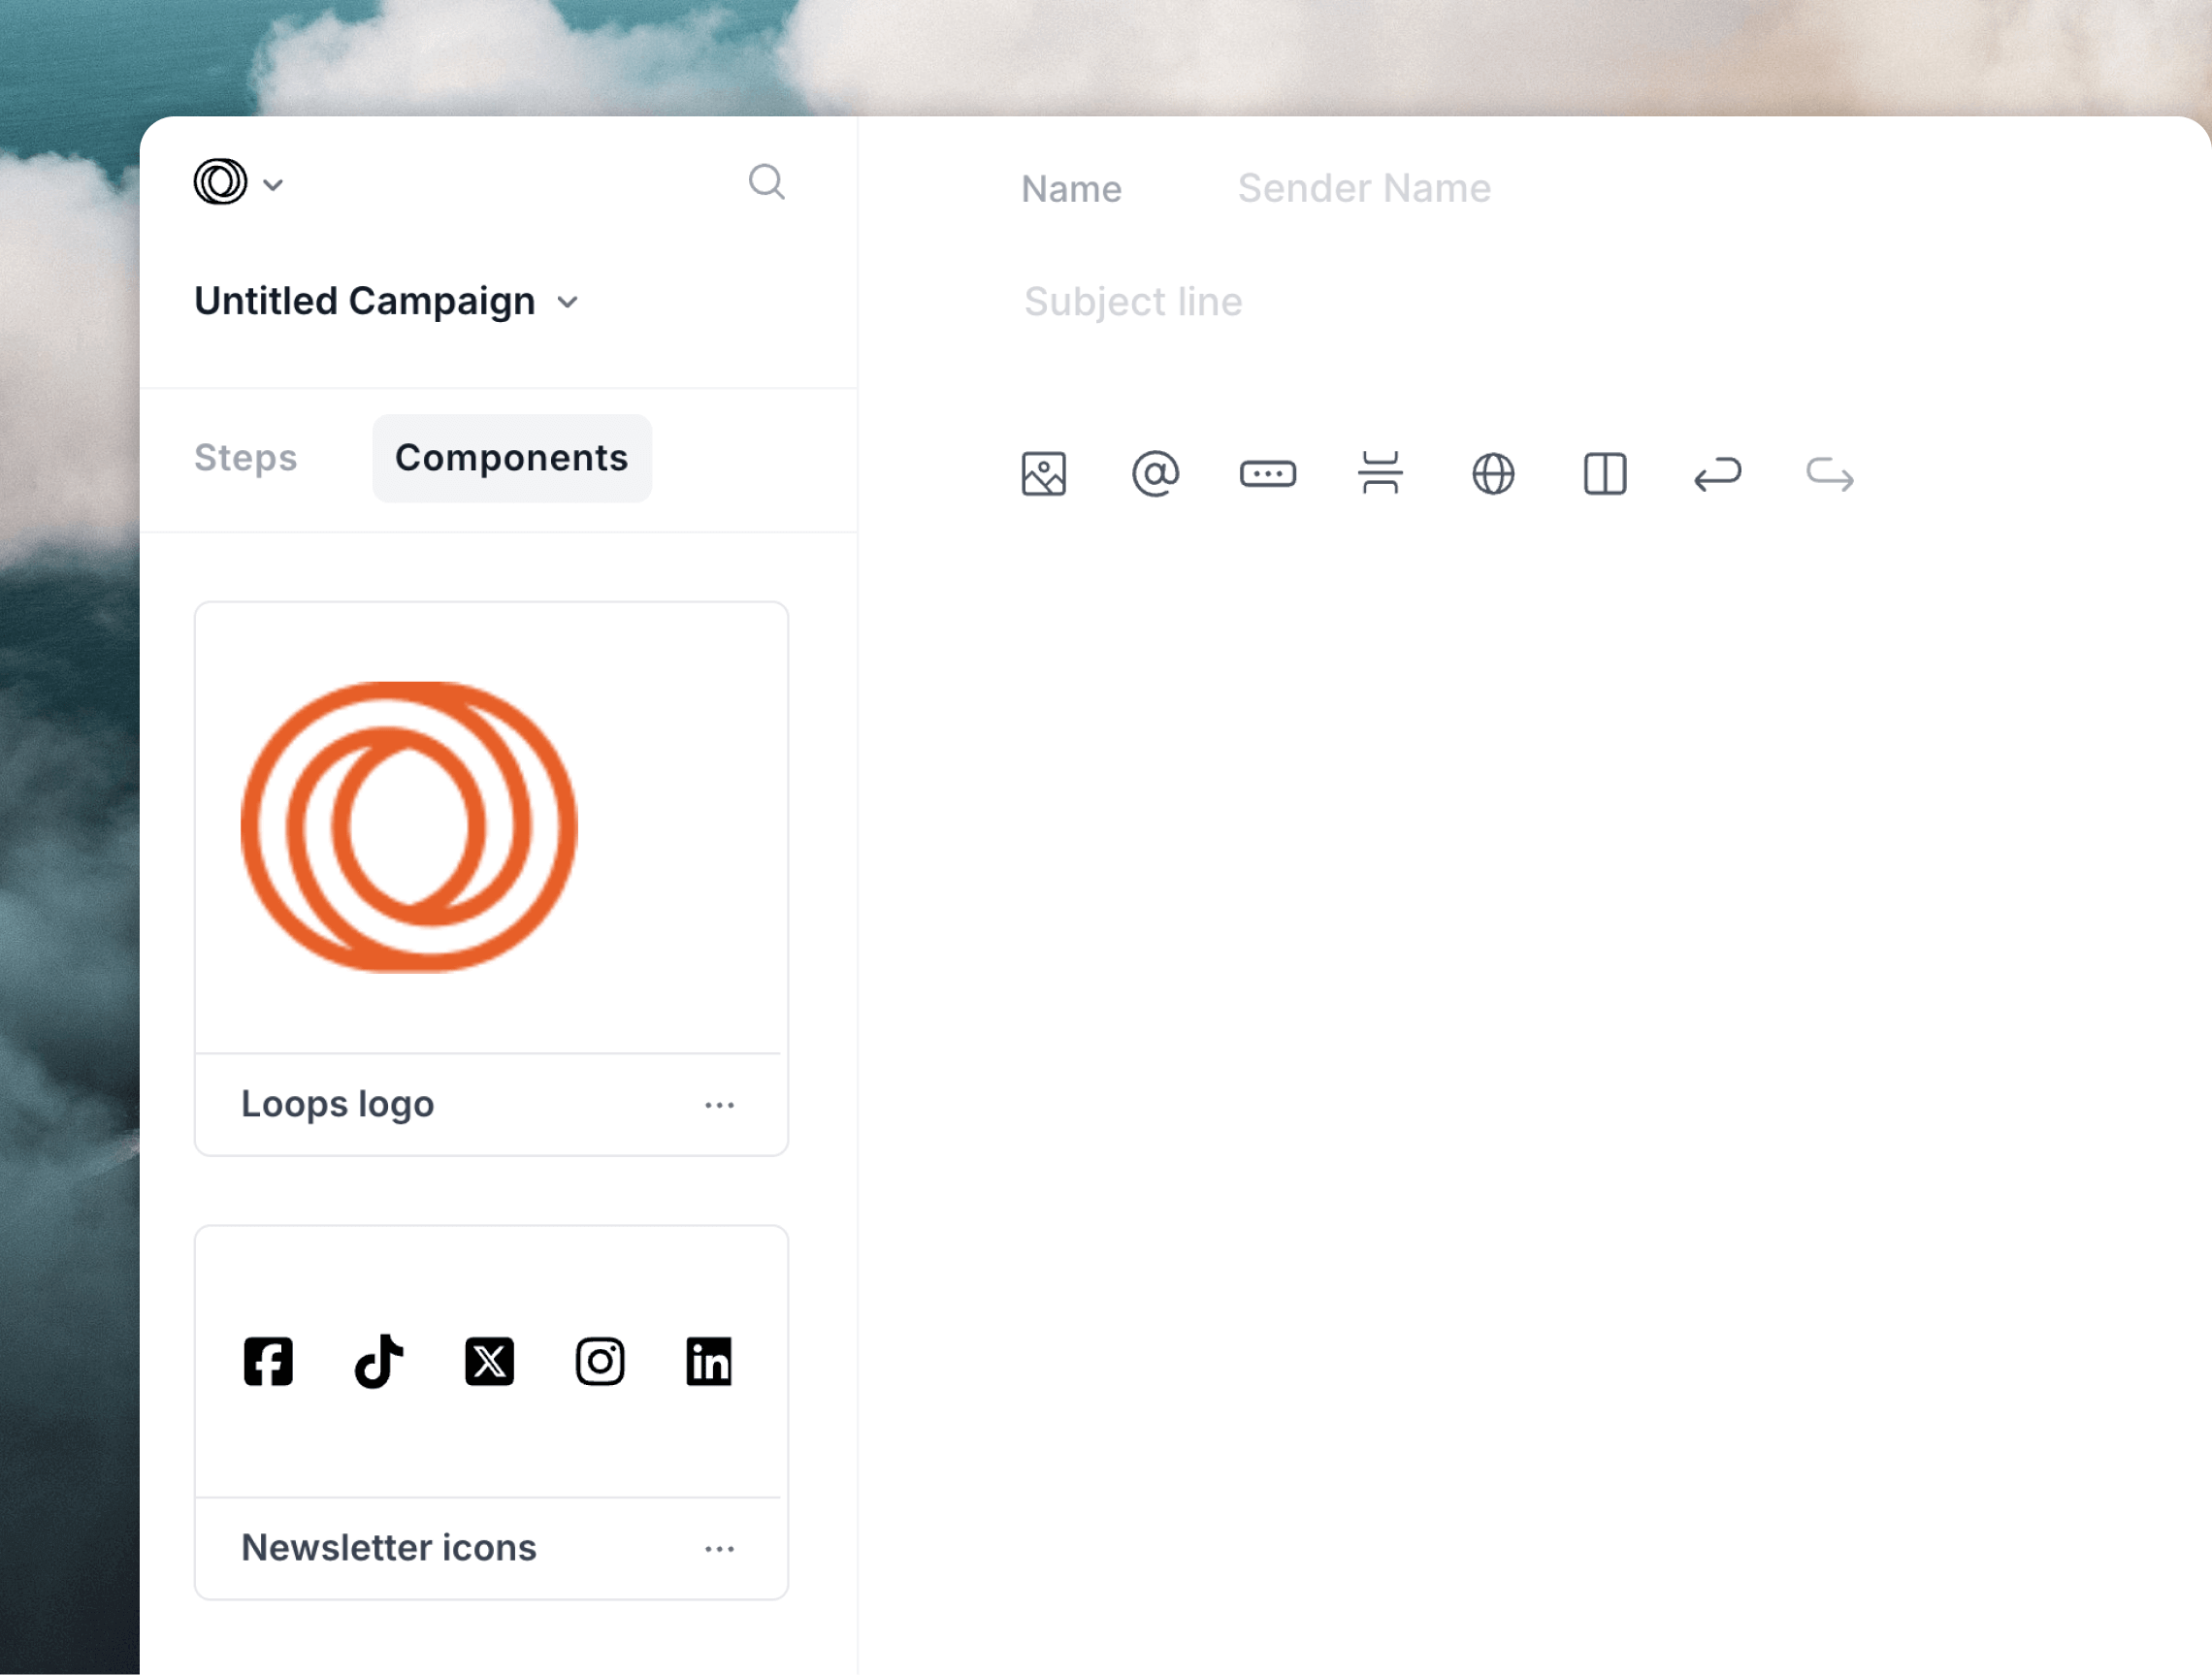
Create a component
To create a component, click on an element in your email and then the Create component icon in the editor panel.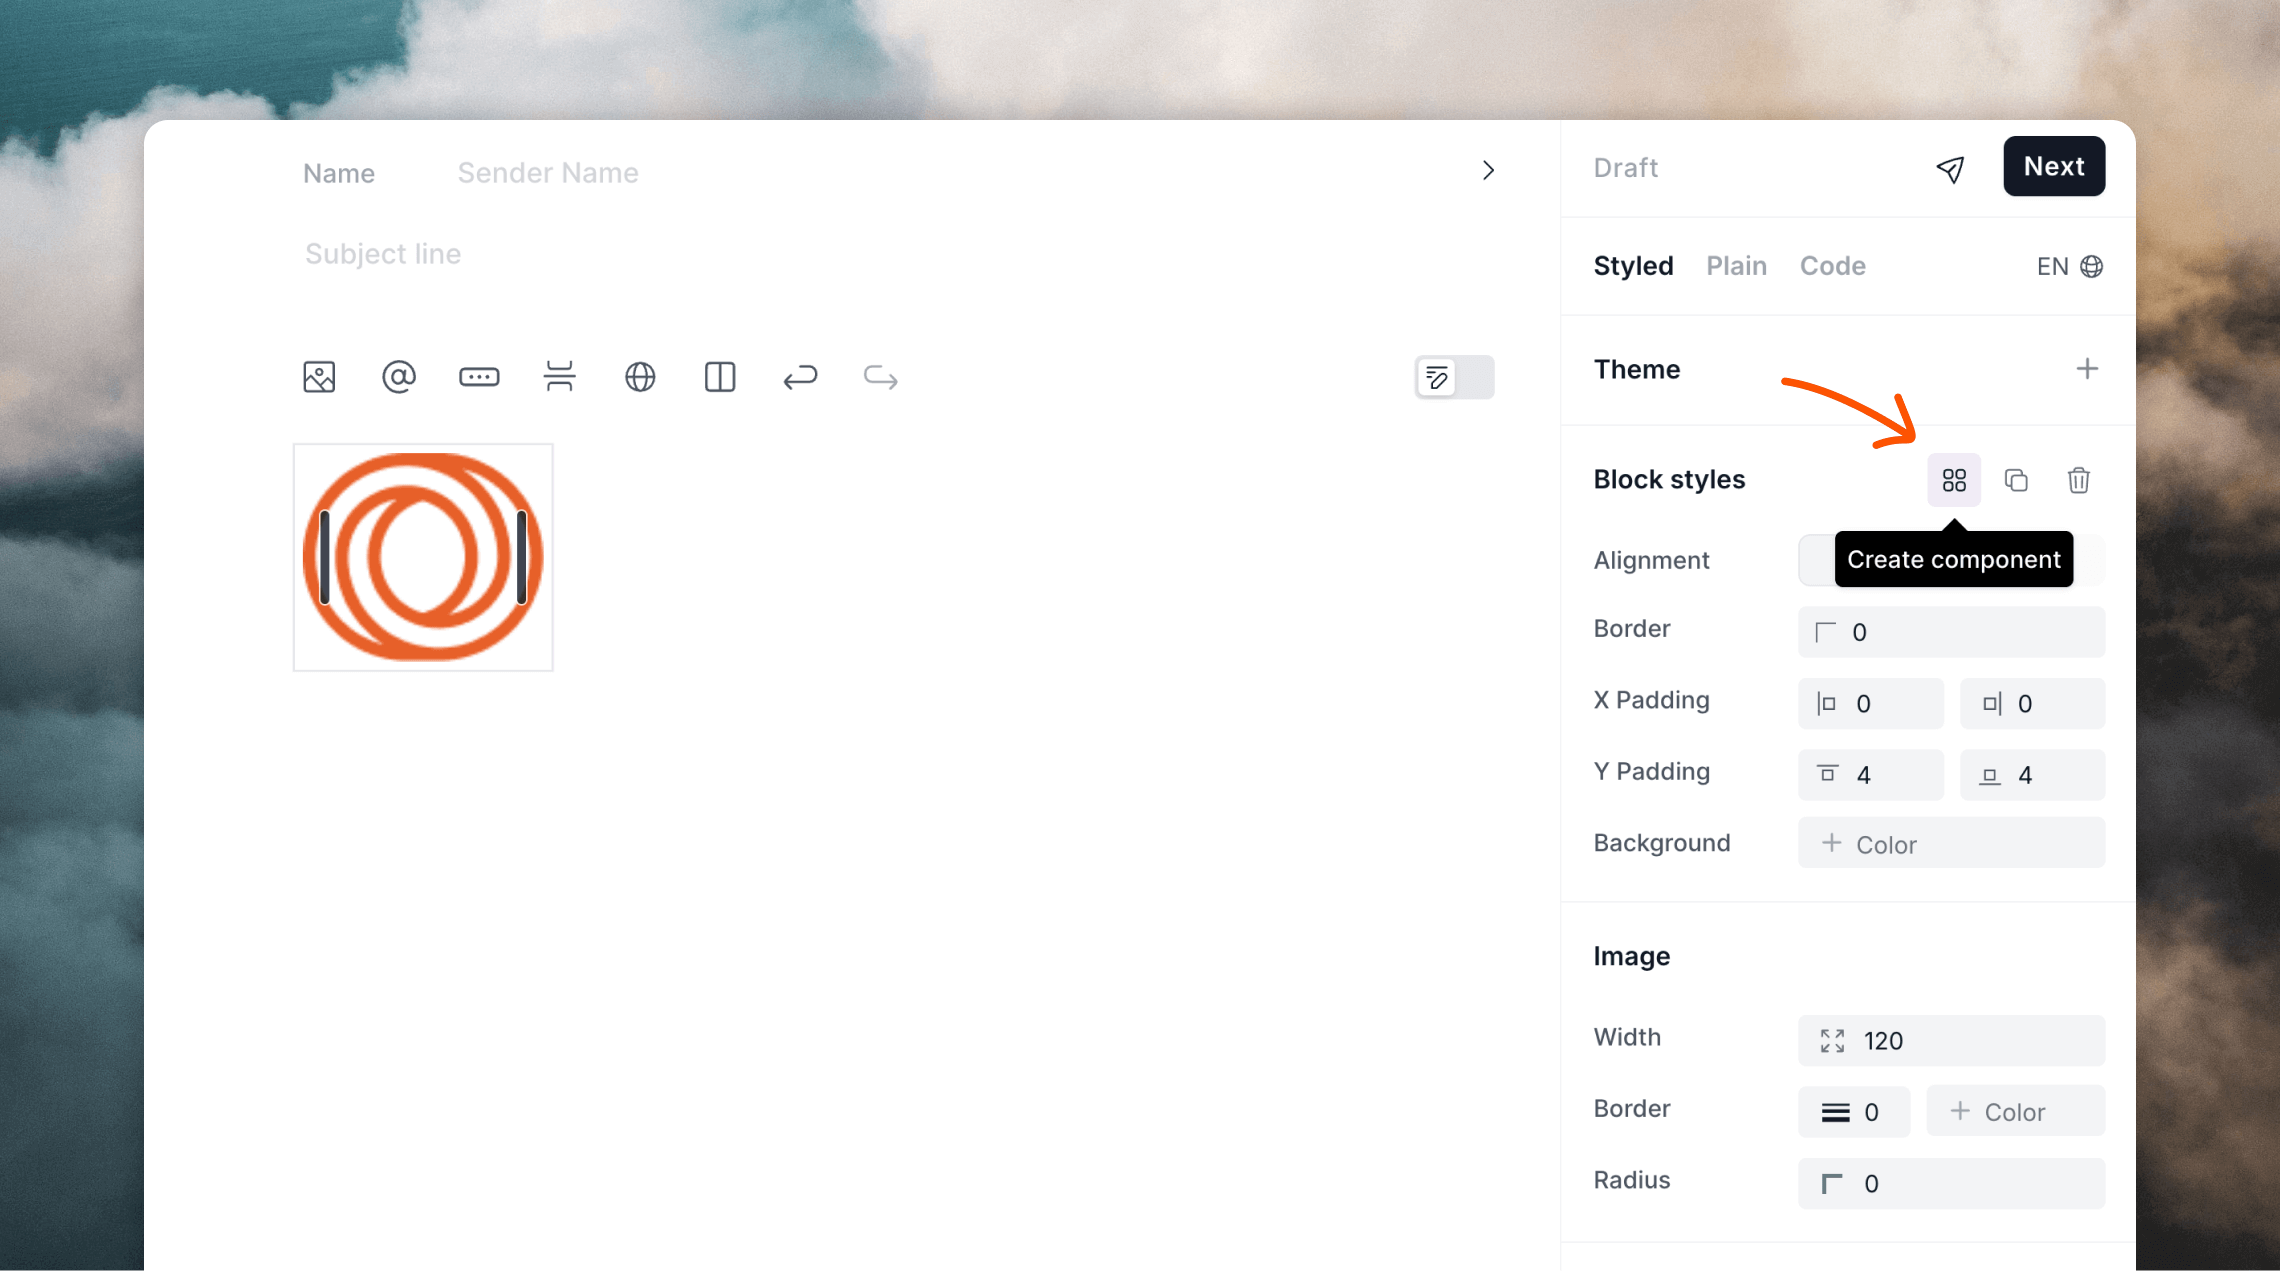
All components you create are available in all of your emails, i.e. a
component created in a campaign email is also available to insert into
transactional emails.
Insert a component
Click on Components at the top of the left-hand panel to reveal your components list, then simply click on a component to insert it.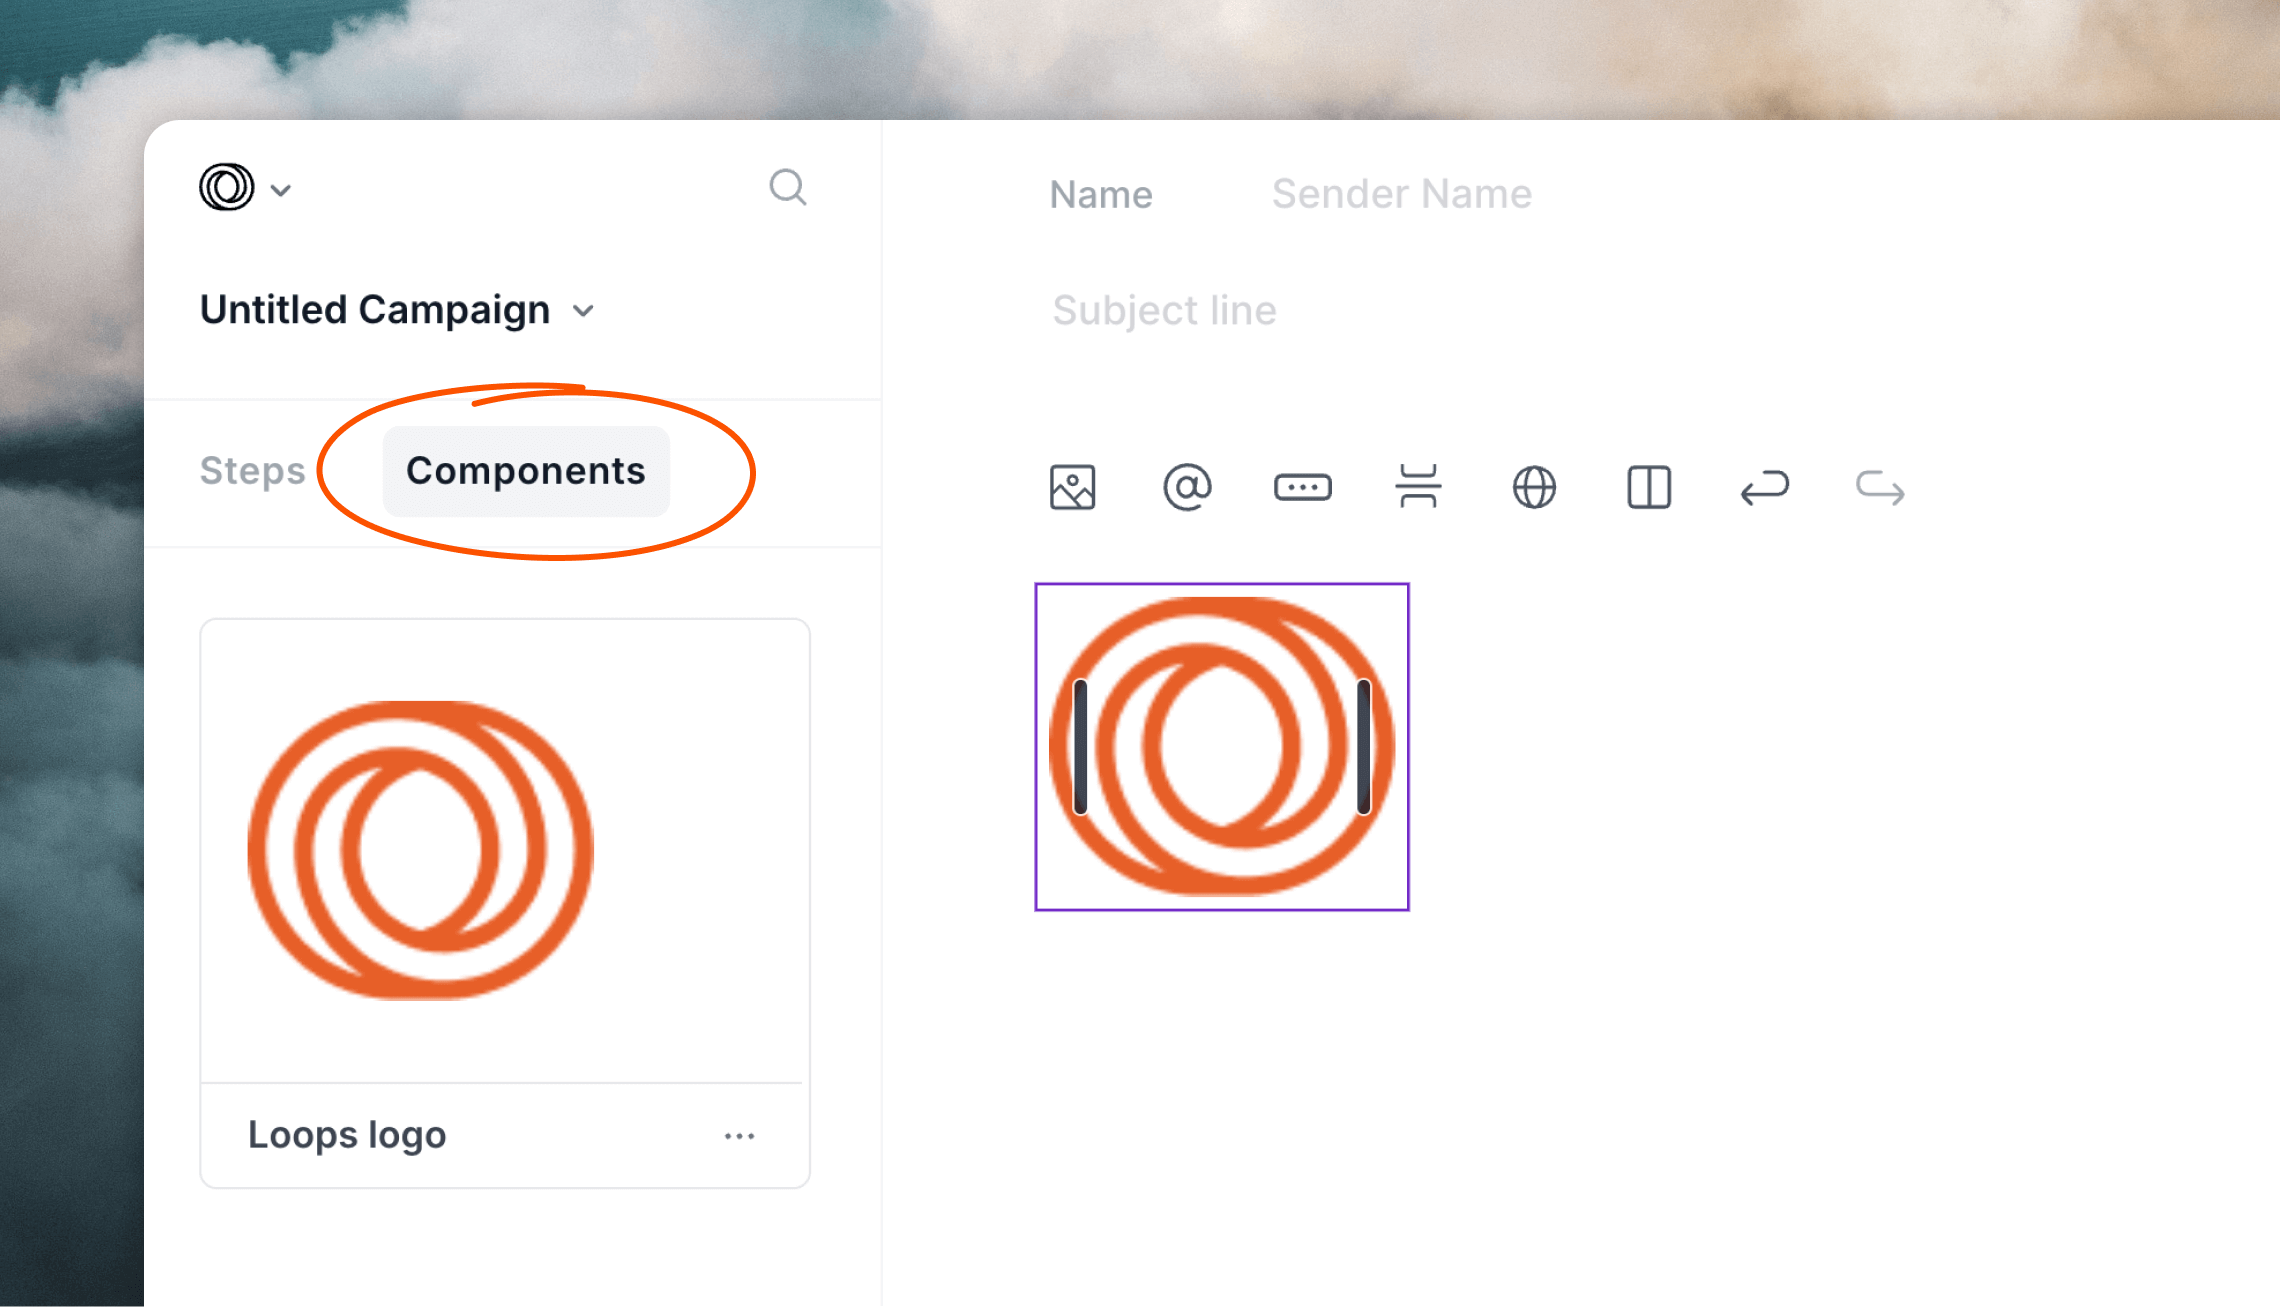
Edit a component
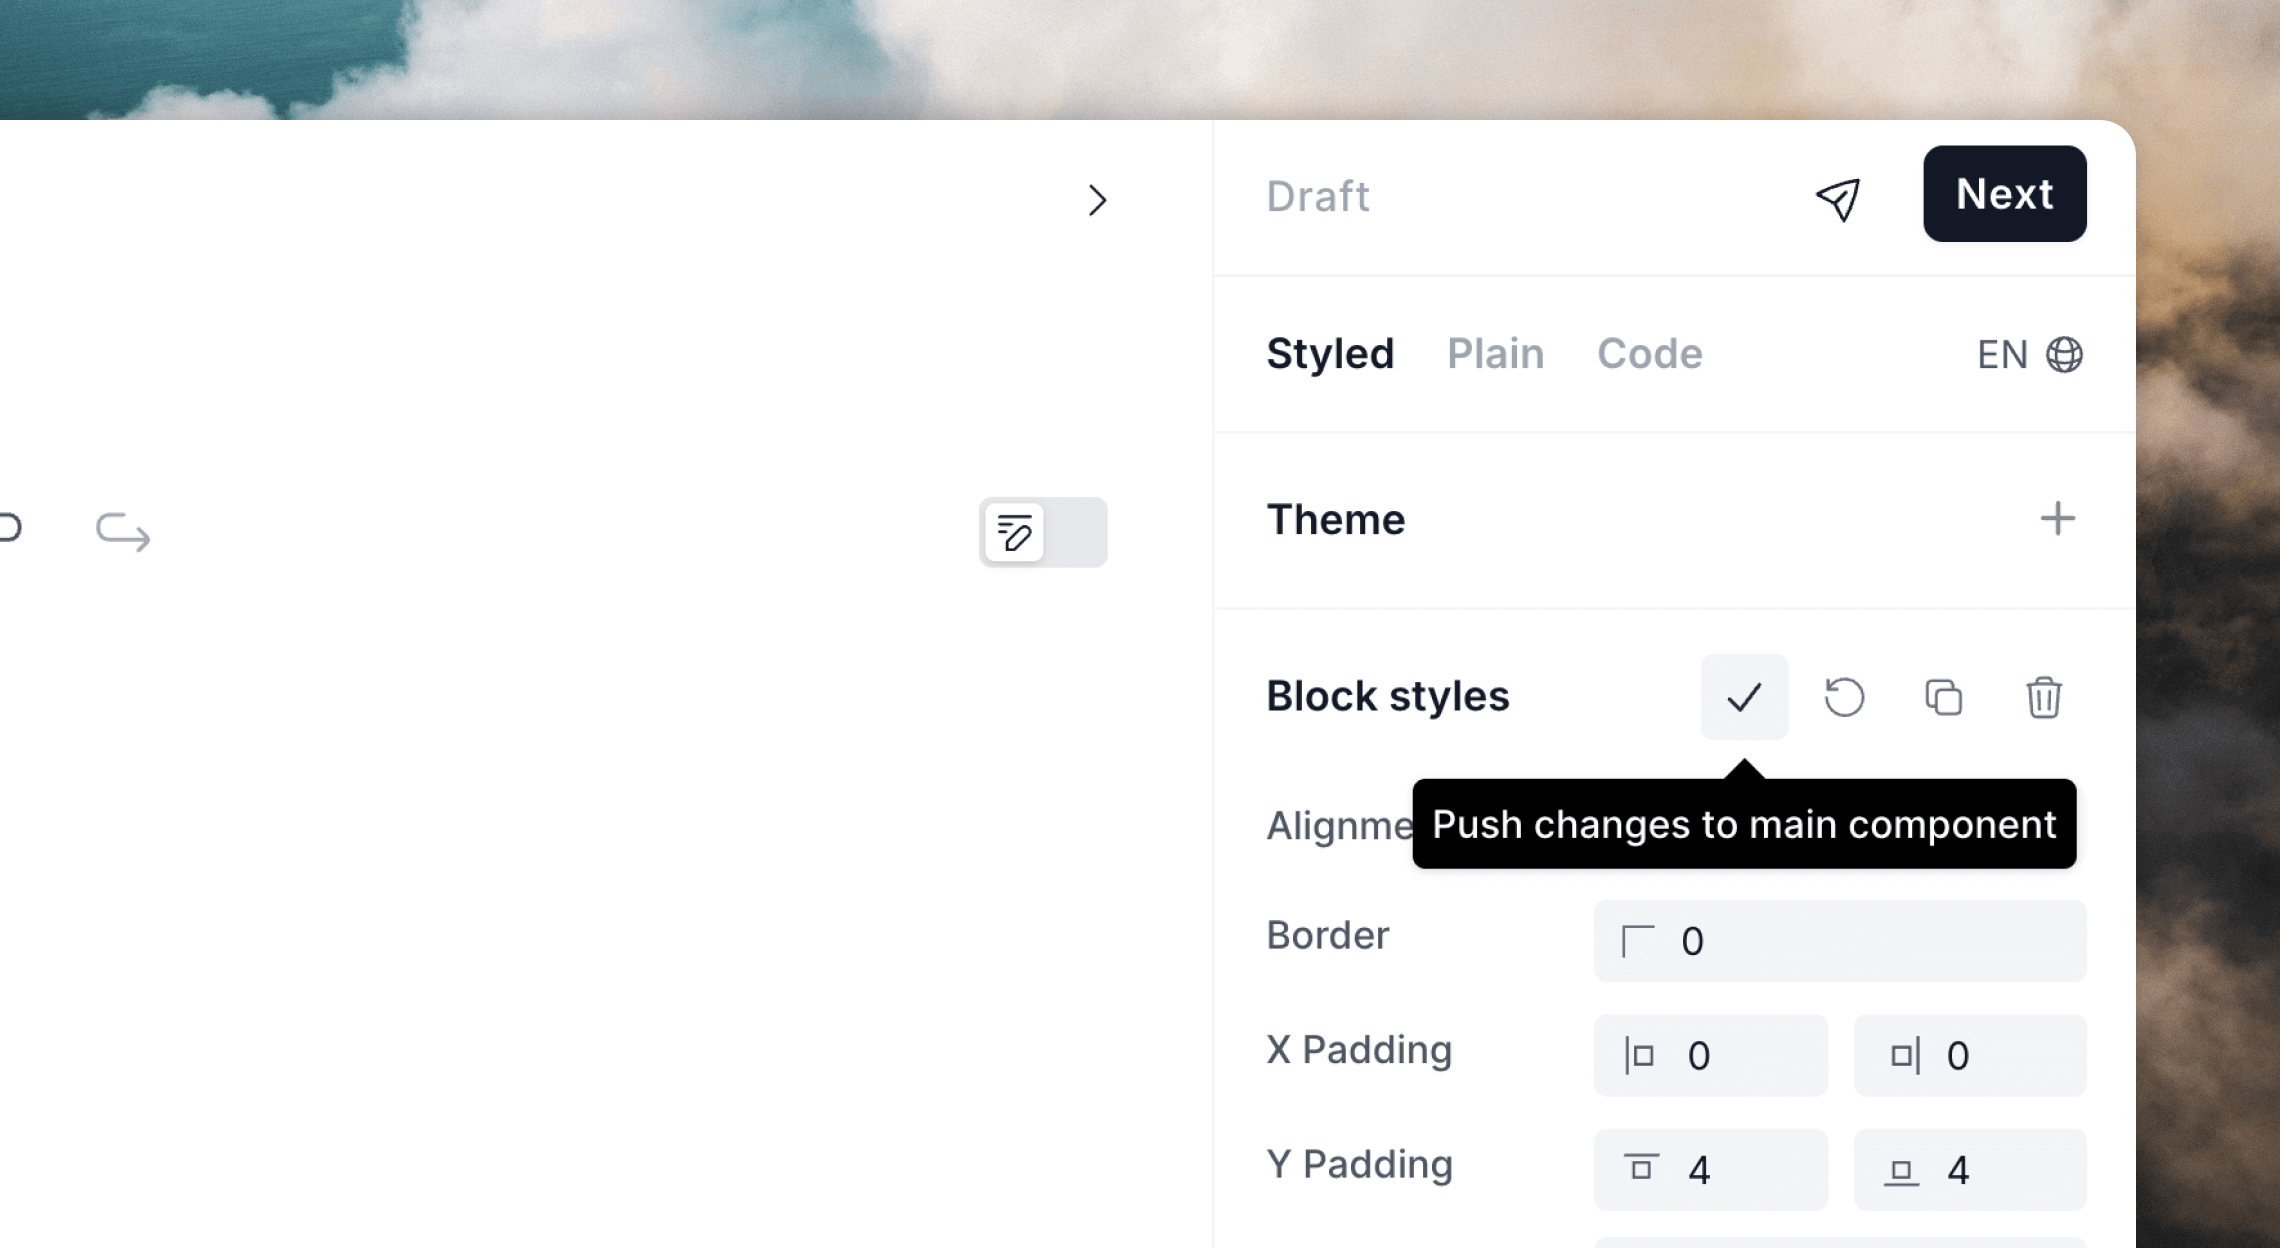
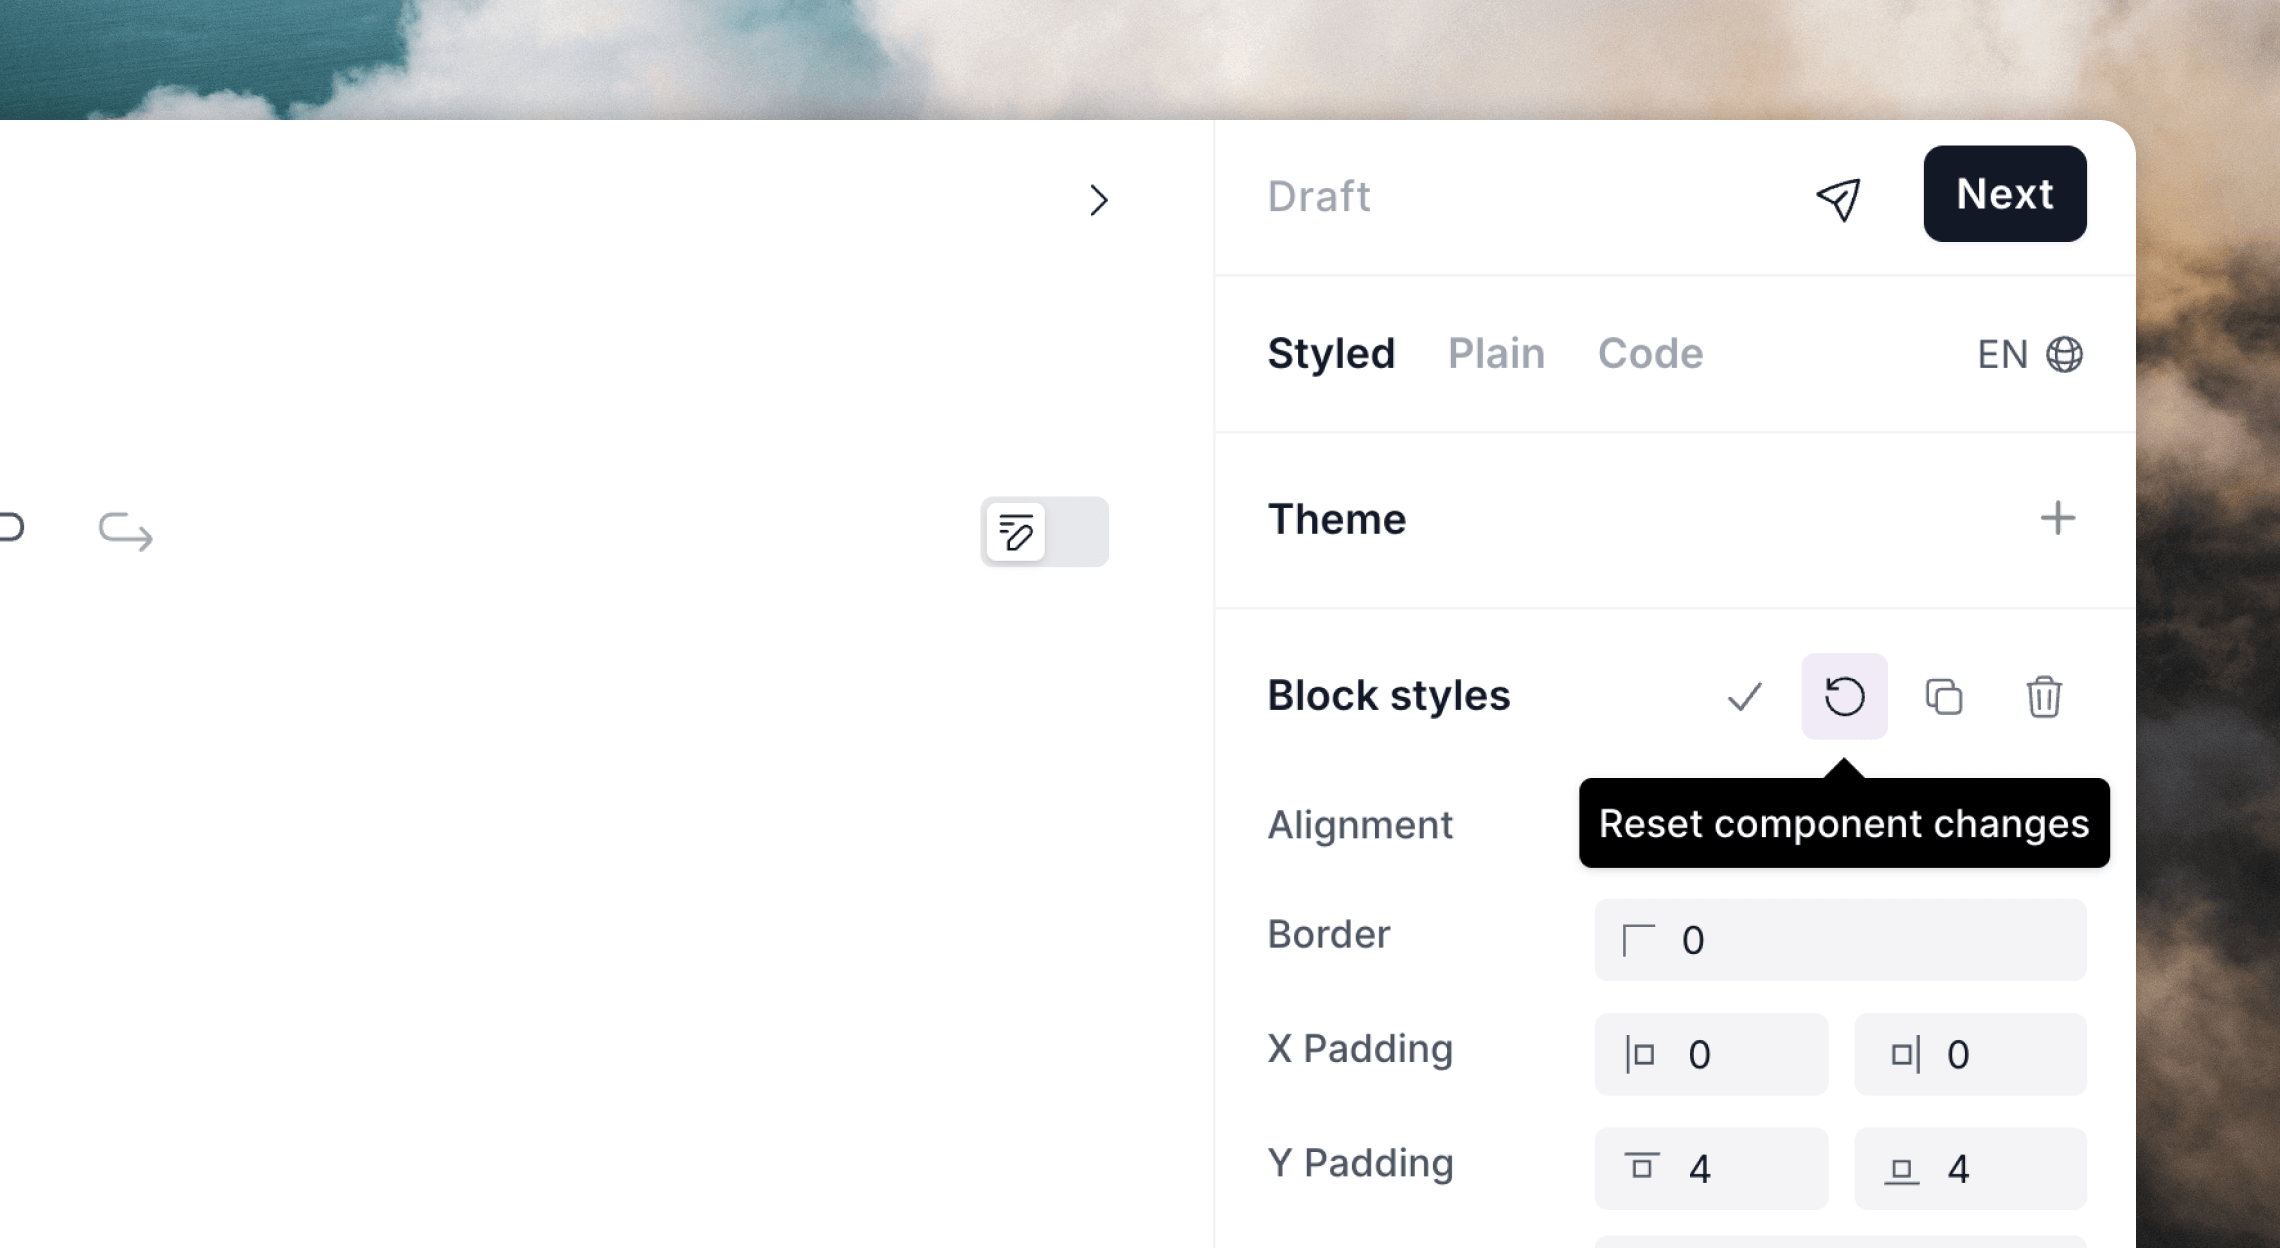
To edit a component, edit its content as you would any other part of your email. This will create local edits to that single instance; these edits are not synced to other components in use elsewhere. This means you can make tweaks and changes to a single instance of a component without updating all other instances. If a component has local edits, you will notice the Push changes and Reset changes icons are now active.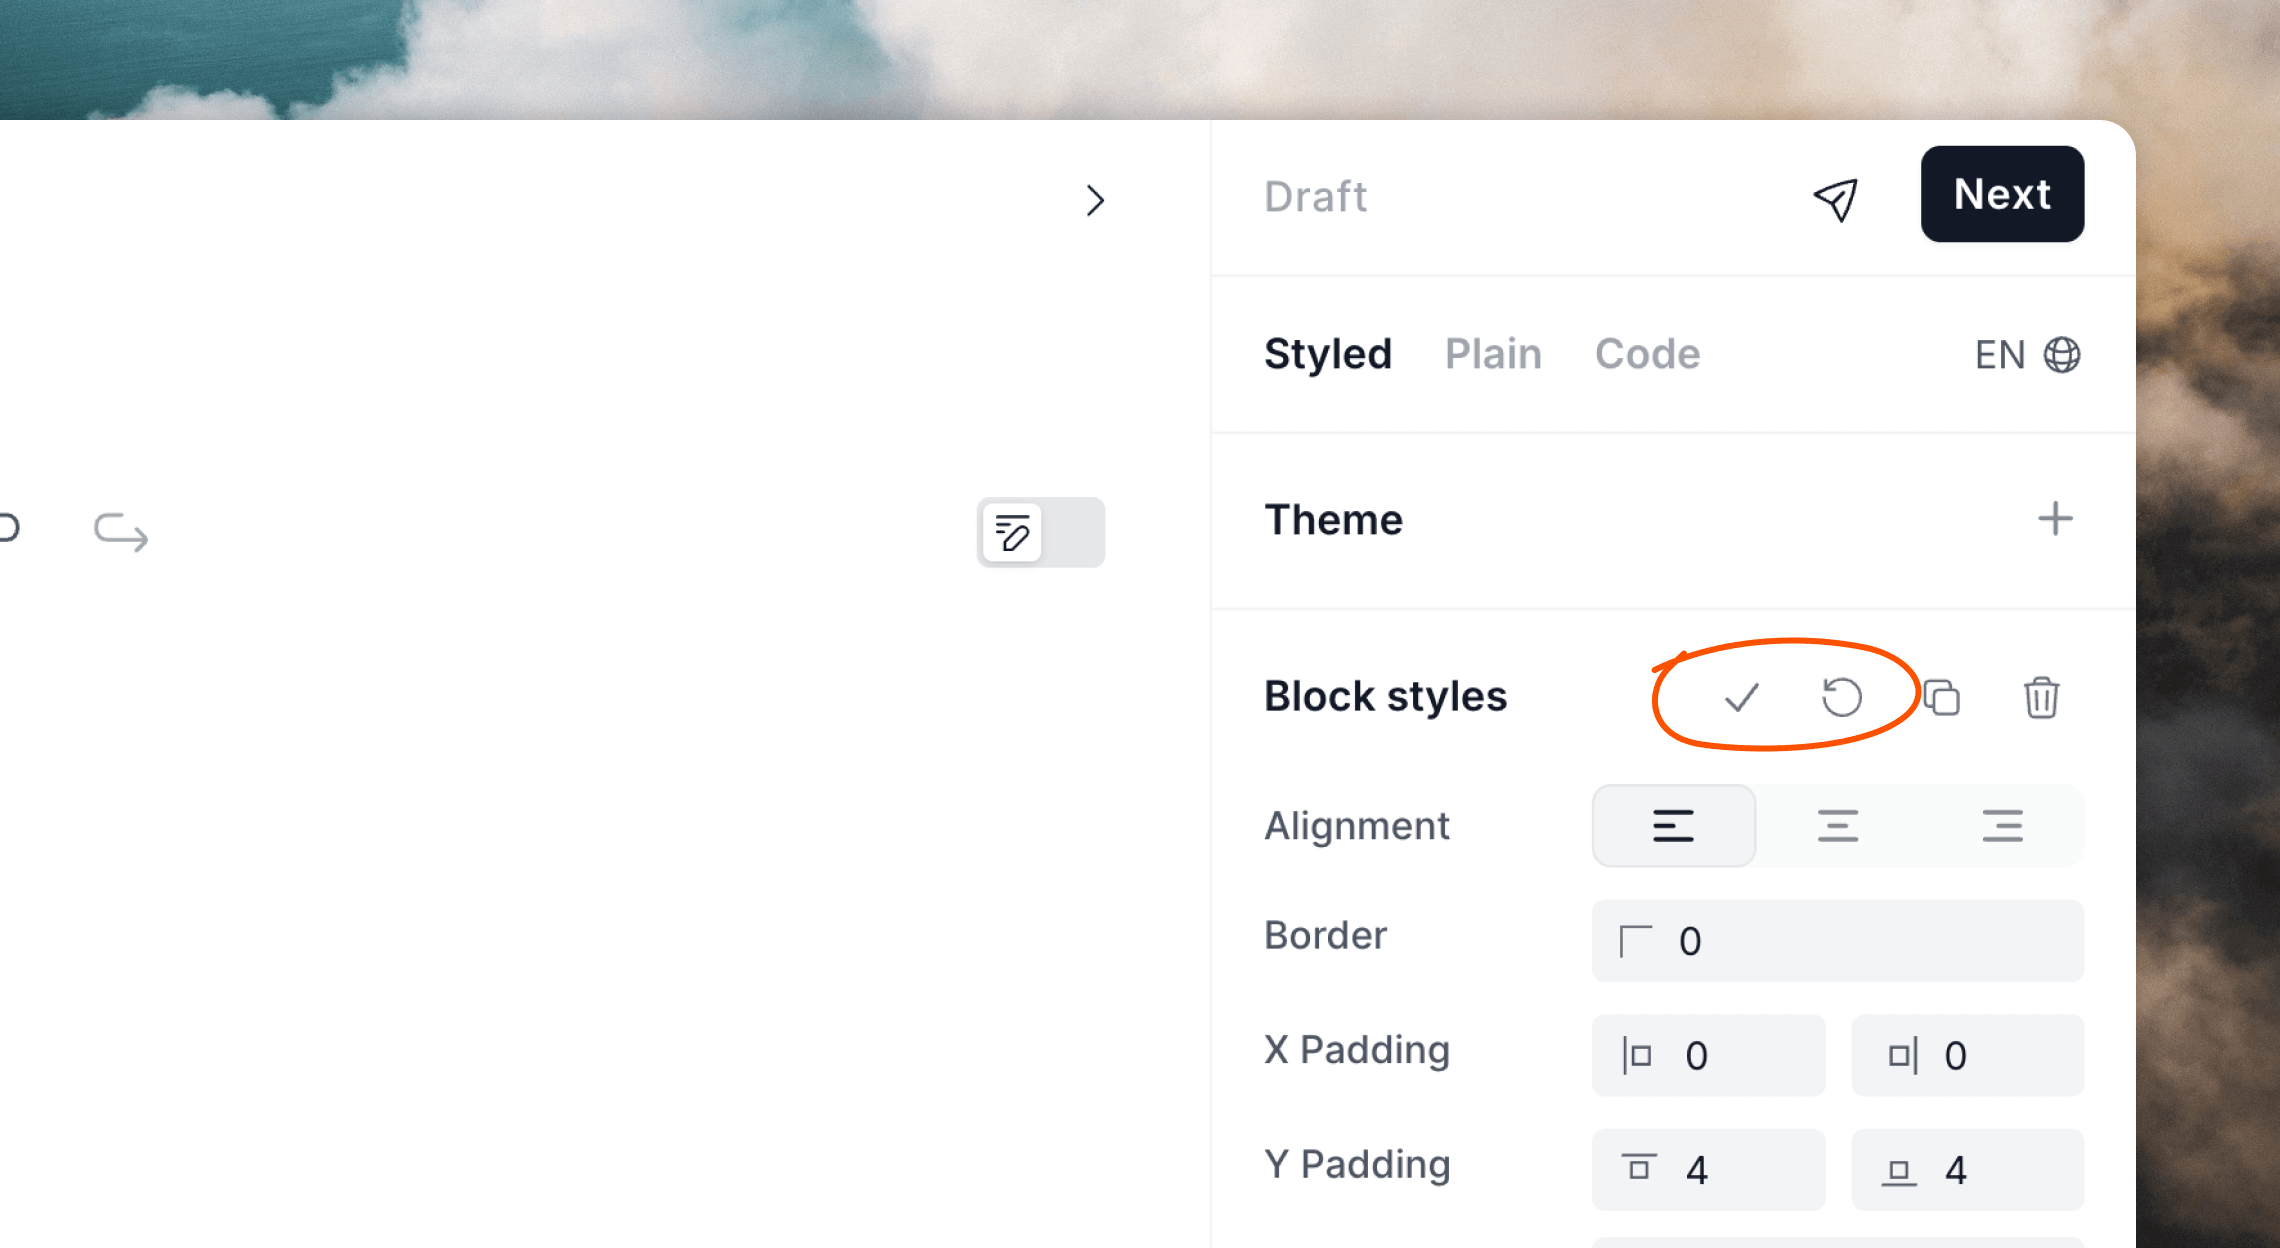
Rename a component
In the Components list, find the component you want to rename, then click the••• menu icon. Click on Rename to show the rename modal.
Enter a new name and click Rename.
Delete a component
In the Components list, find the component you want to delete, then click the••• menu icon. Click on Delete to show the confirmation modal.
Click Delete to delete the component.