> button to reveal all of the fields.
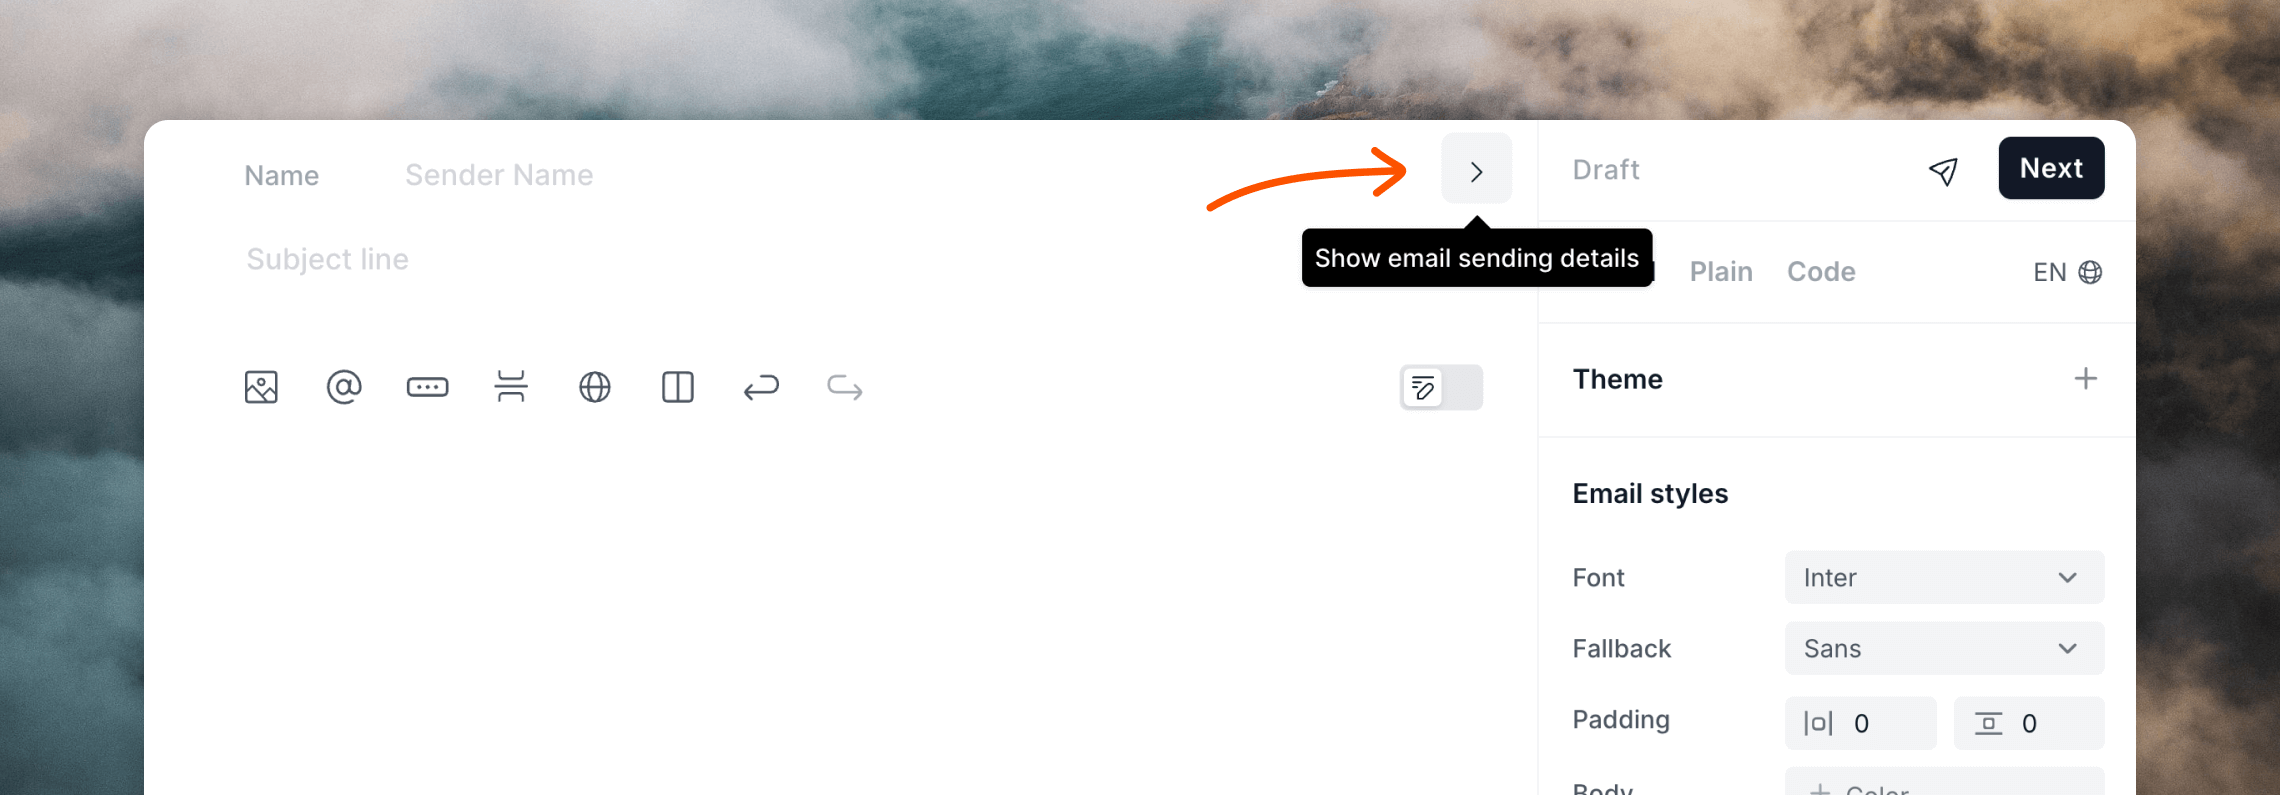
Subject and Preview
These two fields let you specify the text that is shown in email lists in email clients. The Subject field should be short and concise. We recommend using a subject line of less than 50 characters and 10 words. This helps to get your point across while also keeping within cut-offs for different email clients. The Preview field can be used as a sub-title or introduction to your email. It is typically displayed next to or below your subject in email clients. Note that some email clients do not display previews or offer settings for users to hide previews. If you do not add a preview to your email, sometimes the beginning of your email content will be displayed instead.Name, From and Reply
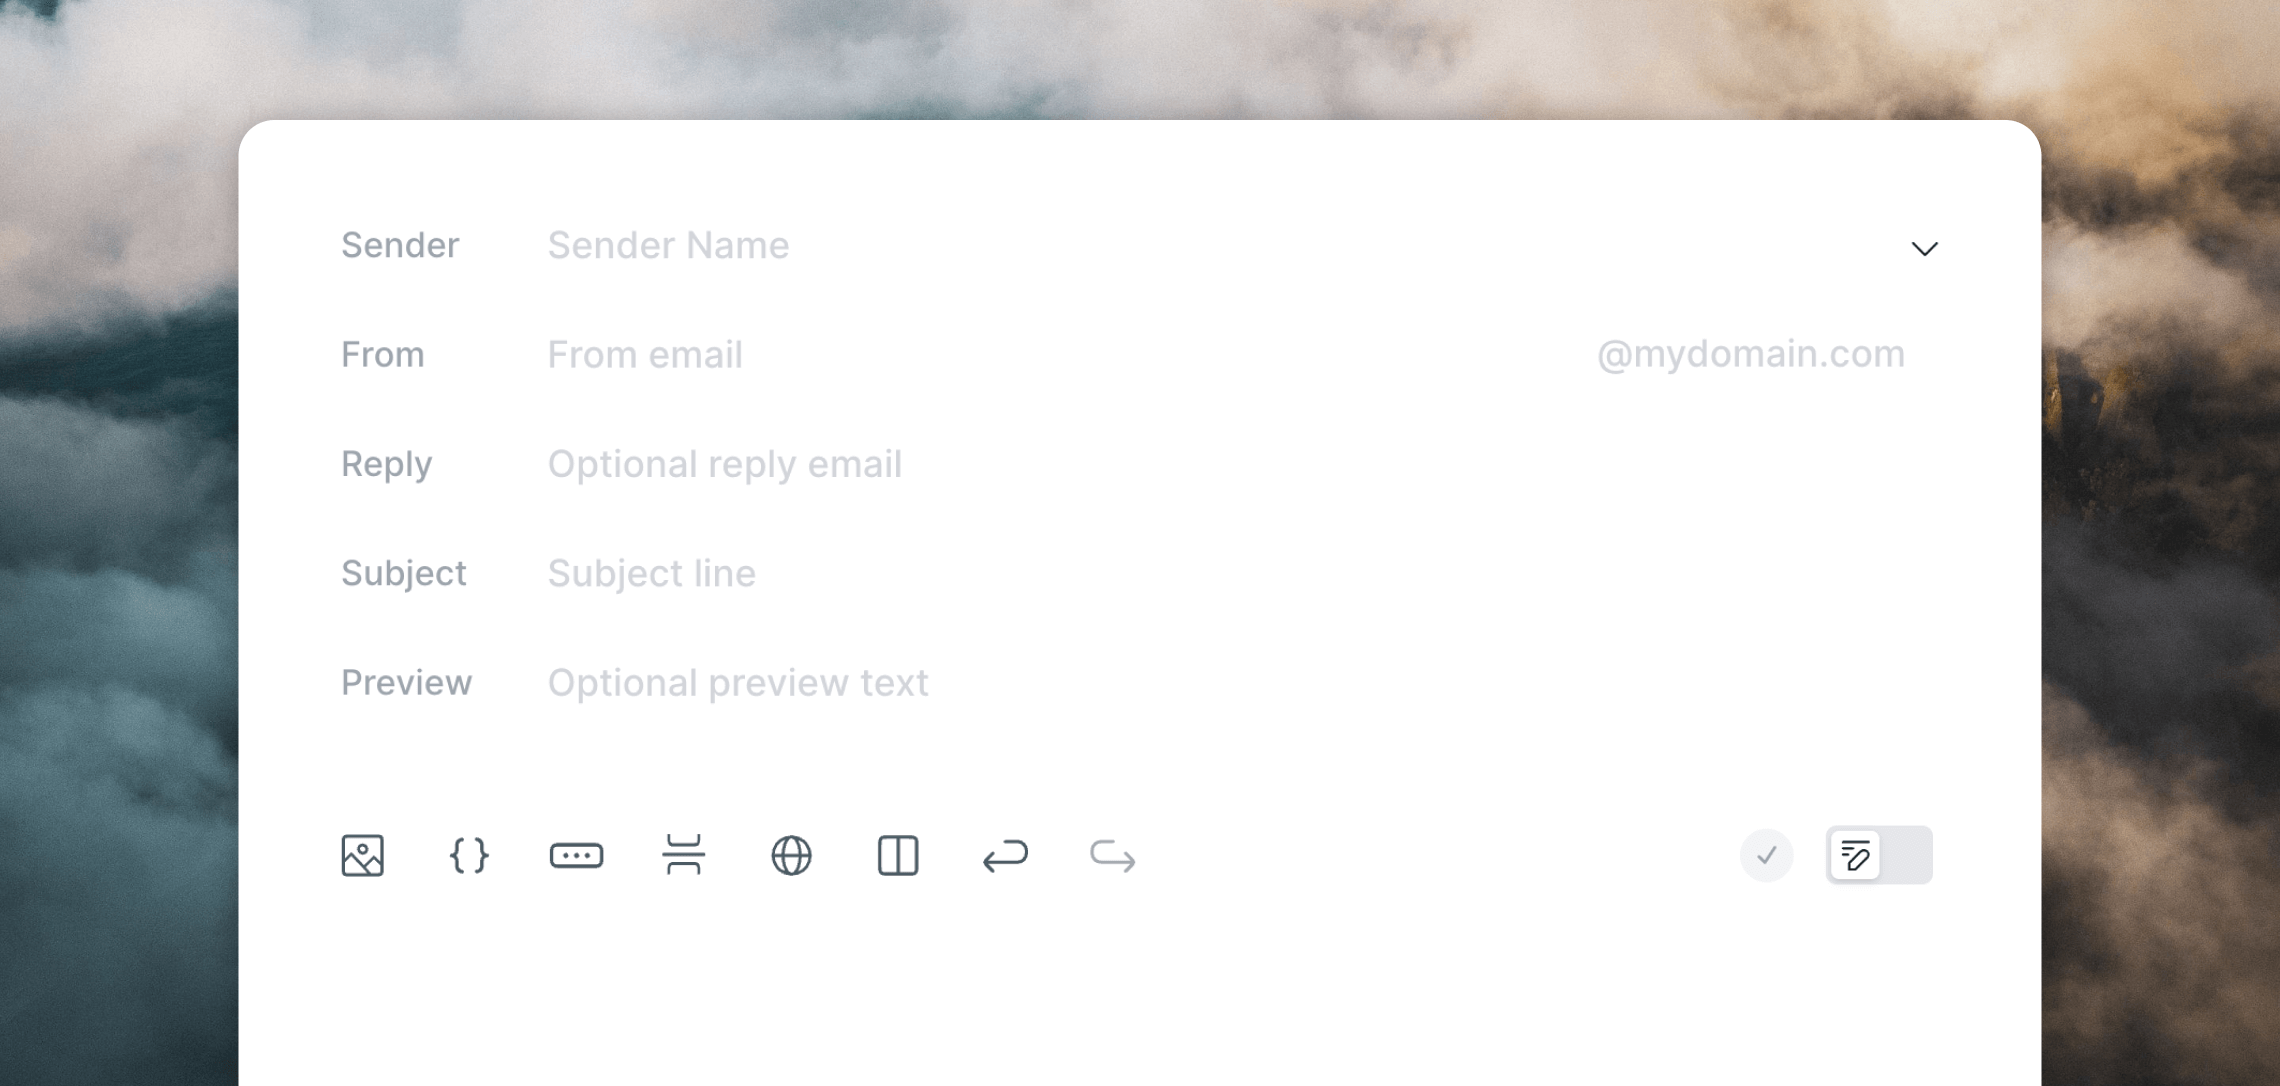
When you create a new email, we automatically inherit the most recently used email address in the From field to save you time.
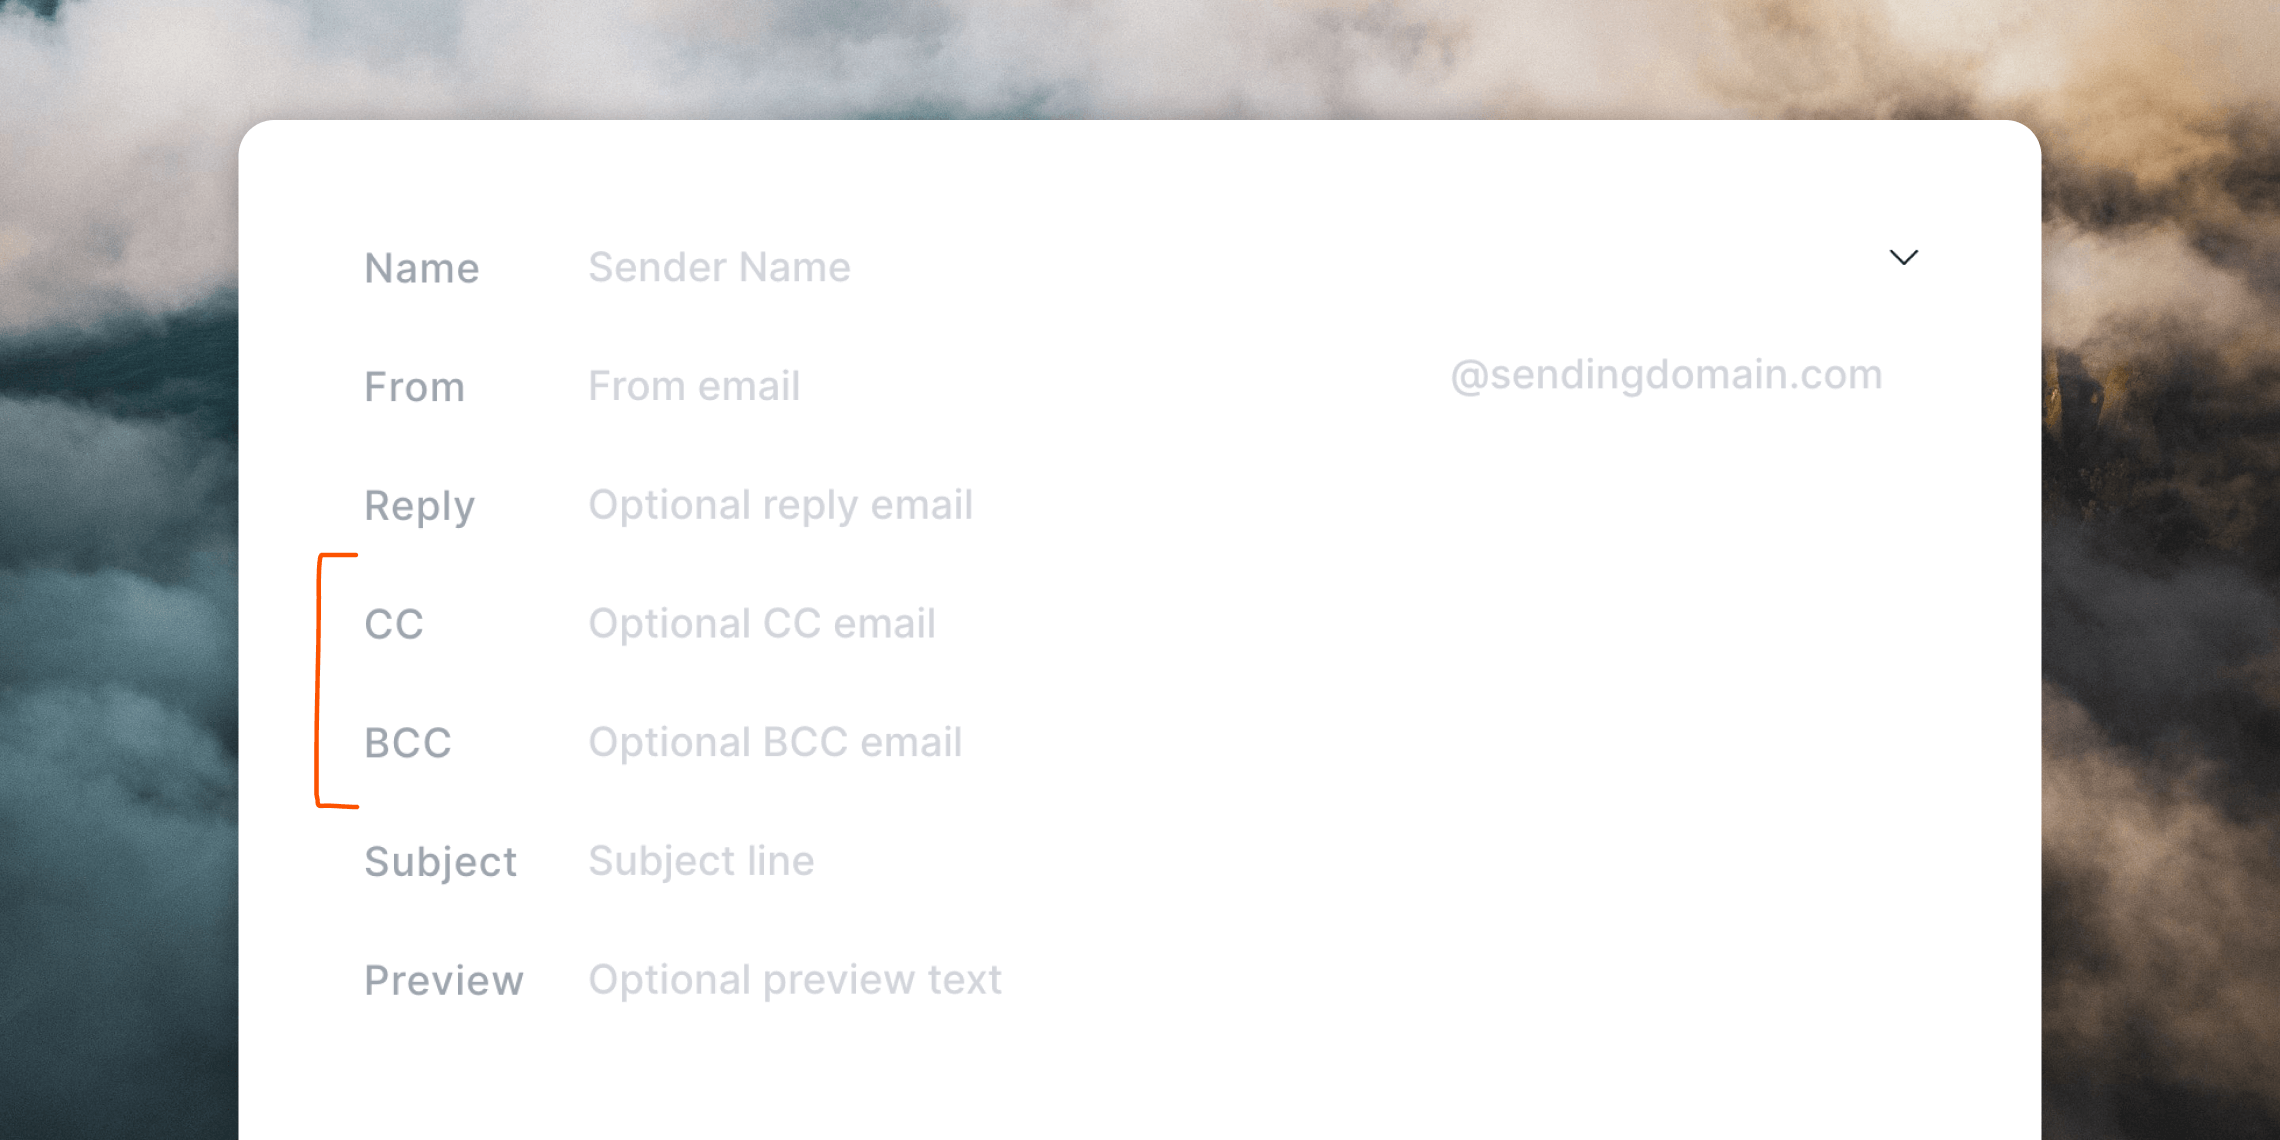
CC and BCC
For transactional emails and loops, you have the option to add a single CC and BCC address, which will send duplicates of each email to the addresses you specify. Make sure to first enable this option in your Tracking settings to enable these fields in the email editor.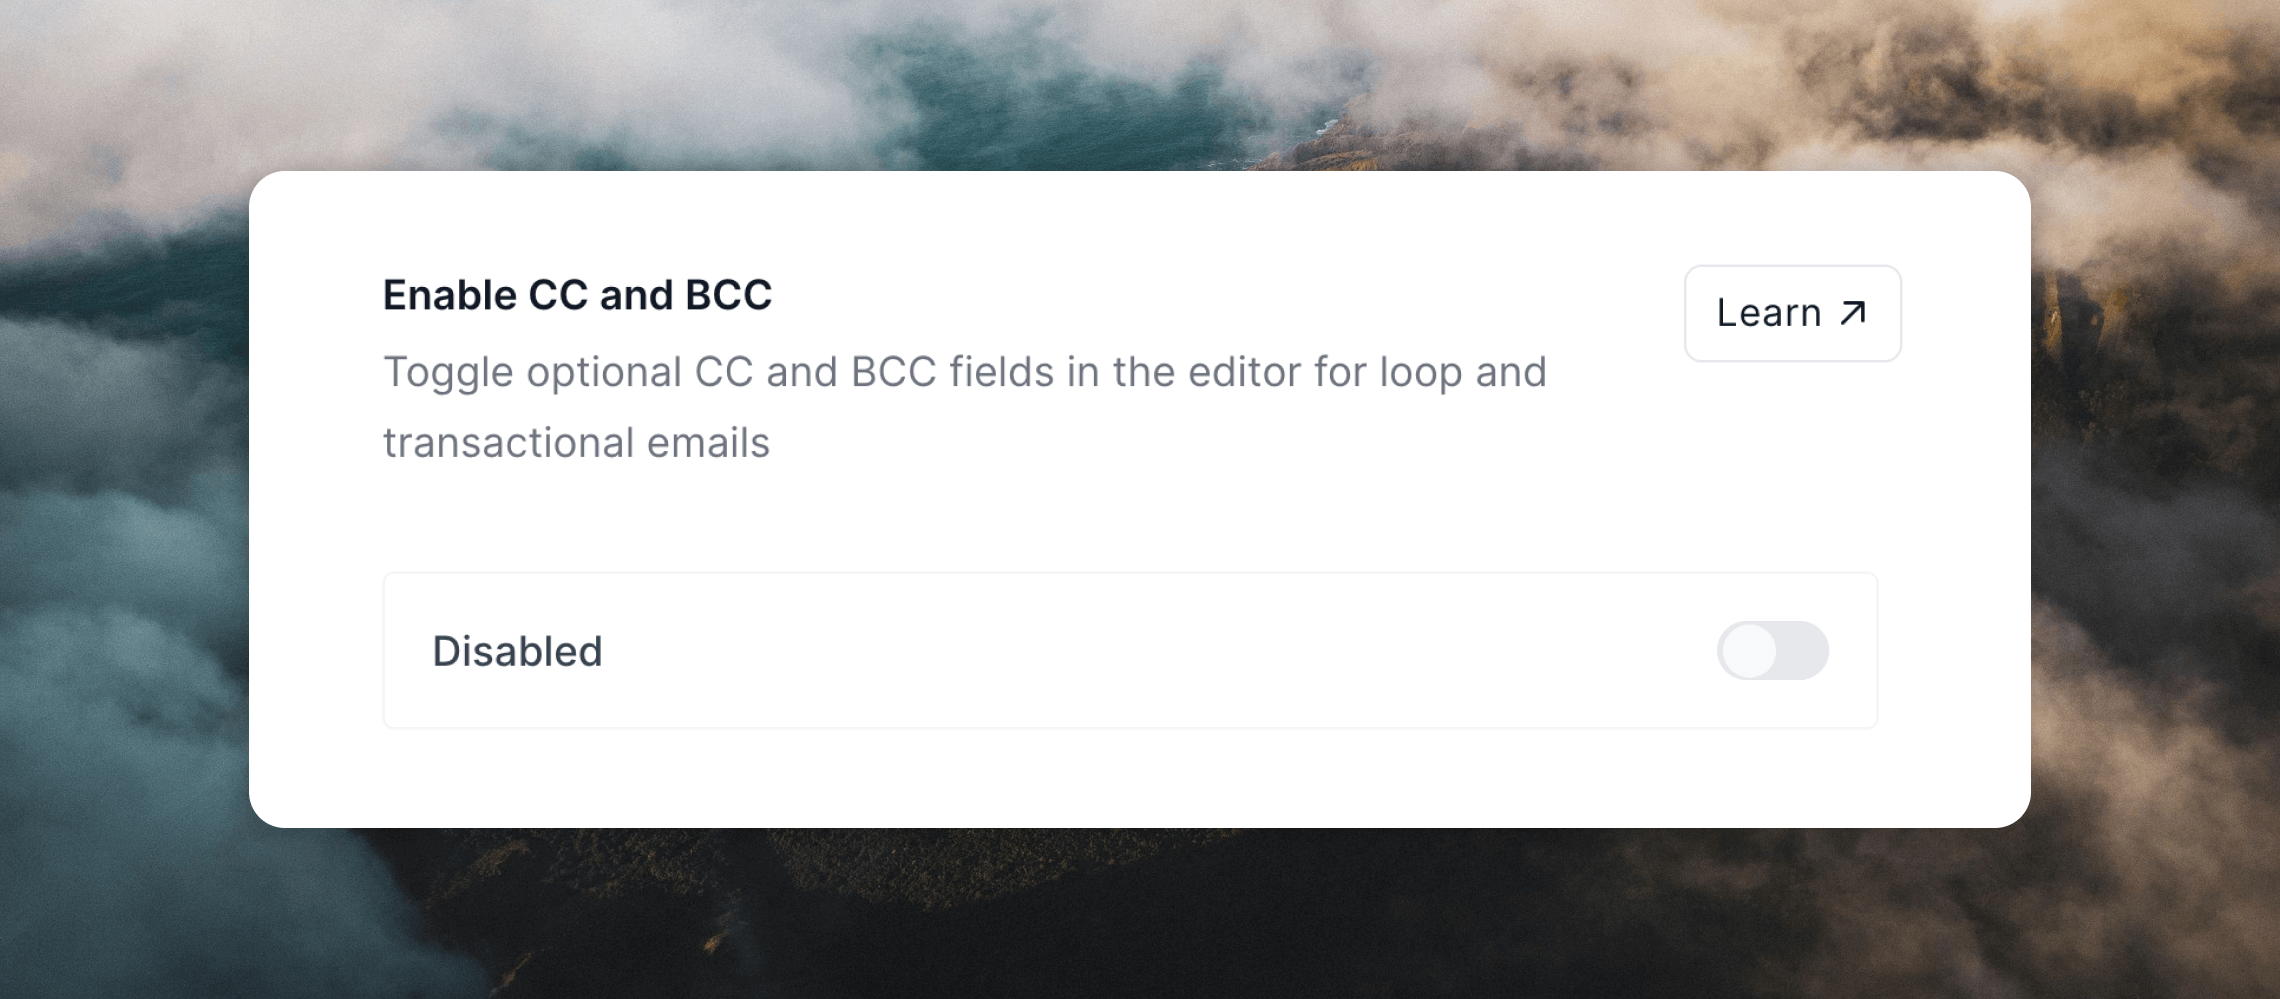
Dynamic content
You can include dynamic variables in every sending settings field, which lets you personalize them for each recipient. This works for all of your campaigns, loops and transactional emails. Just click the contact property icon (campaigns), event property icon (loops) or data variable icon (transactional emails) that appears when you hover over each field.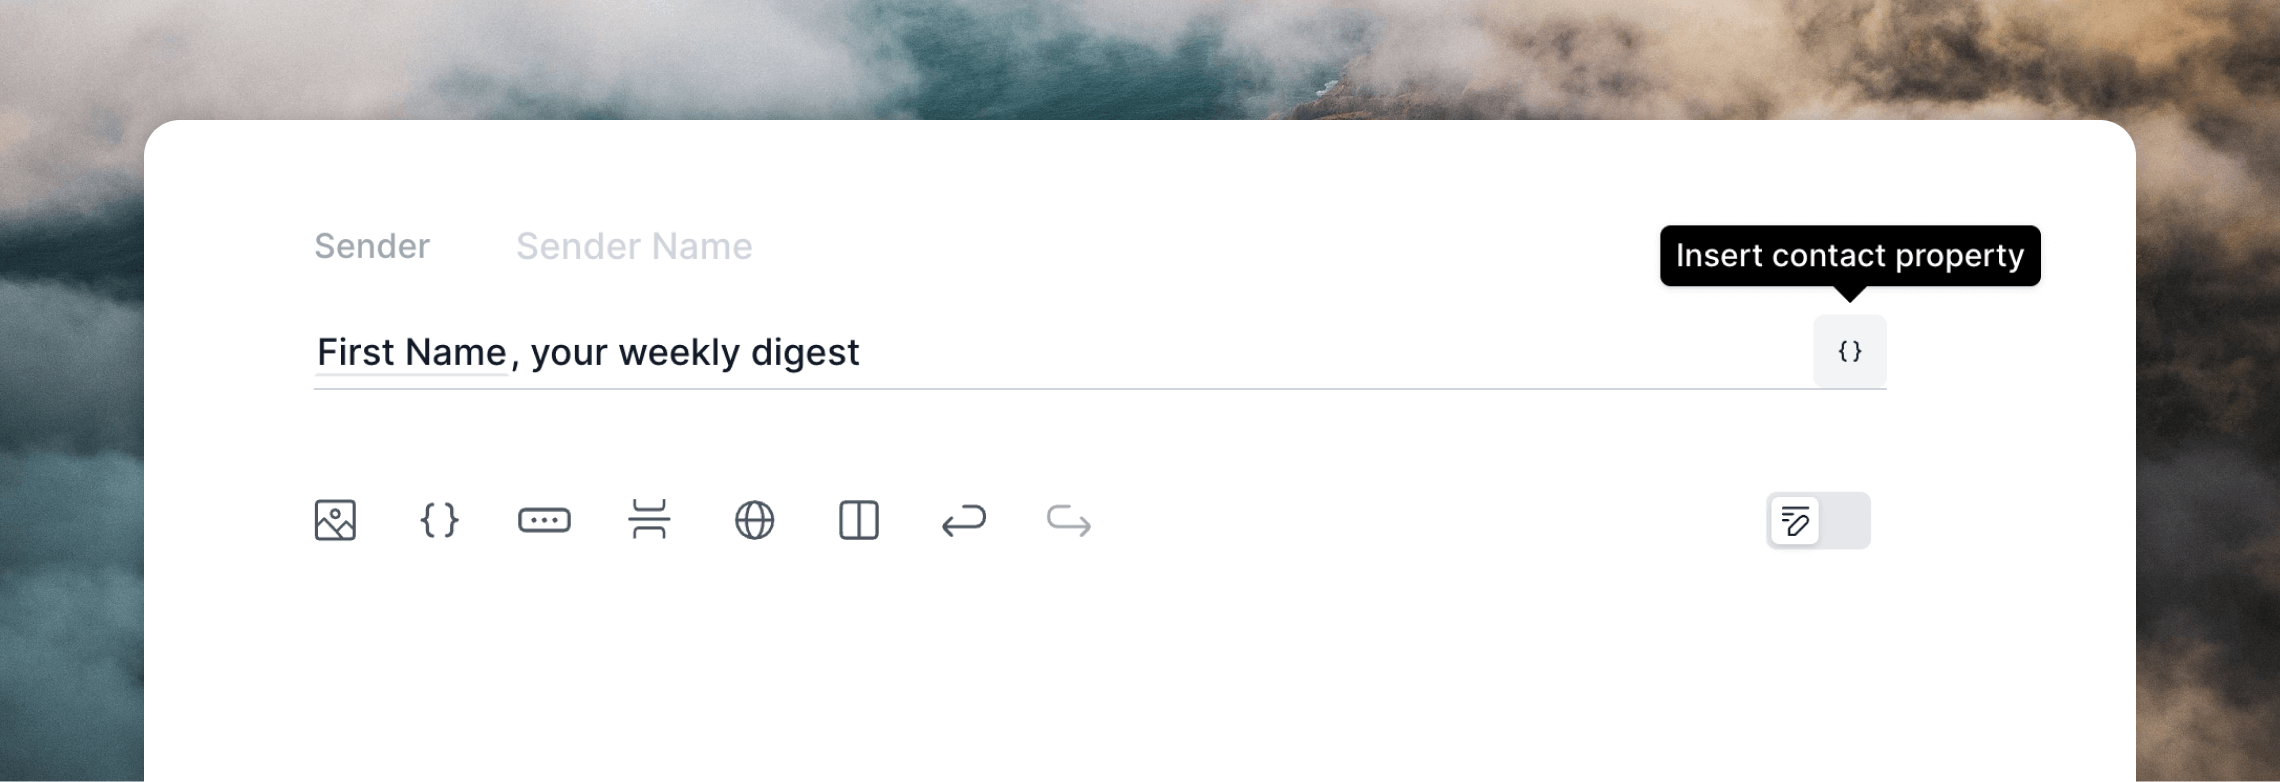
Loop example
In a loop email, you can use event properties to add dynamic content to fields. For example, you could insert aproductName property into the Subject field:
Thank you for your purchase of productName!
Then when sending the event to trigger the loop, include productName:
Transactional email example
In a transactional email, an example would be areplyTo variable added into the Reply field, which would let you set a specific reply email address for every email.
To send this data over the API, add a replyTo attribute to your transactional payload:

