Create the workflow and event
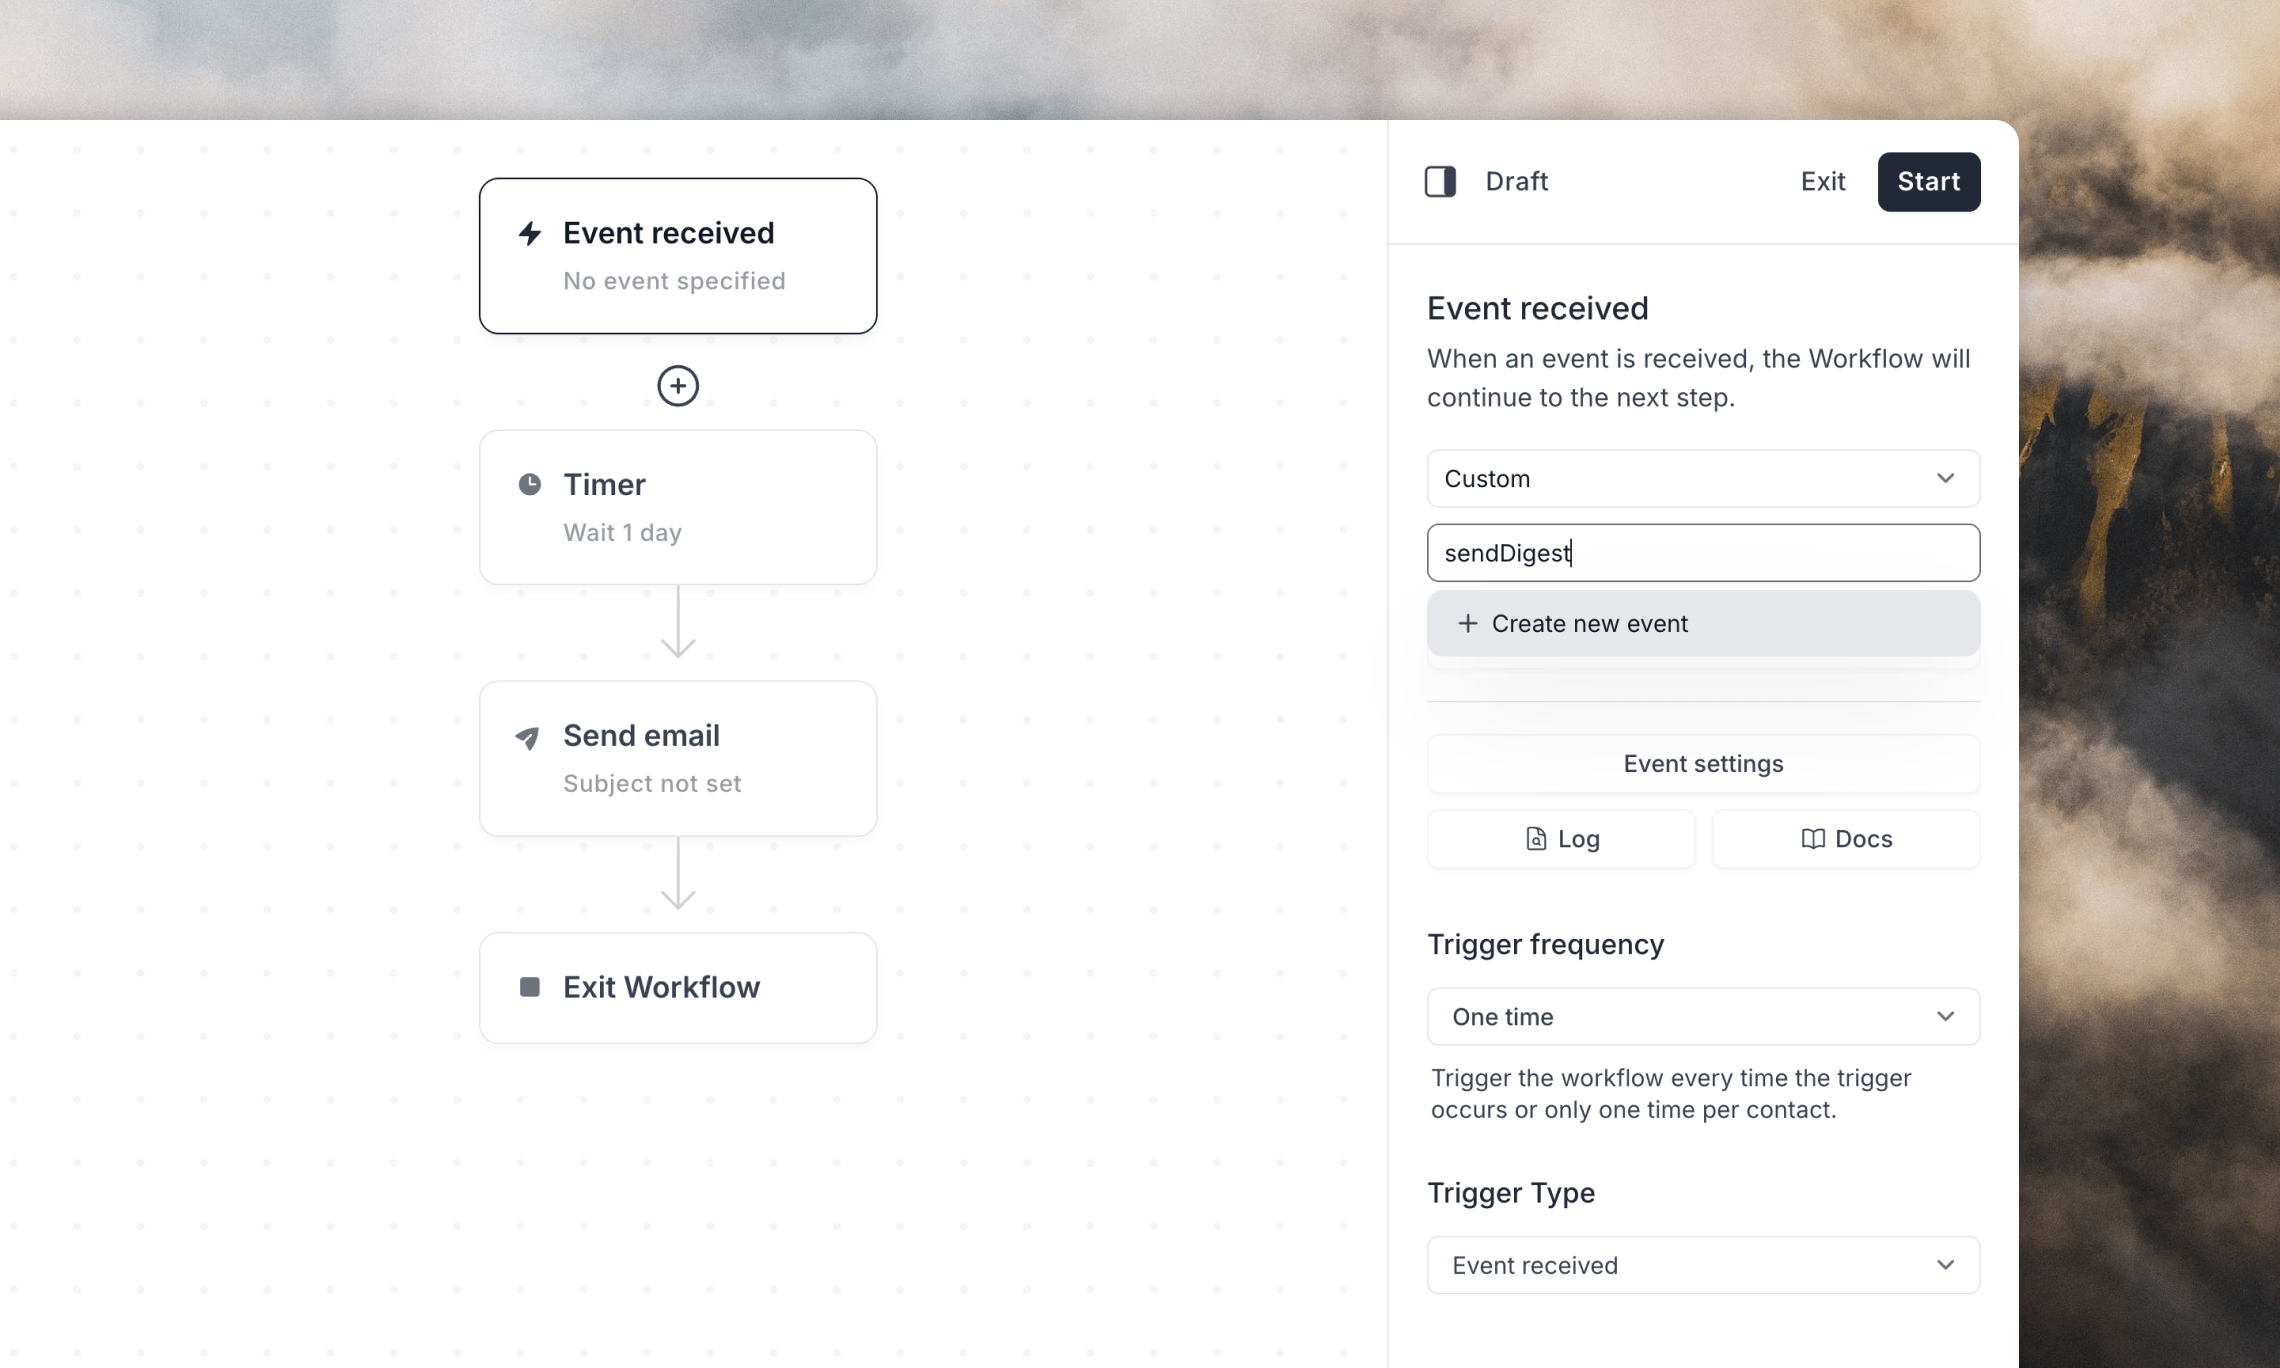
Go to the Workflows page and create a new workflow. Choose the Event is fired trigger. You will enter the workflow editor. Click on the Event received node and type the name of your event in the inspector panel on the right-hand side. You can reuse an existing event or create a new one from this input. For example, you can use a name likesendDigest and then click + Create new event.
Create your email
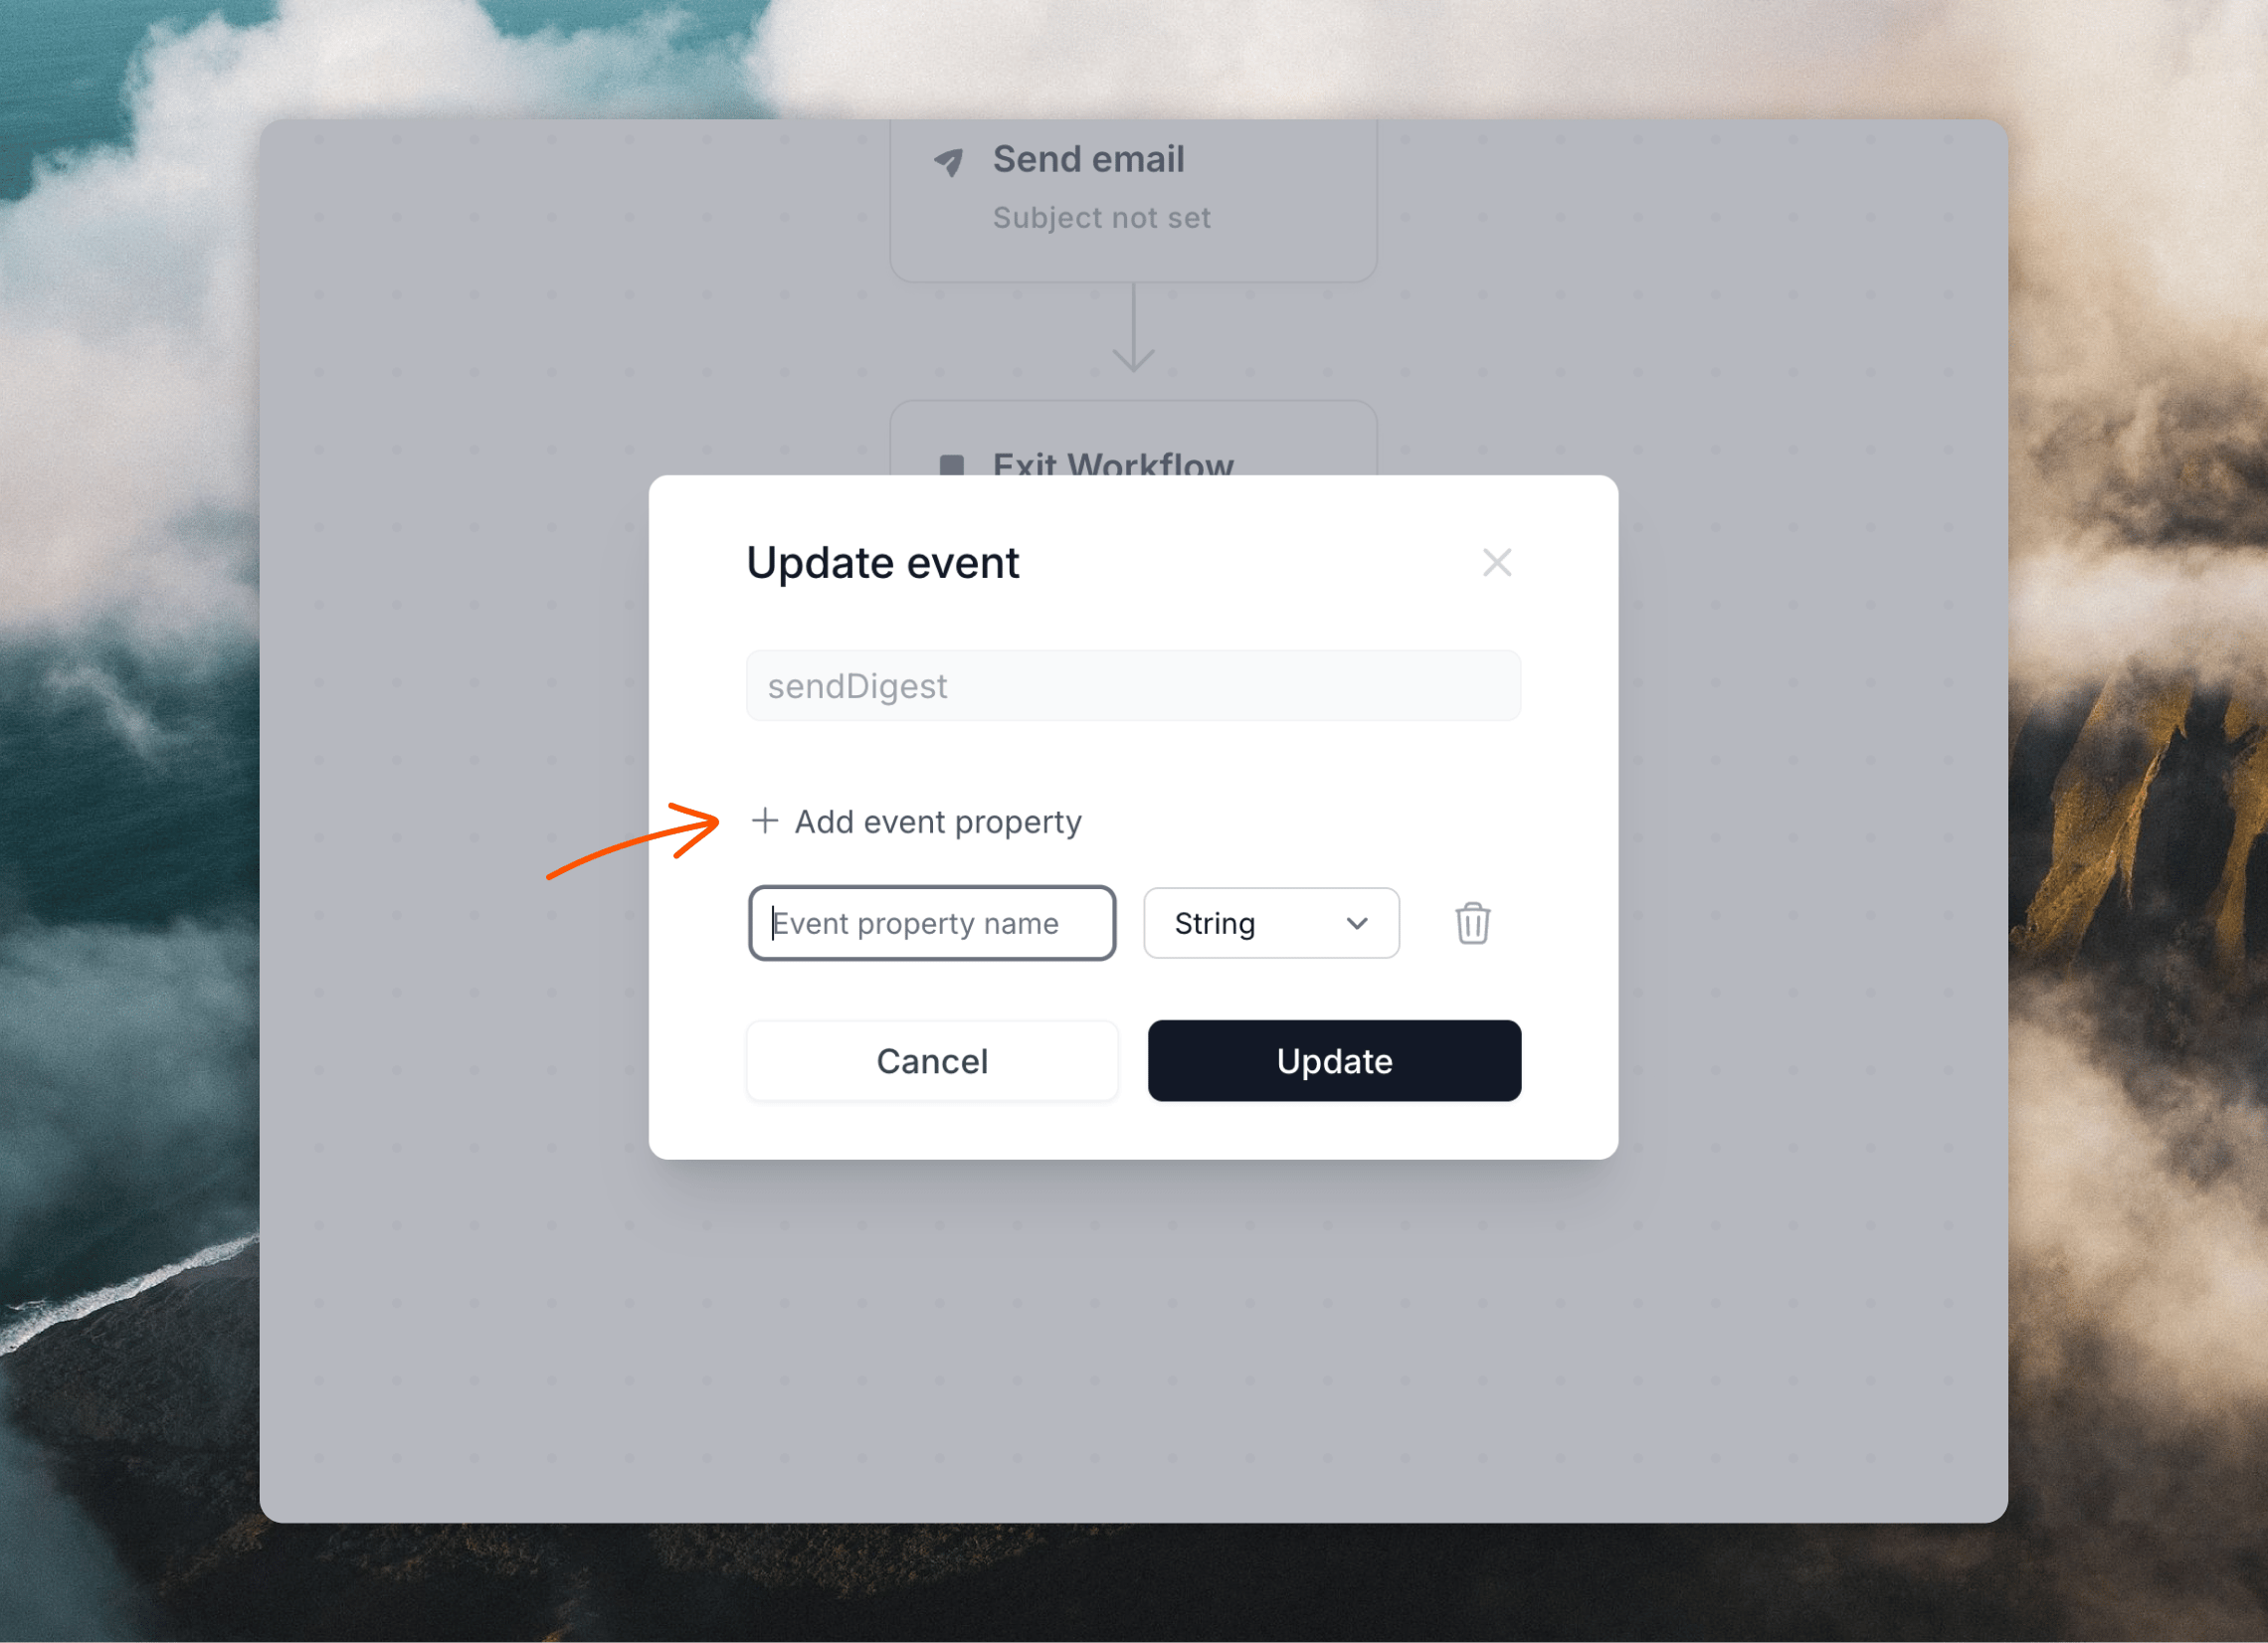
The next step is to create the email you send to each contact. Click on the Send email node and then Create email. This will open the email editor, where you can create your email. When you want to add the event properties you created in the previous step, click the⚡️ button above the editor (1) and then configure in the Event Property editor panel (2).

Trigger events
To send events to Loops you can use an integration, an SDK or our API. With the API, it’s just a case of making a request to the Send event endpoint containing the contact’s details, the event name and your event properties.Learn more
Workflows
Learn about creating email workflows.
Workflow Triggers
Read more about triggering emails with events.
Personalizing emails
Learn how to add dynamic data to your emails.
API Reference
Find out how to send events using our API.