- Acquisition emails are emails sent after a user signs up for a waitlist, platform or newsletter.
- Onboarding emails help brand new users get familiar with—and get the most out of—your product.
- Retention emails keep your users engaged long-term.
- Re-engagement emails attempt to get users active again if they haven’t used your platform recently.
- Dunning emails help reduce churn by prompting the user to re-activate a subscription or fix payment issues.
- Re-activation emails attempt to bring users back after a cancellation.
How it works
To get this set up in Loops, the idea is to create a workflow for each of the types of email you want to send. So there would be a workflow for activation emails and a workflow for dunning emails and so on. A workflow is like an email sequence containing emails, time delays, audience filters and an initial trigger. We will use a custom contact property calledsubscriptionStatus to enter users into each of the workflows at different times in their subscriptions.
This property is used as the workflow trigger; if the property is ever changed using an integration or the Loops API, we trigger a workflow, which will send emails to the contact.
Add a contact property
First, let’s add the contact property to the audience in Loops. Go to your Audience page. Click on a table header to show the dropdown then select Add property. Enter “Subscription status” into the Name field and make sure String is selected in the “Type” field. (You’ll notice that the “stored name” of your property issubscriptionStatus. This is the name we’ll use in the API and integrations).
Click Add Property when you’re done. Your new property was added to the far right of the Audience table.
Update contacts
Now you can click on contacts and update the value manually one-by-one, or use the API or an integration to update contacts programmatically. To update contacts in bulk you can download your Audience as a CSV, update values and re-upload the file.Create workflows
The next step is to create the workflows, one for each type of email. Repeat the following step for each of the different subscription statuses you want to send emails for. Go to the Workflows page in your account and click New. Select the Contact update option, which will create a new workflow using that trigger.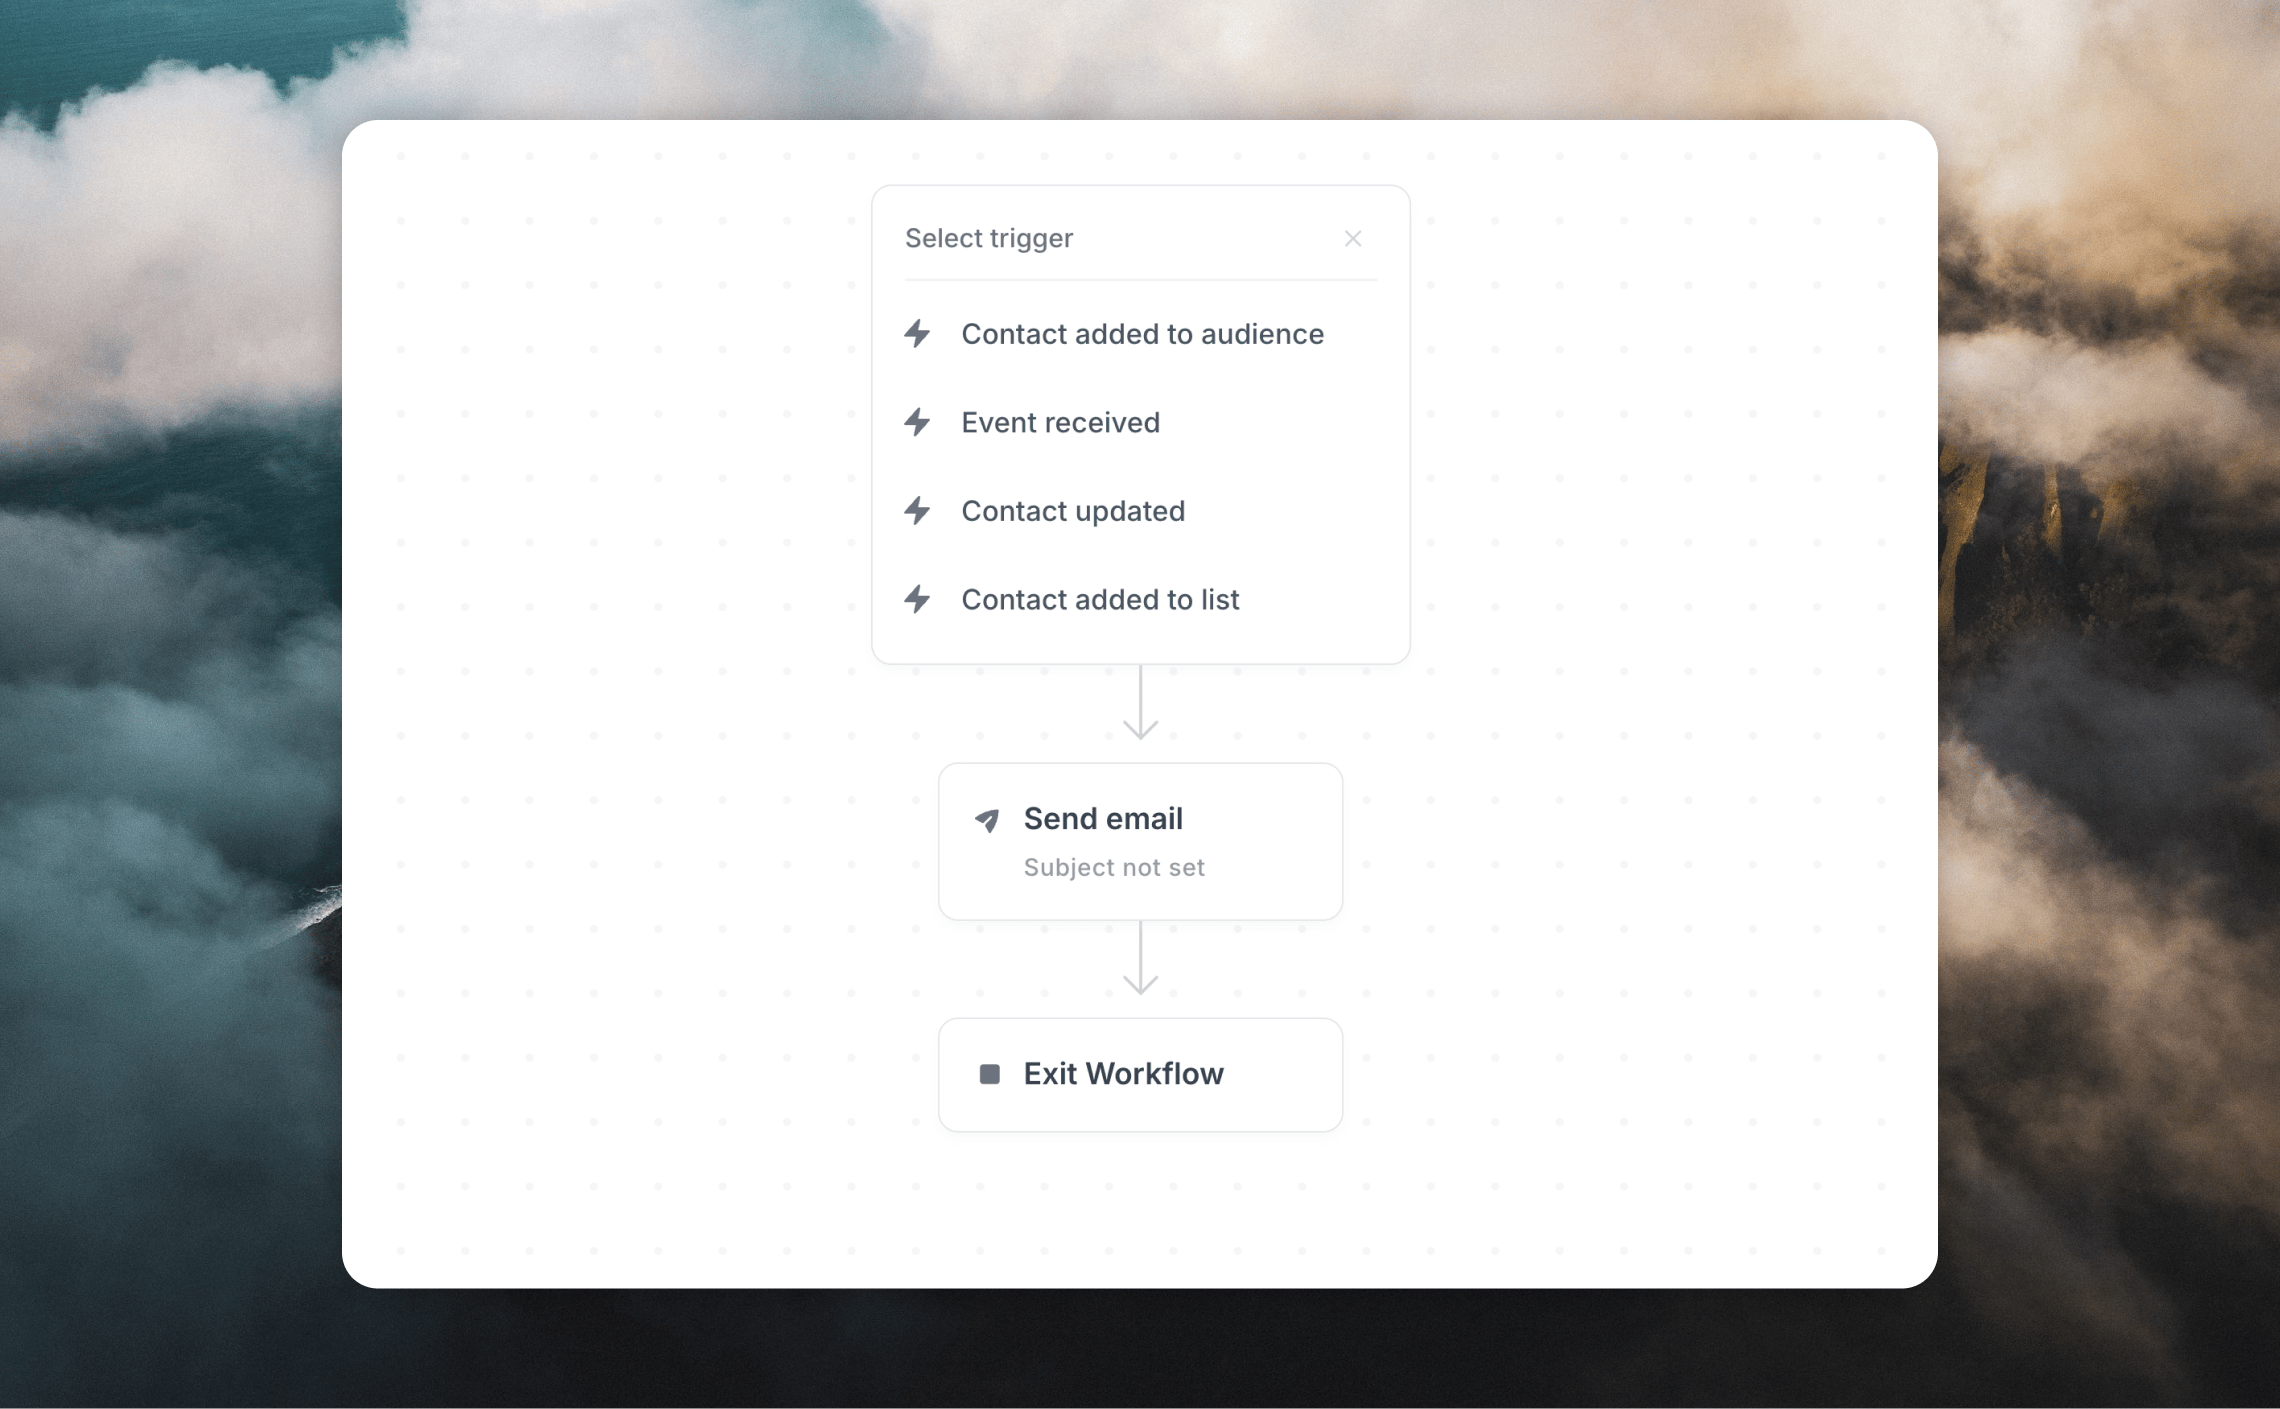
Set up the trigger
- Select the “Subscription Status” property from the When dropdown.
- The Changes from dropdown should have “Any value” selected.
- Next you need to specify what value Loops should look out for to enter users into the workflow. For example, for onboarding emails, you can choose “is empty” from the To dropdown. For re-activation emails select “Equals” from the To dropdown and enter a relevant value like “Canceled”.
- Trigger time should be set to “Every time”; this will make sure users are entered into the workflow every time that the Subscription Status value matches.
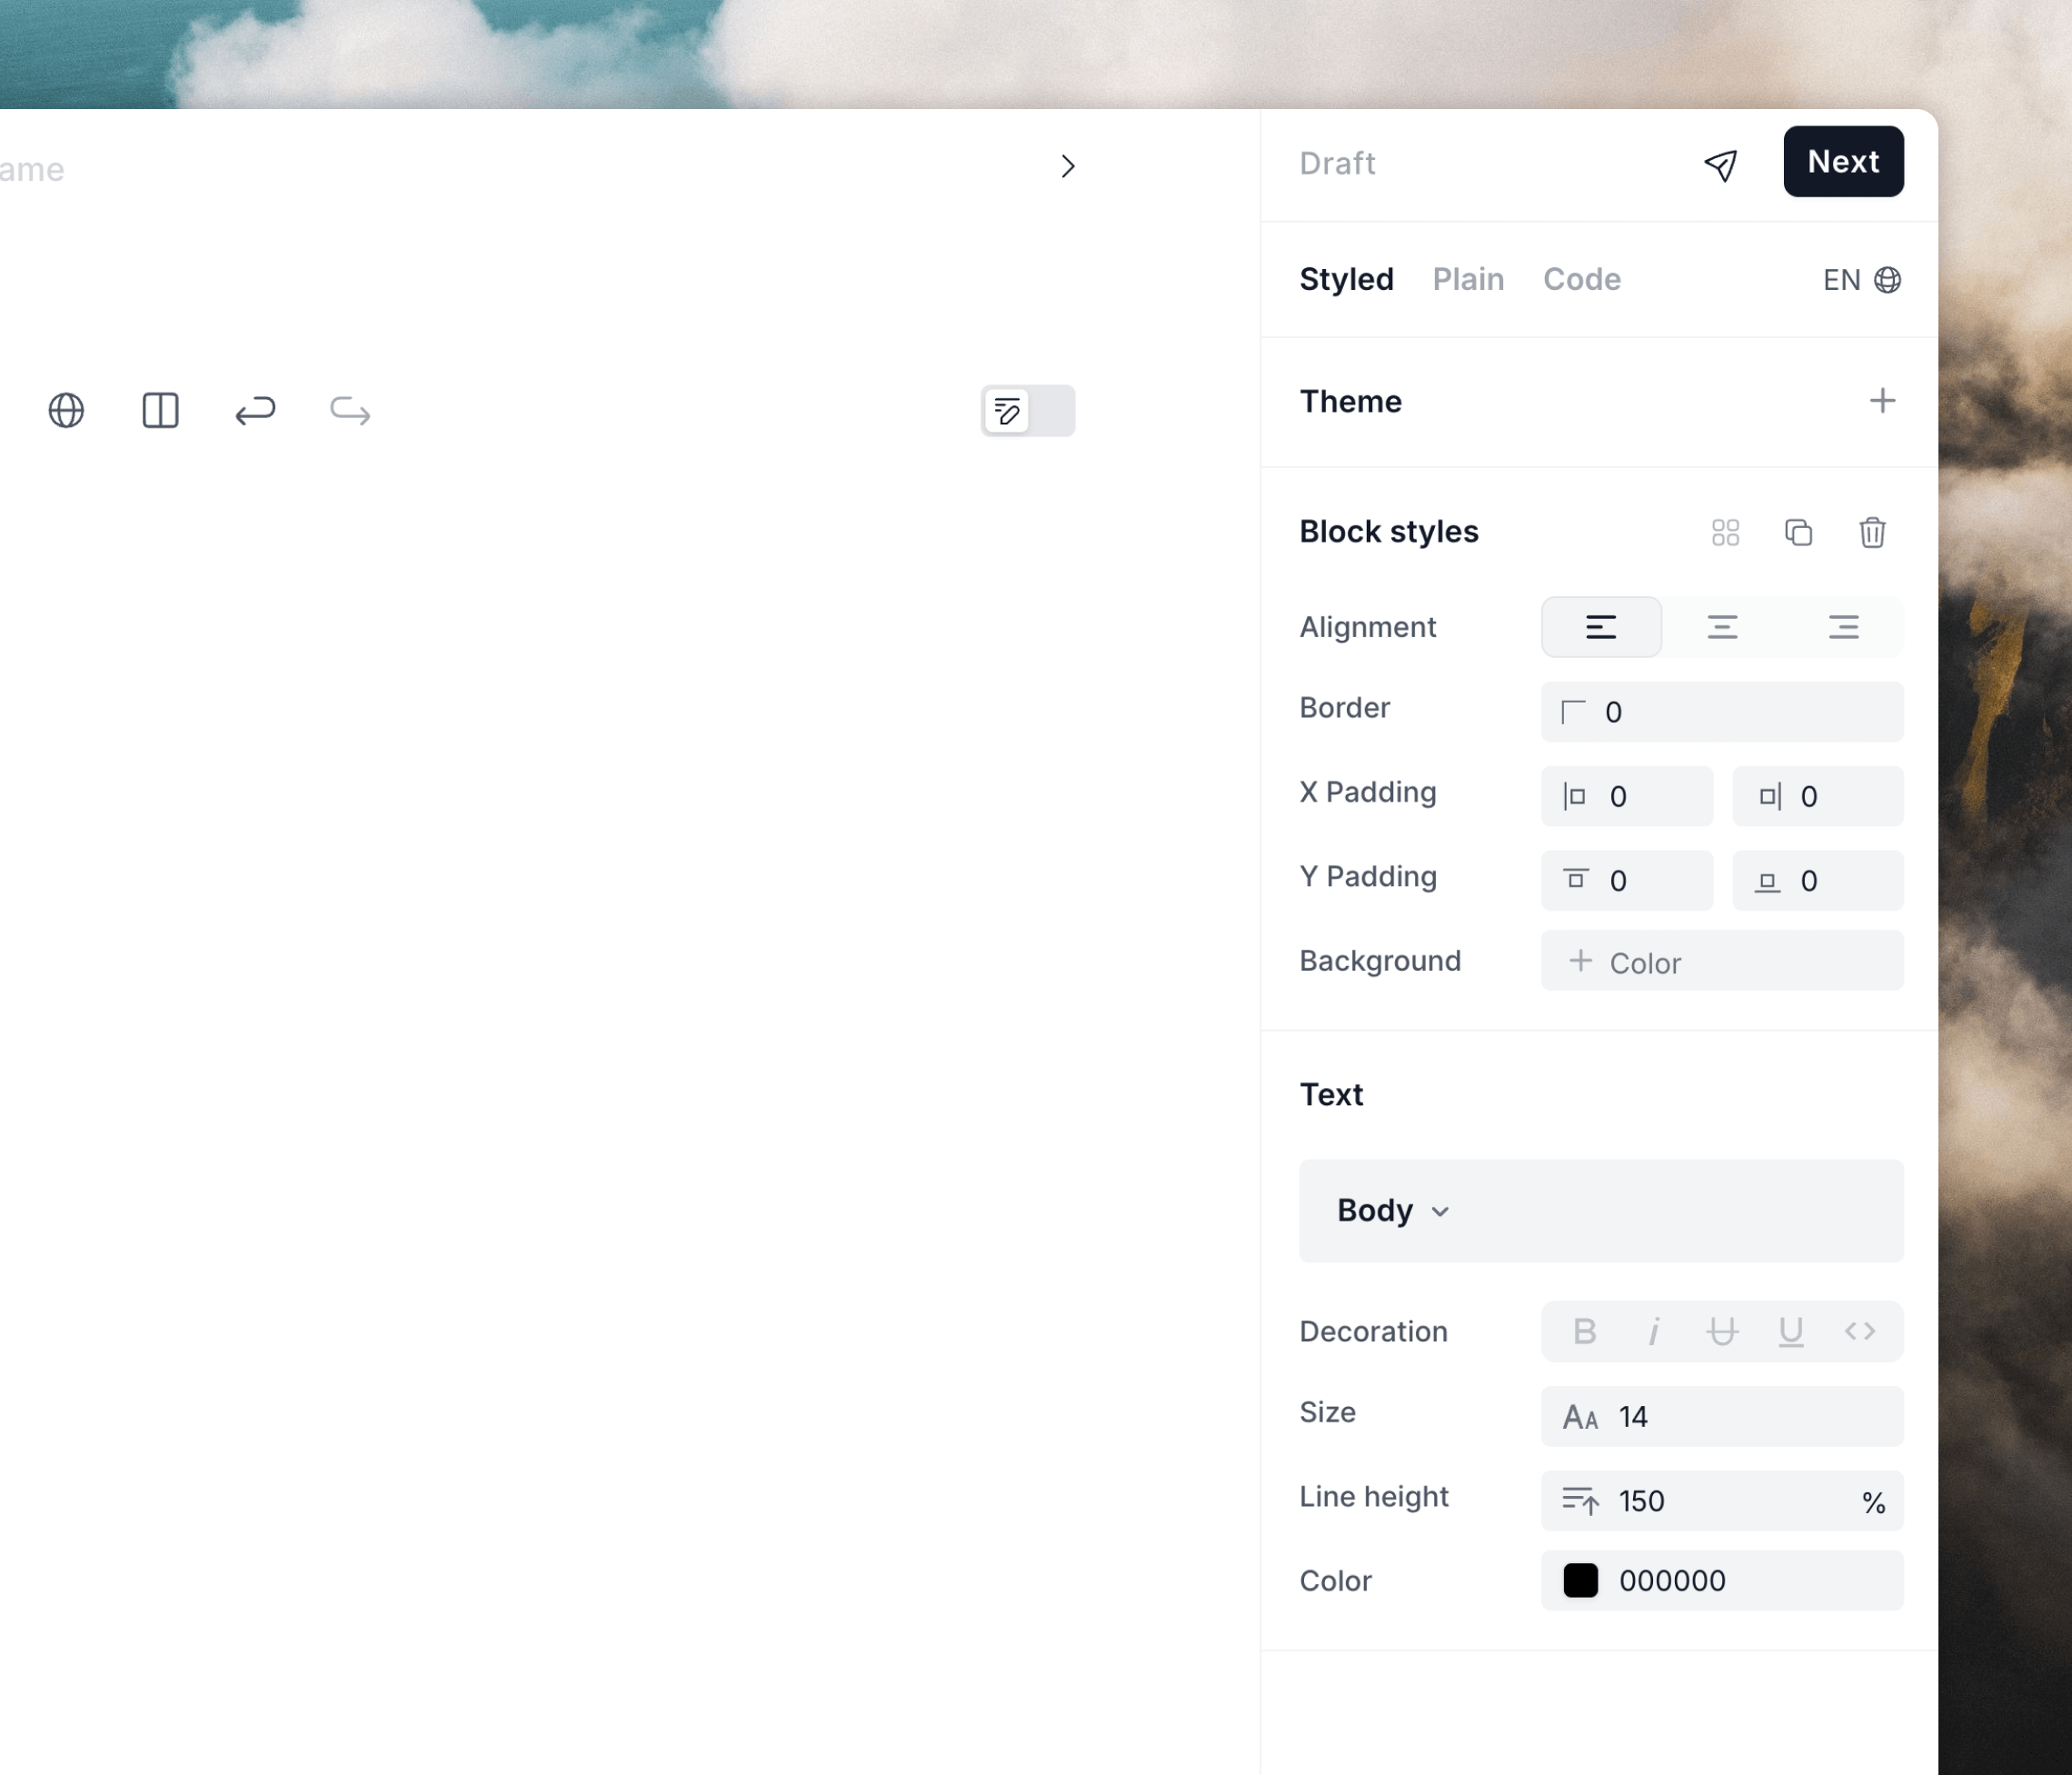
Create emails
Now create the email(s) you want to send from each workflow. You can add as many emails as you like into each workflow, separated with timers. If you want to send emails to certain groups of contacts, you can use Audience filters in your workflow. We have a range of email templates available, which you can use as a base for all of your subscription emails.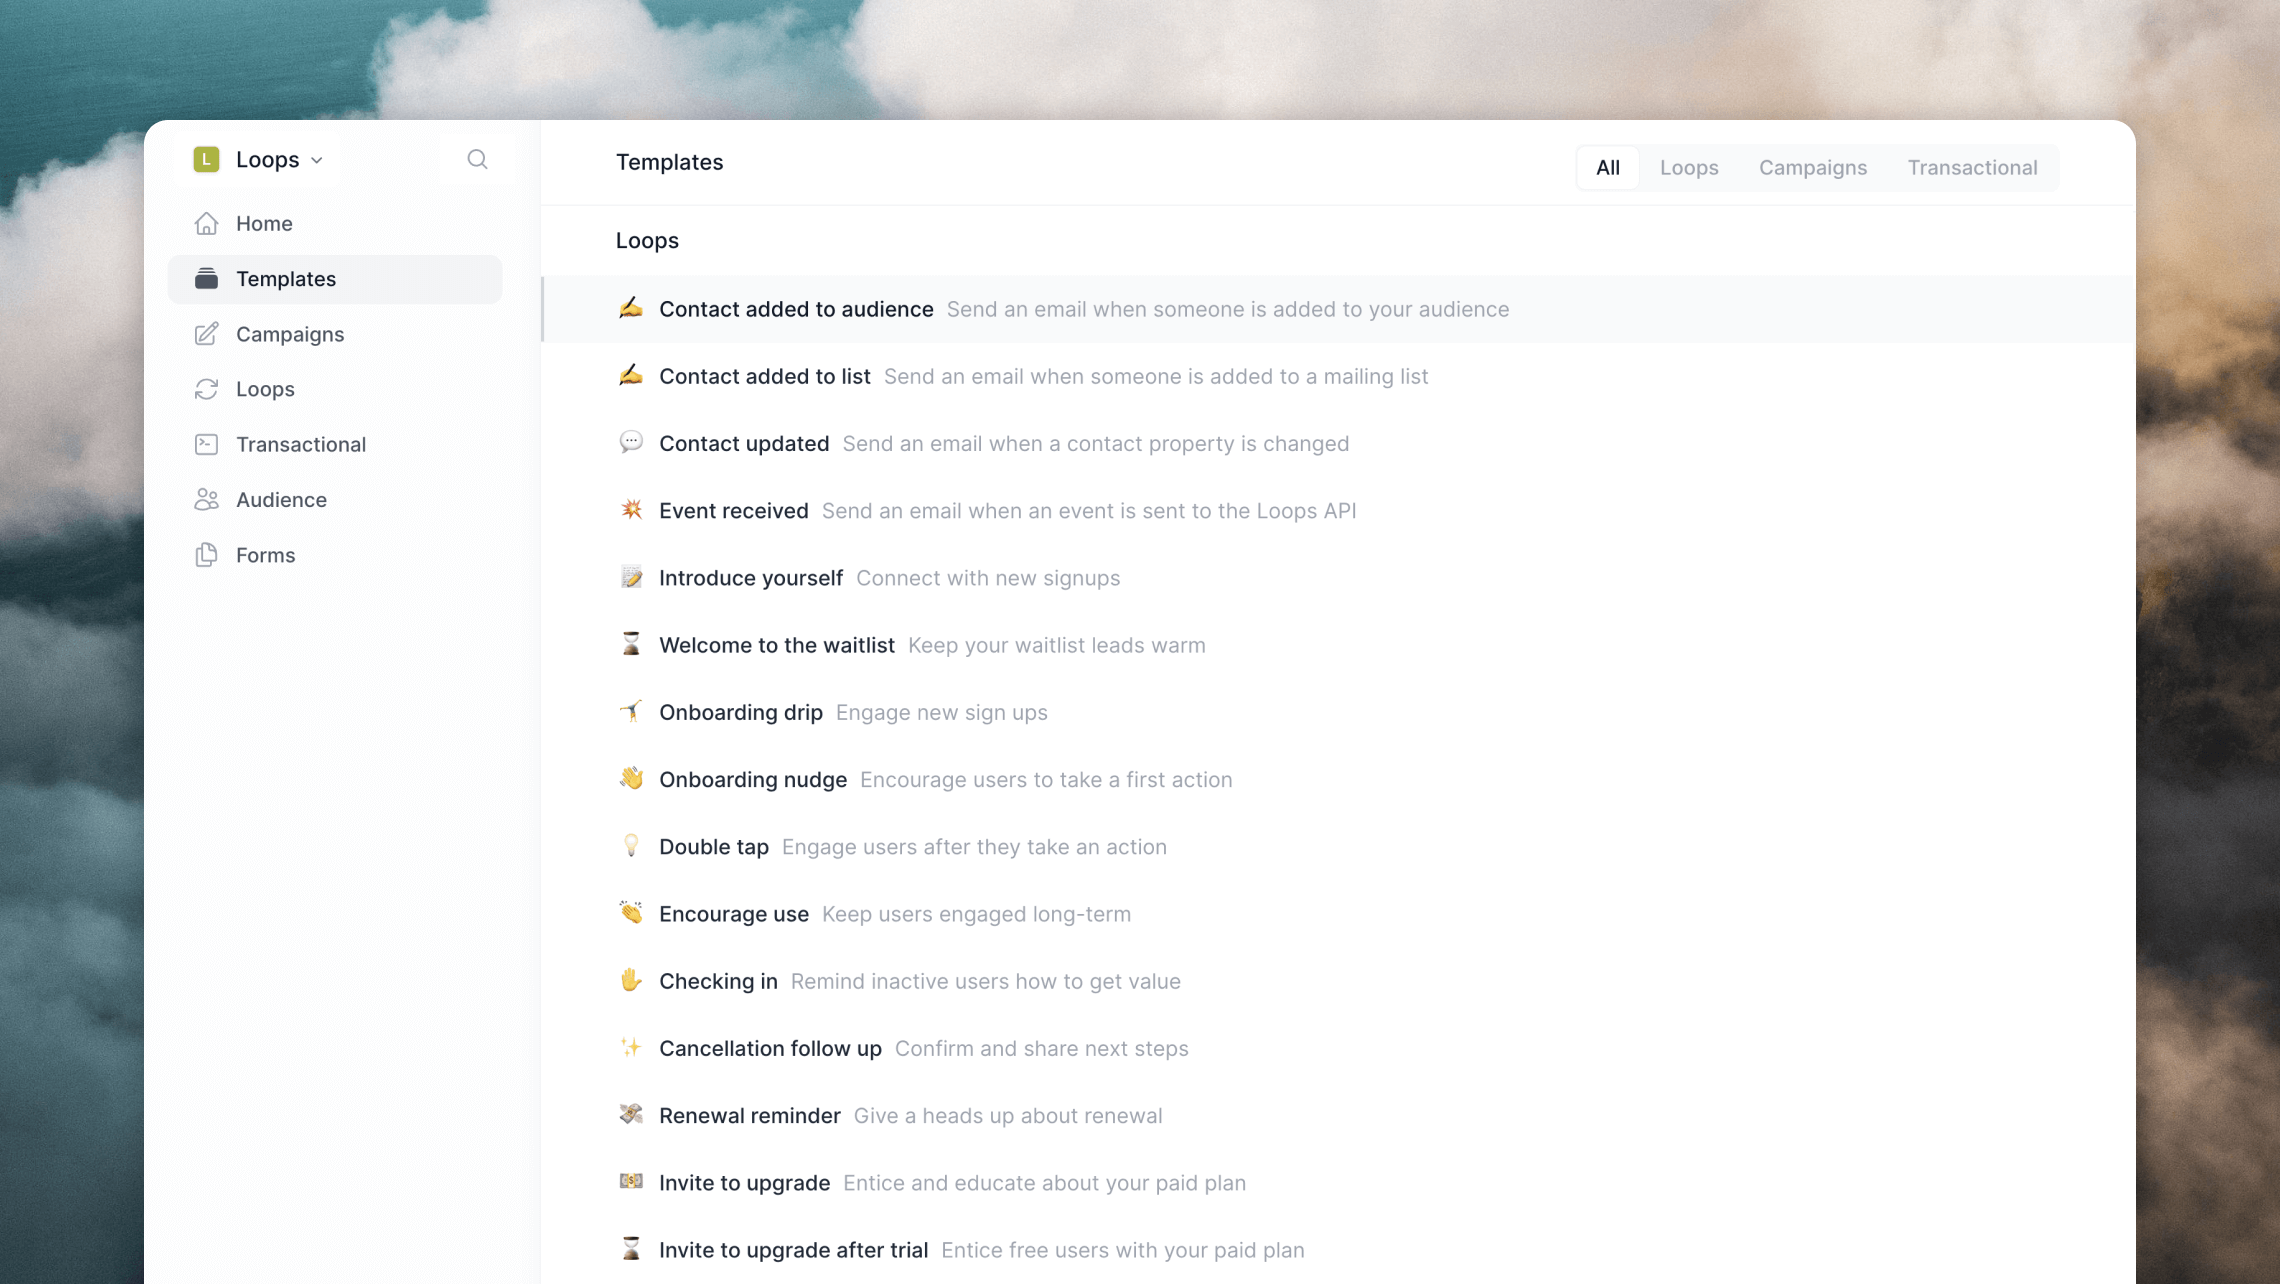
Update the Subscription status value
The final step is to make sure that your contacts have the correct “Subscription status” value assigned to them in Loops. This will make sure they are in the correct workflows at the correct moment within their subscription. Using the API you can make a simplePUT call to the Update contact endpoint, with a request containing the contact’s email address and subscription status.
(You can also add more contact properties in this call if you want to add more data to the contact in Loops.)
Using the Update contact endpoint will either create or update a contact in
Loops using the provided email address.
subscriptionStatus value.
Now you have set up different workflows to trigger when the “Subscription status” value changes, your users will be automatically entered into each workflow and receive the correct emails at the correct times during their subscription lifecycle.
Example workflows
Here are some example workflows you can create along with a suggested trigger and workflow contents.Onboarding
Sent to brand new users.- Trigger: Contact added or Contact updated (e.g.
subscriptionStatusis empty). - Audience filter: Match the trigger (e.g.
subscriptionStatusis empty). - Workflow contents: 1–5 welcome and onboarding emails over the first 30 days.
New subscribers
Sent to users who just started paying.- Trigger: Contact updated (e.g.
subscriptionStatuschanges to “Paying”). - Audience filter: Match the trigger (e.g.
subscriptionStatusequals “Paying”). - Workflow contents: 1–3 emails about paid-only features over the next 3 days.
Dunning
Sent to customers who had a first failed payment.- Trigger: Contact updated (e.g.
subscriptionStatuschanges to “Failed”). - Audience filter: Match the trigger (e.g.
subscriptionStatusequals “Failed”). - Workflow contents: 1–3 emails during your dunning period.
Churn
Sent to customers who have just canceled their payments.- Trigger: Contact updated (e.g.
subscriptionStatuschanges to “Canceled”) - Audience filter: Match the trigger (e.g.
subscriptionStatusequals “Canceled”). - Workflow contents: 1 email saying goodbye and asking for feedback.