Unlike older SMTP services, Loops requires the body of emails sent via SMTP to
be formatted as an API-like payload. This approach
allows you to use Loops’ powerful email editor to
craft your emails and keep email templating outside of your application code.
Create emails in Loops
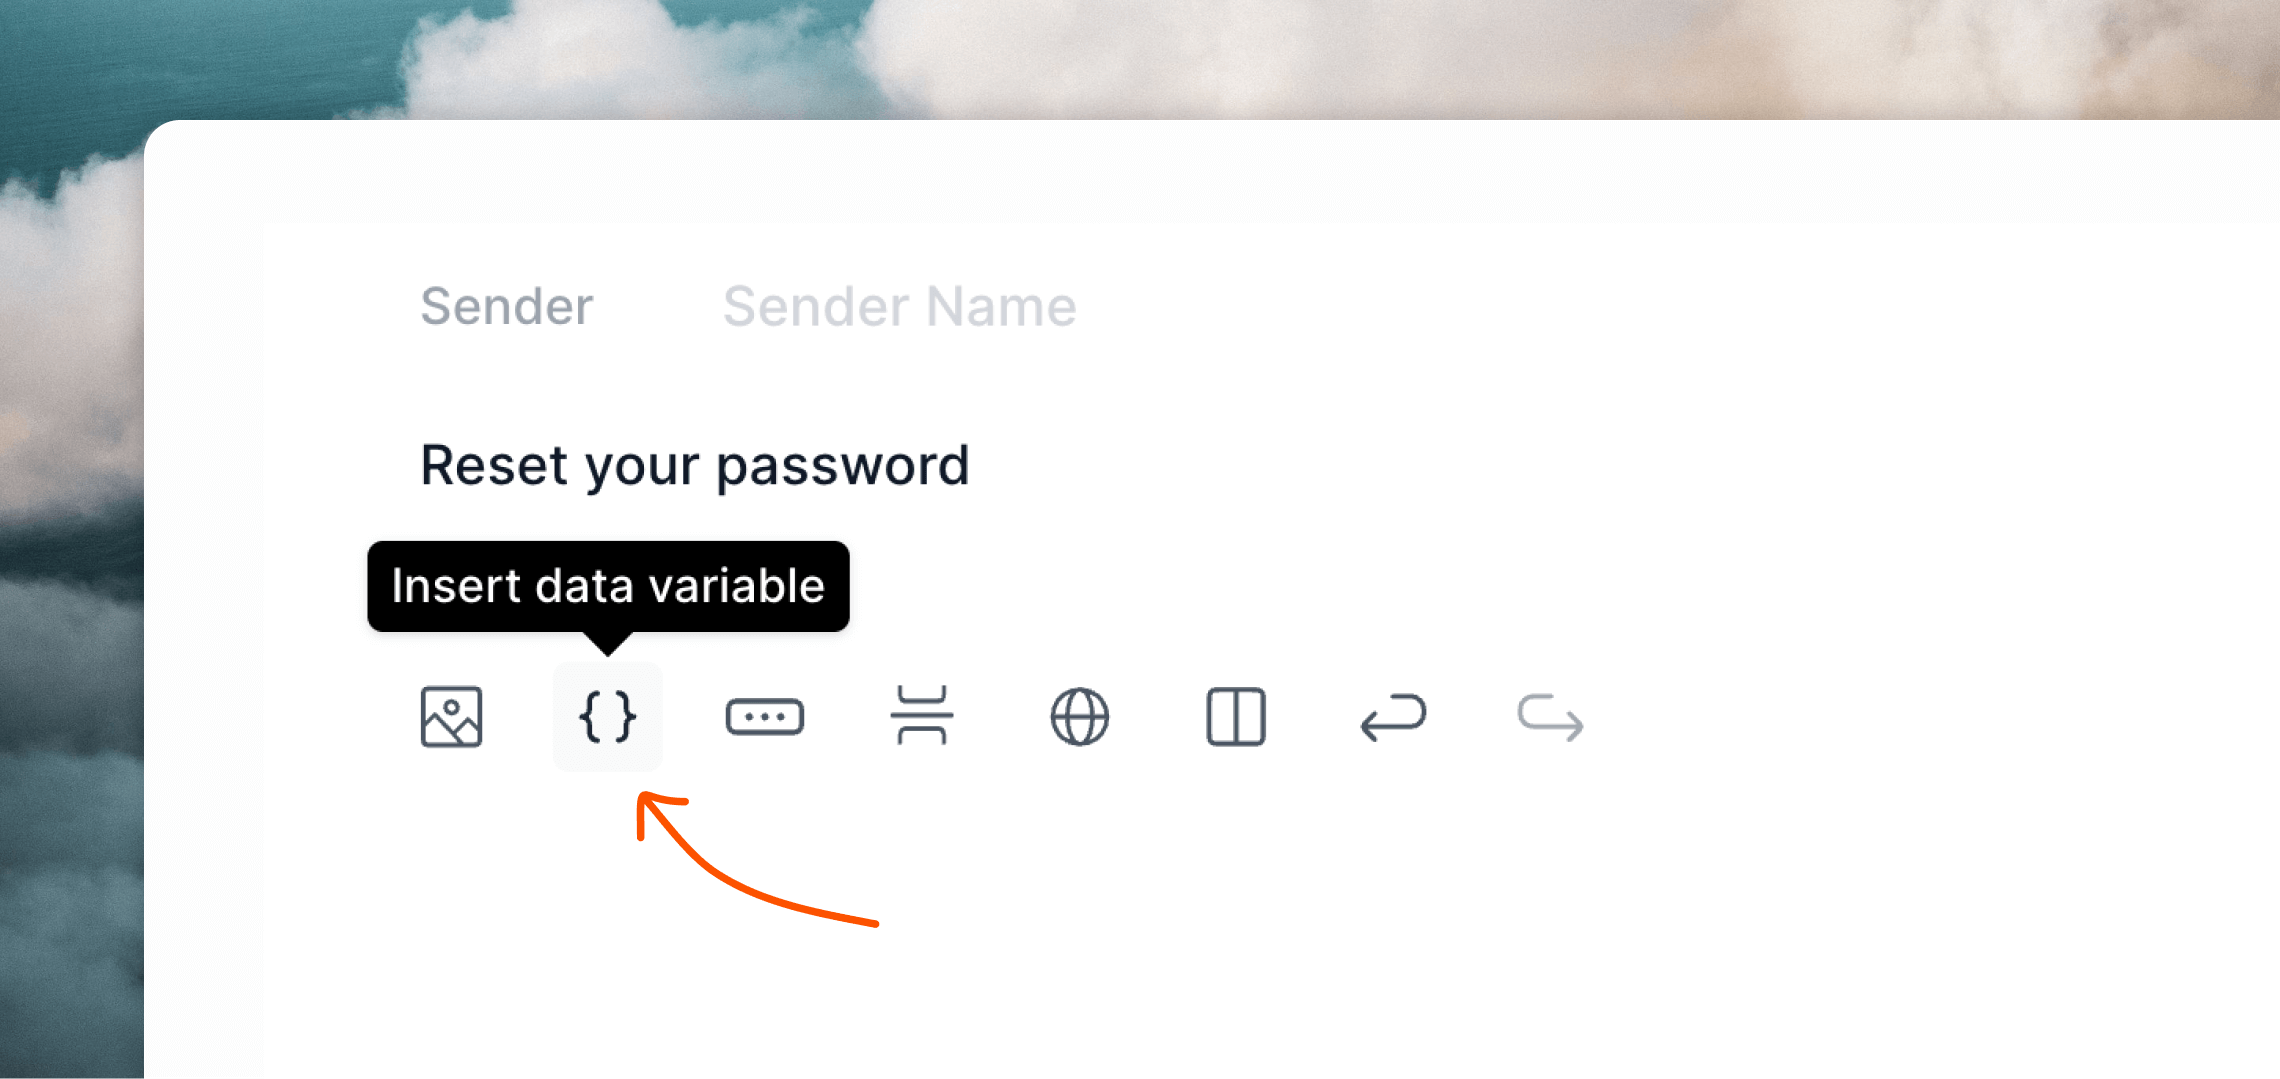
Create transactional emails in Loops using the editor.Add data variables to your emails for any dynamic content you want to send from your Laravel application.

Add SMTP variables
To configure Loops SMTP in your Laravel project, add the following values to your
.env file..env
Send emails from Laravel
Now you can send emails from your application.If you haven’t already, create a mailable class, for example Loops’ SMTP system doesn’t send full HTML emails directly. Instead, you should provide a structured API-like payload, which Loops will then use to render an HTML email.Create a view for your email, like below.You can copy an example payload from the Publish page of your transactional email in Loops.Then add a reference to your template in the You can skip adding values to the Note that the email address defined in
AuthEmail:resources/views/mail/auth-email-text.blade.php
Content definition using the text key.You also need to pass the values for the recipient email address and any data variables in your email. In this case we are using a $user property added to the constructor.app/Mail/AuthEmail.php
Envelope because the “from” address and subject are all defined within Loops on your transactional email.Now you can send transactional emails.to() will not be used for sending the email even though it’s a required parameter. You have to provide the recipient’s email to the template itself.You can read more about sending emails from Laravel in their docs.
