This guide is for Bolt but this kind of approach will work with many AI web
builders, and also for different kinds of Loops integrations, like adding
newsletter signup forms or sending events with the API instead of
transactional emails.
- Prompt Bolt to add a Loops integration
- Set up emails in Loops
- Add your Loops credentials and IDs
- Check the code for mistakes
1. Create the app with a prompt
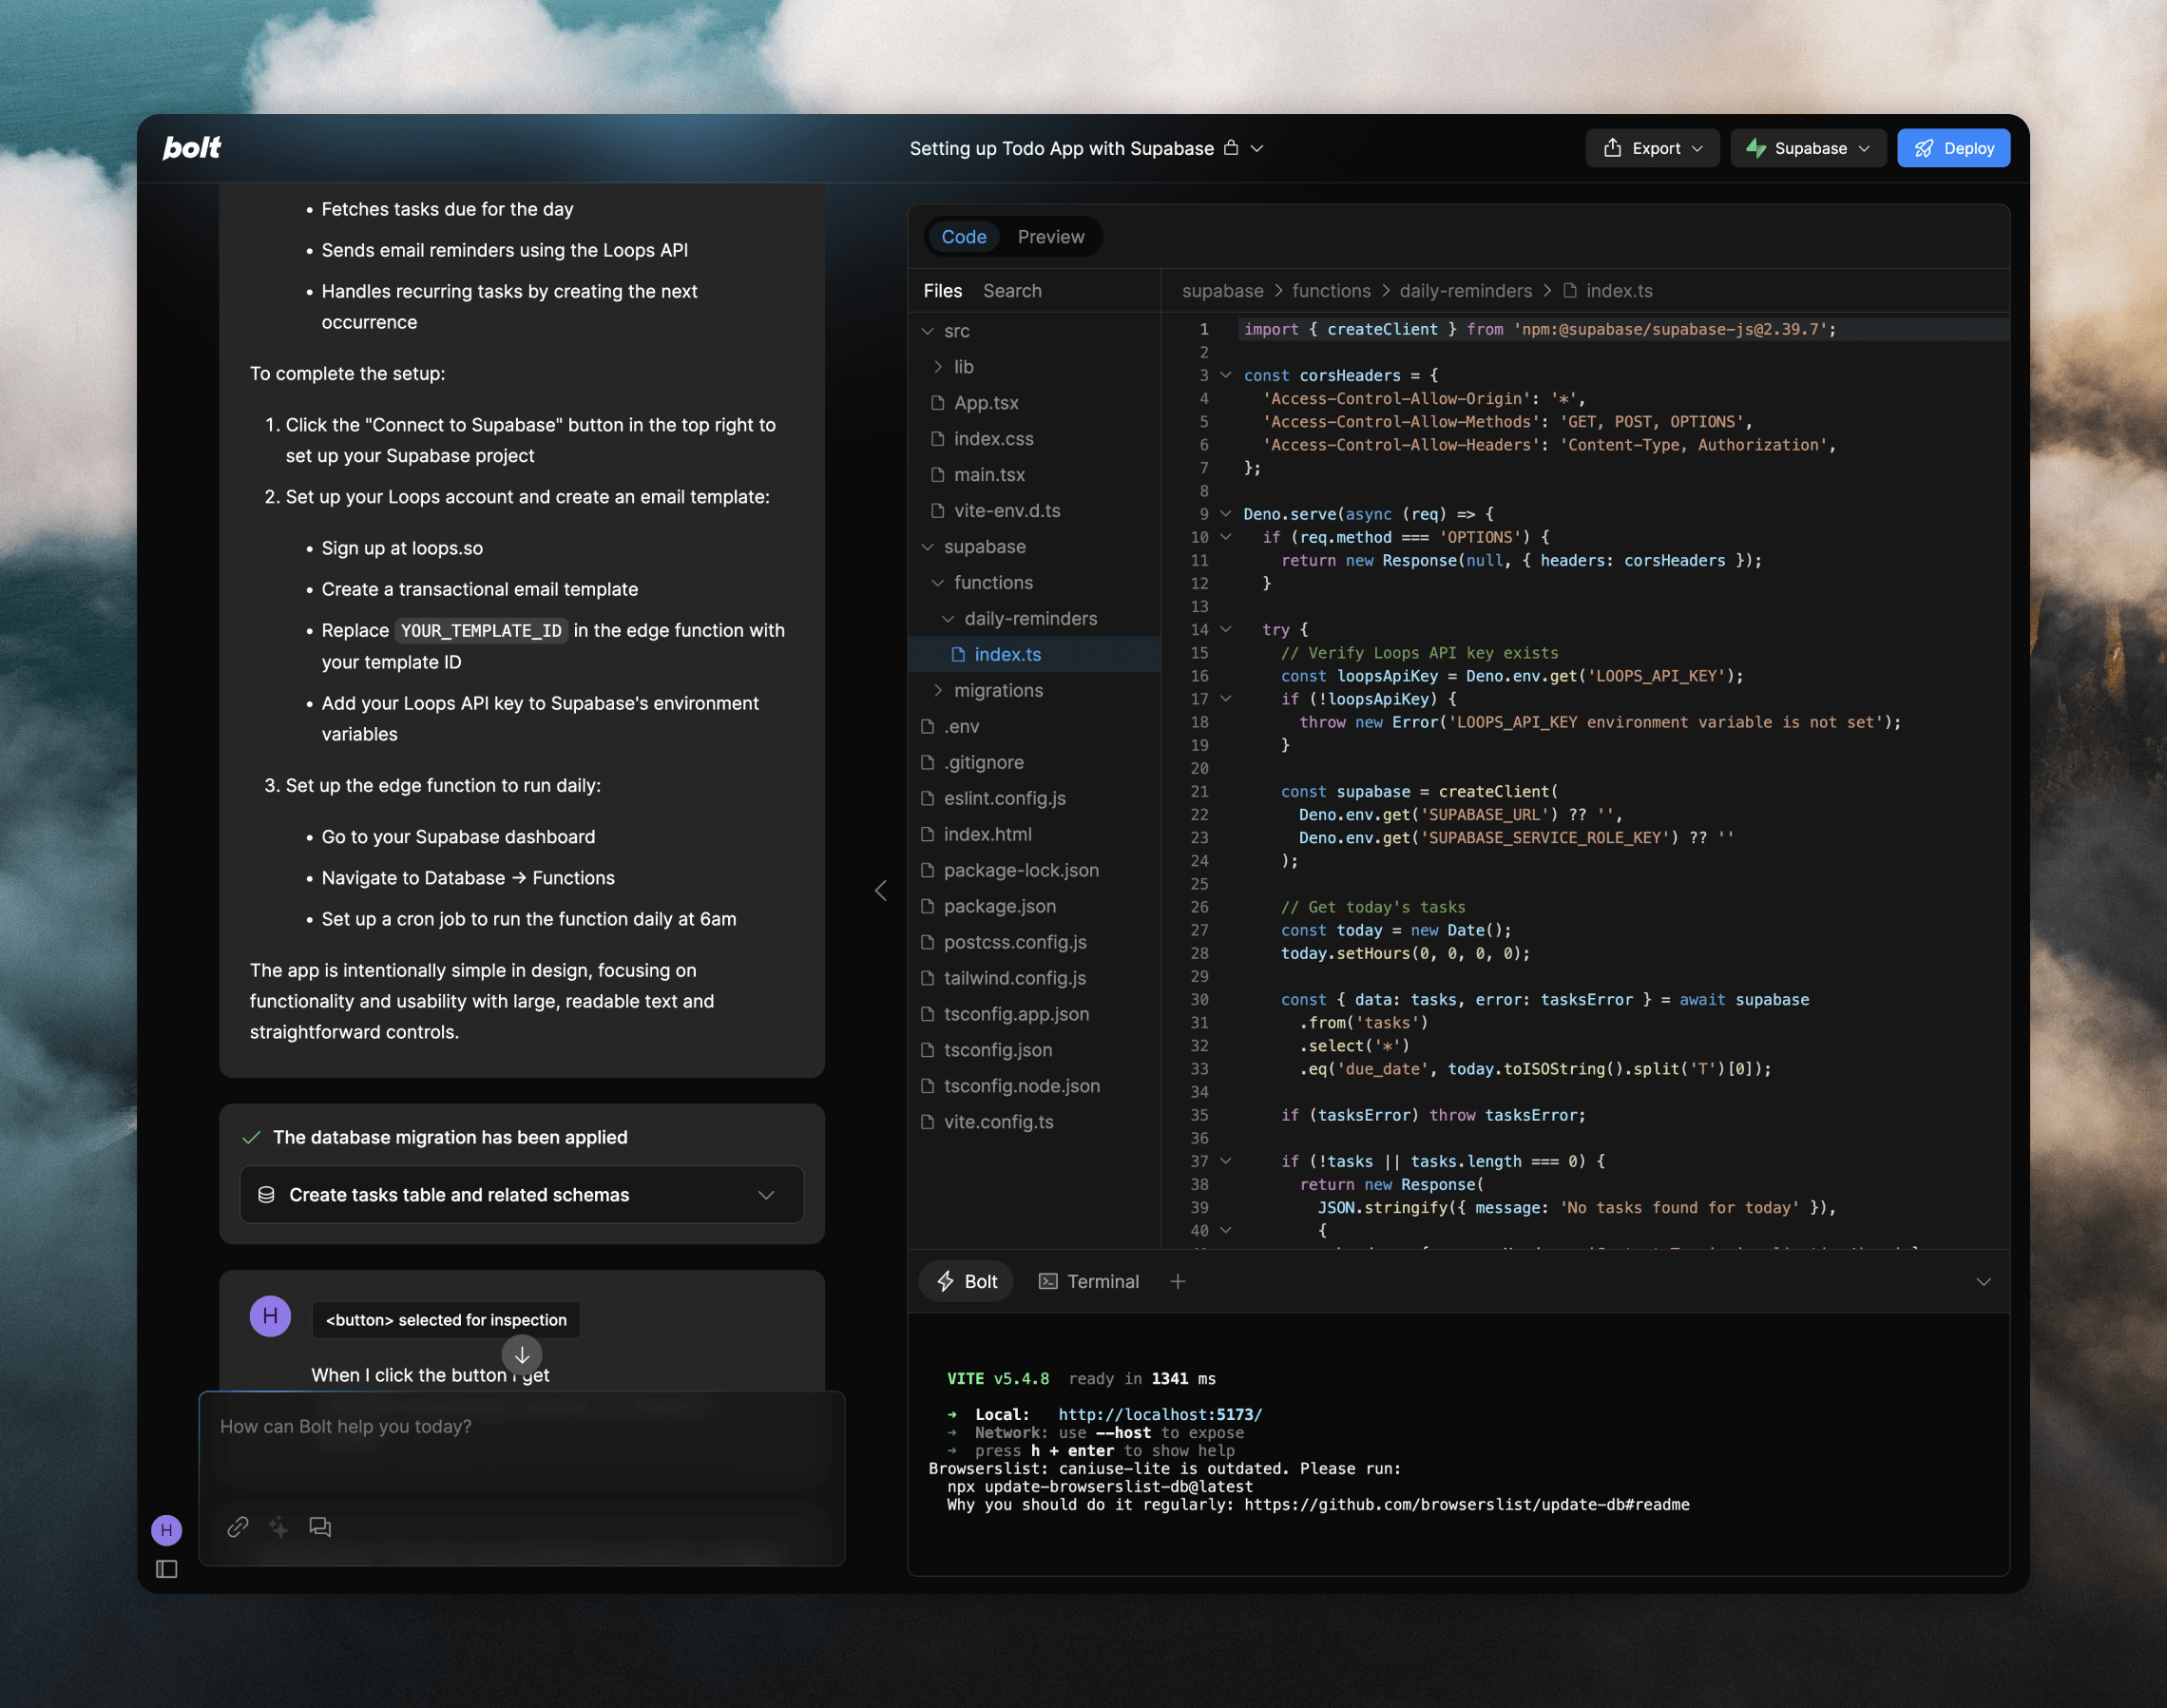
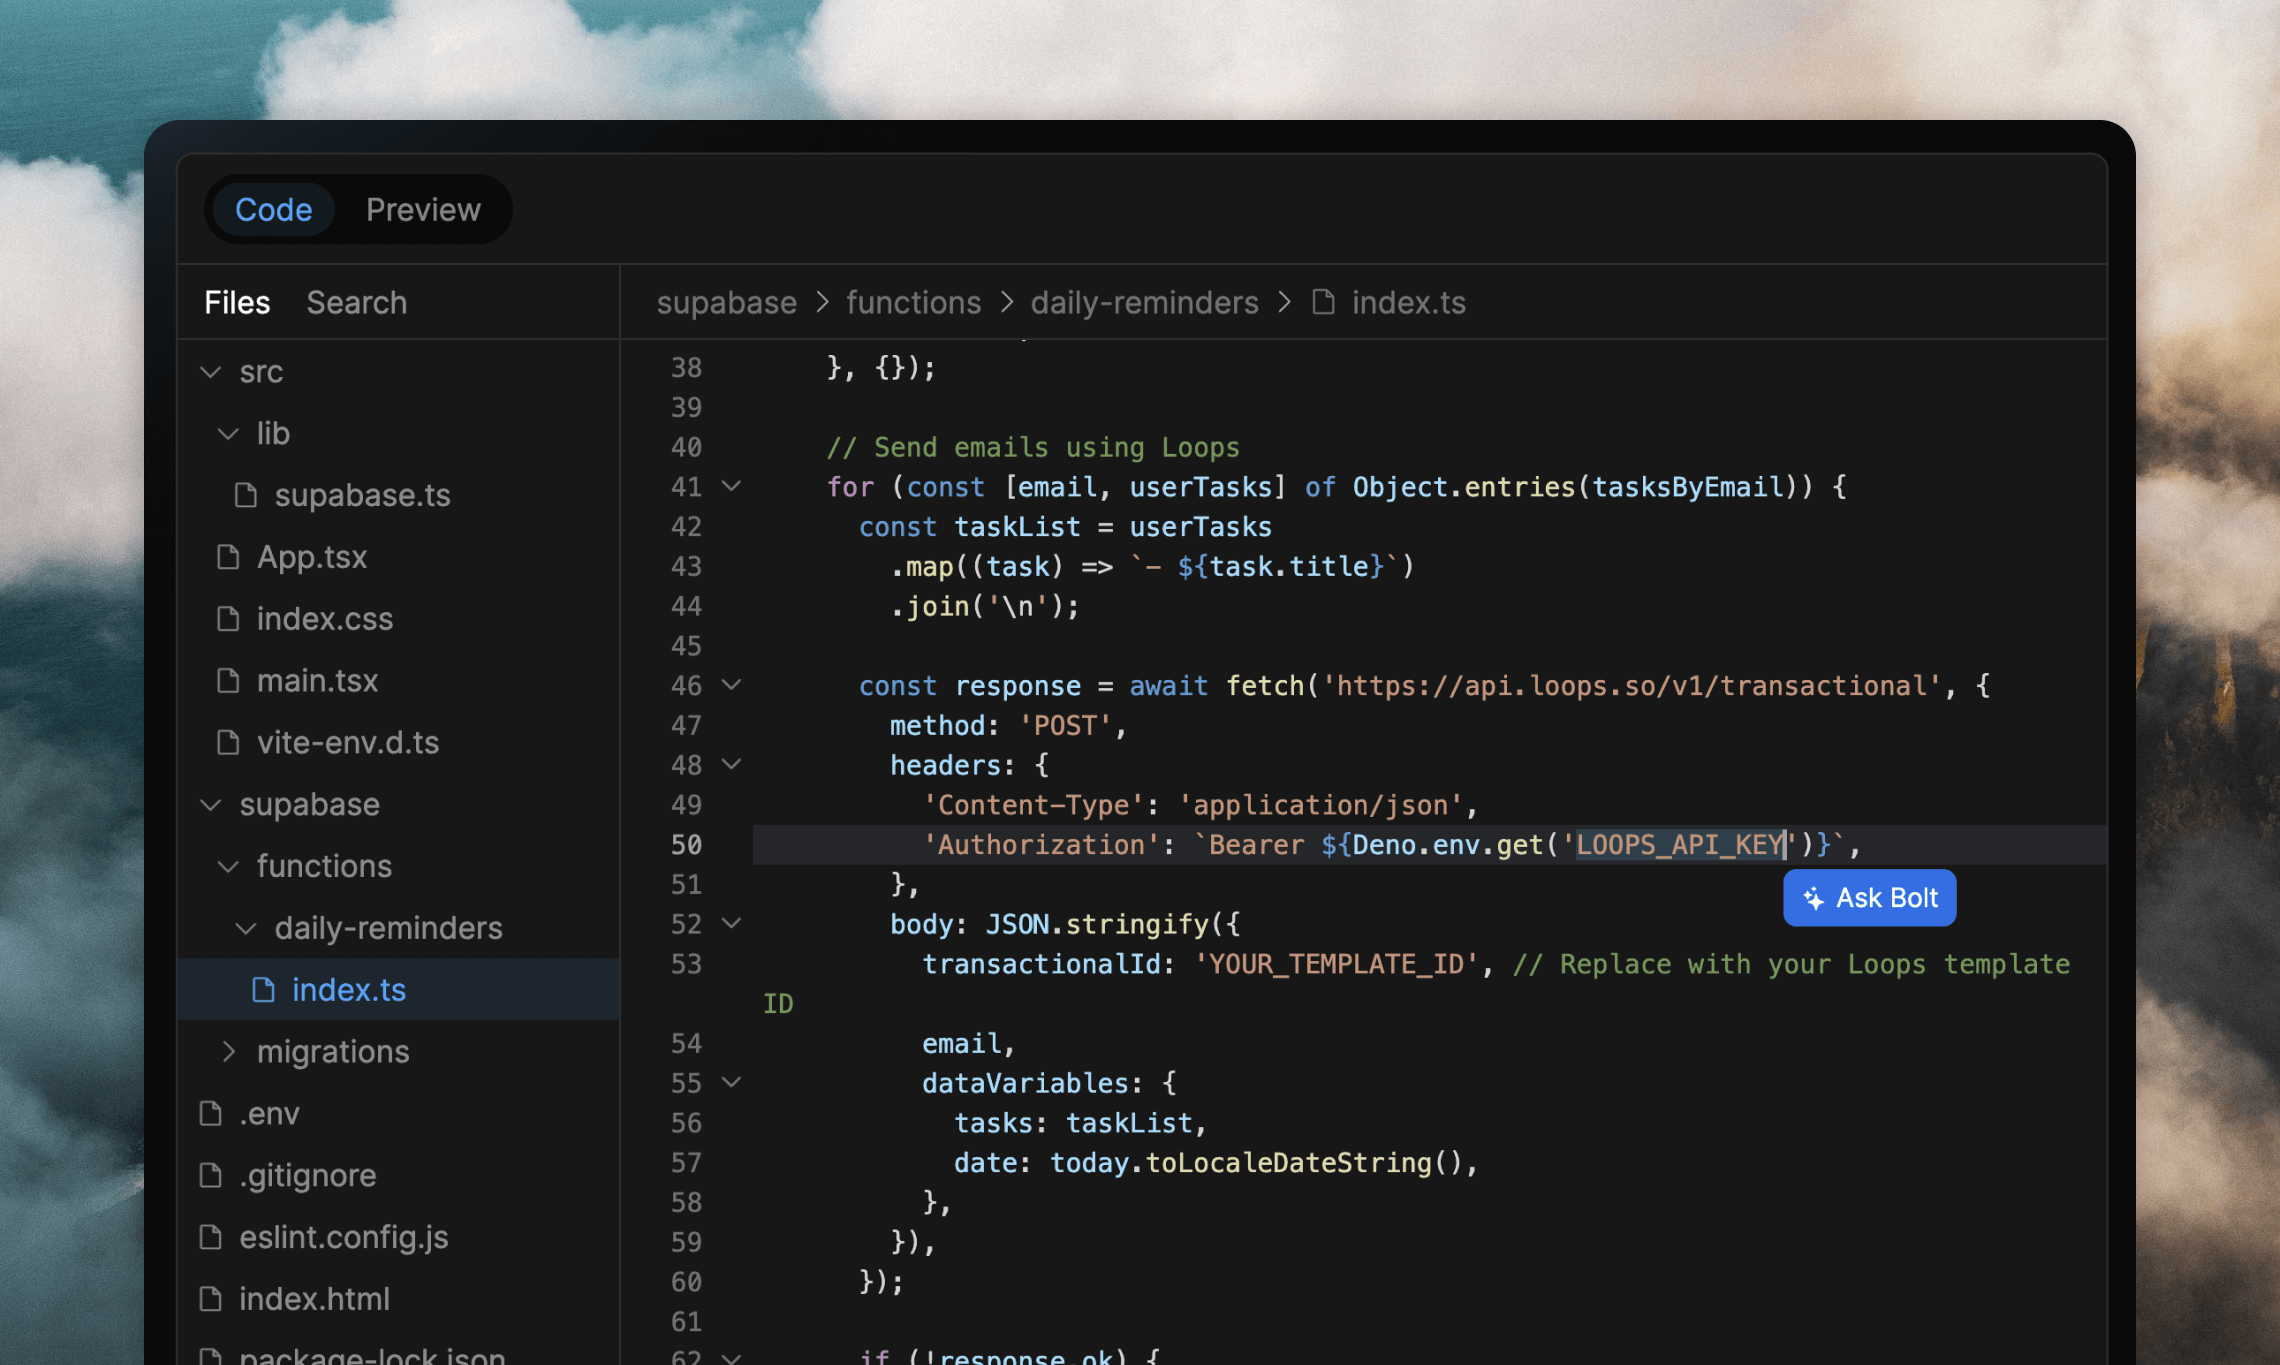
I wrote a prompt to create the app. In this prompt I included information about using the Loops API. In Bolt you can choose to add Loops to your original prompt or ask it to add Loops in a later prompt. For example:I want to add daily reminder emails that should be sent at 6am every morning showing the new day’s list of tasks. I will send these emails as transactional emails using the Loops API (loops.so)Using this prompt, Bolt added code to my app that spoke to Loops and had everything ready for me to add my Loops credentials, including a Supabase Edge Function that could be run on a cron job.
To improve the code that Bolt produces, you can upload our full LLM text
available here and append it to the
message.
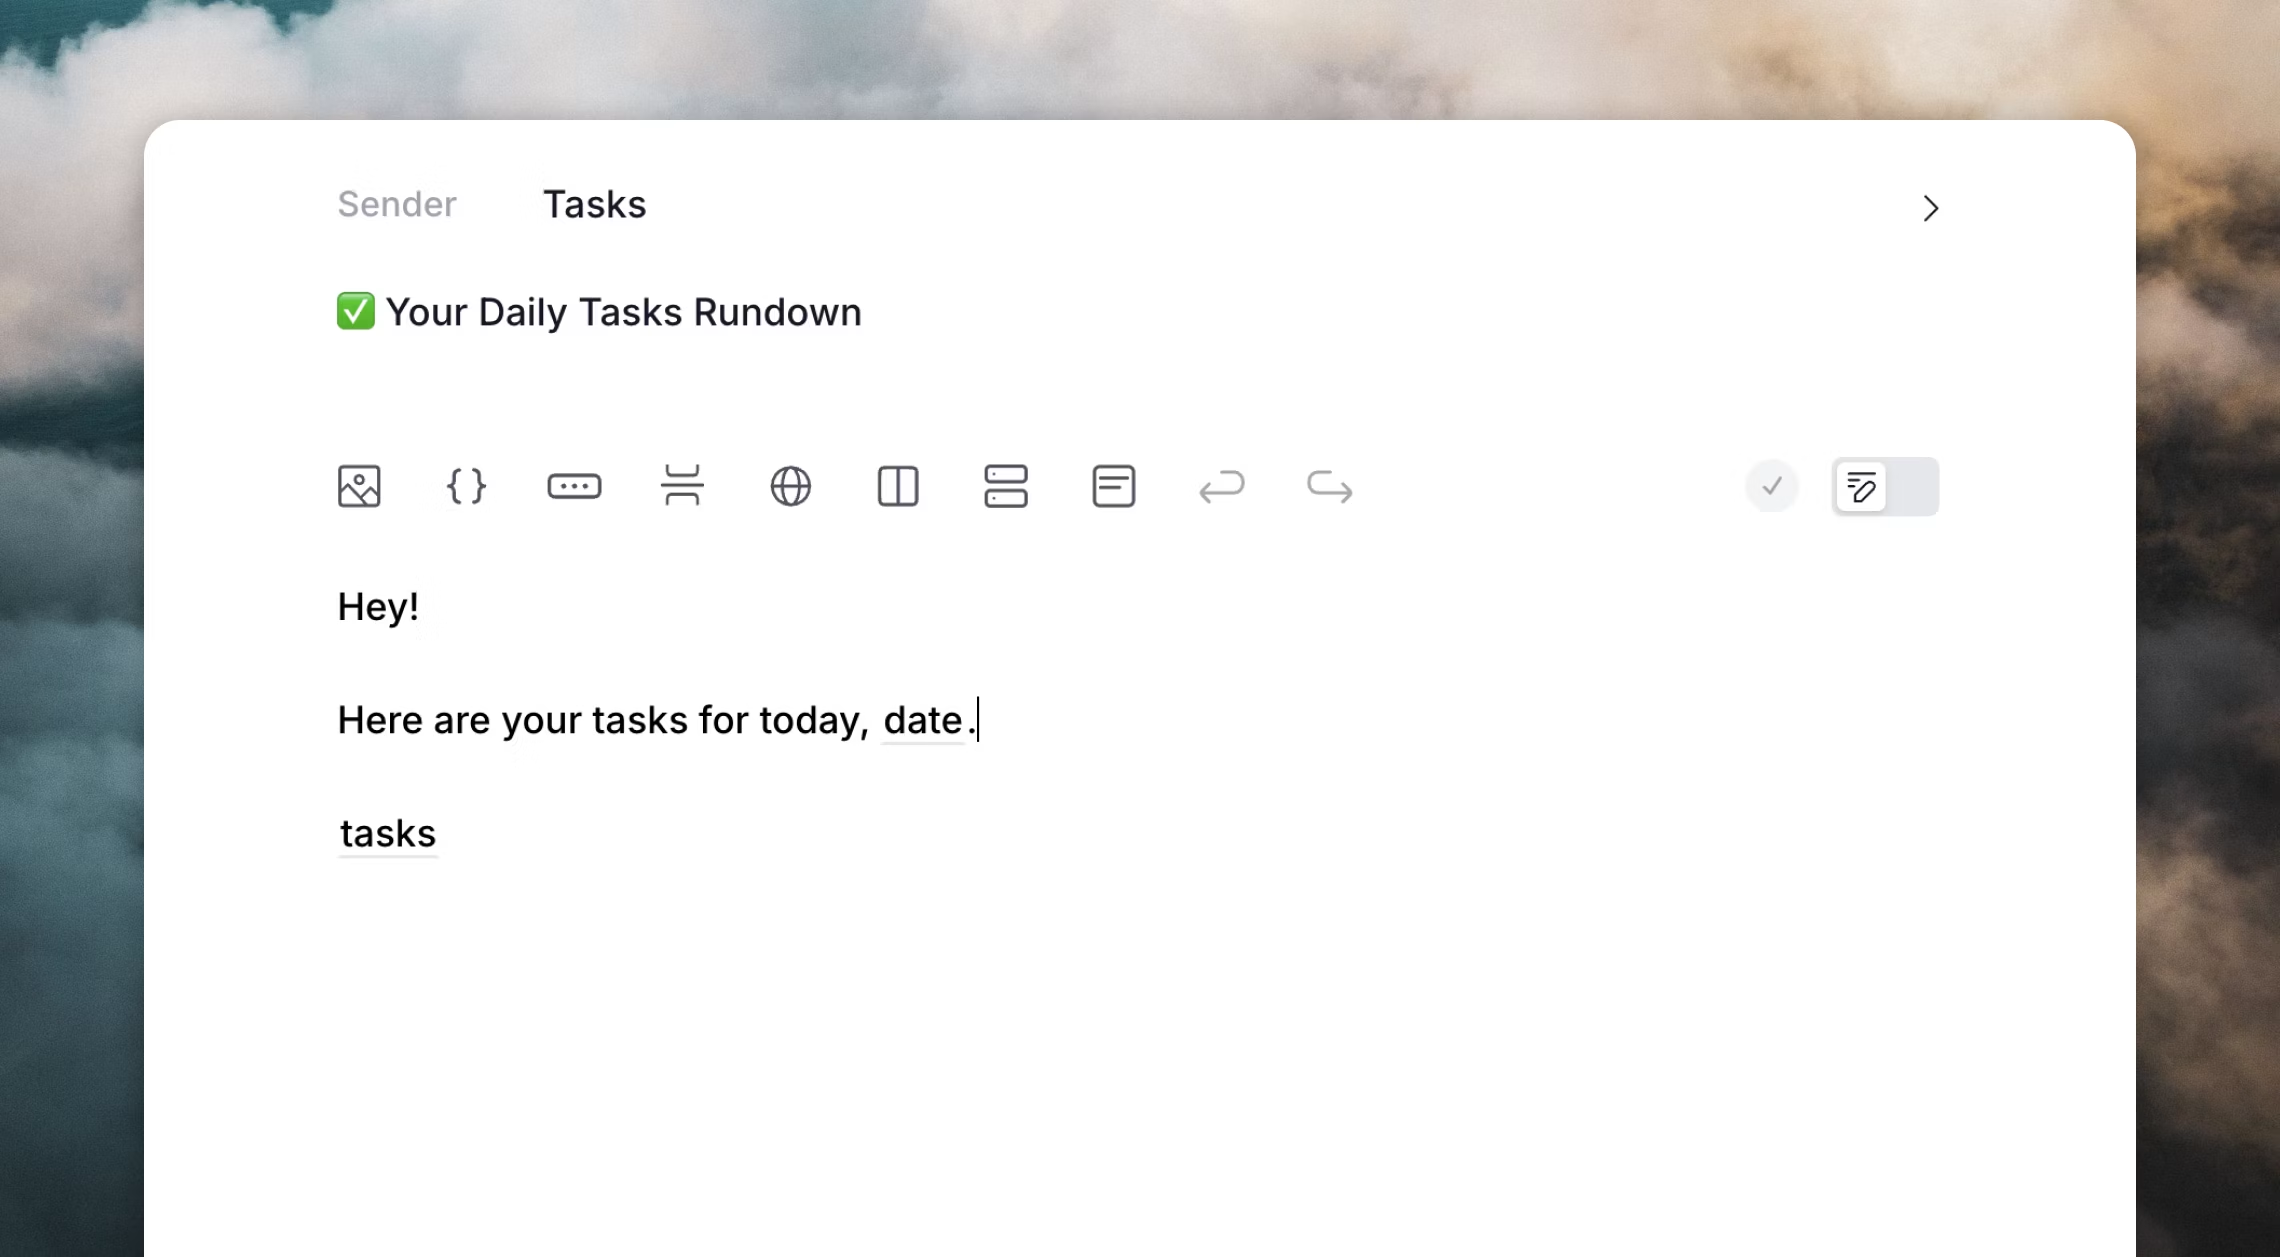
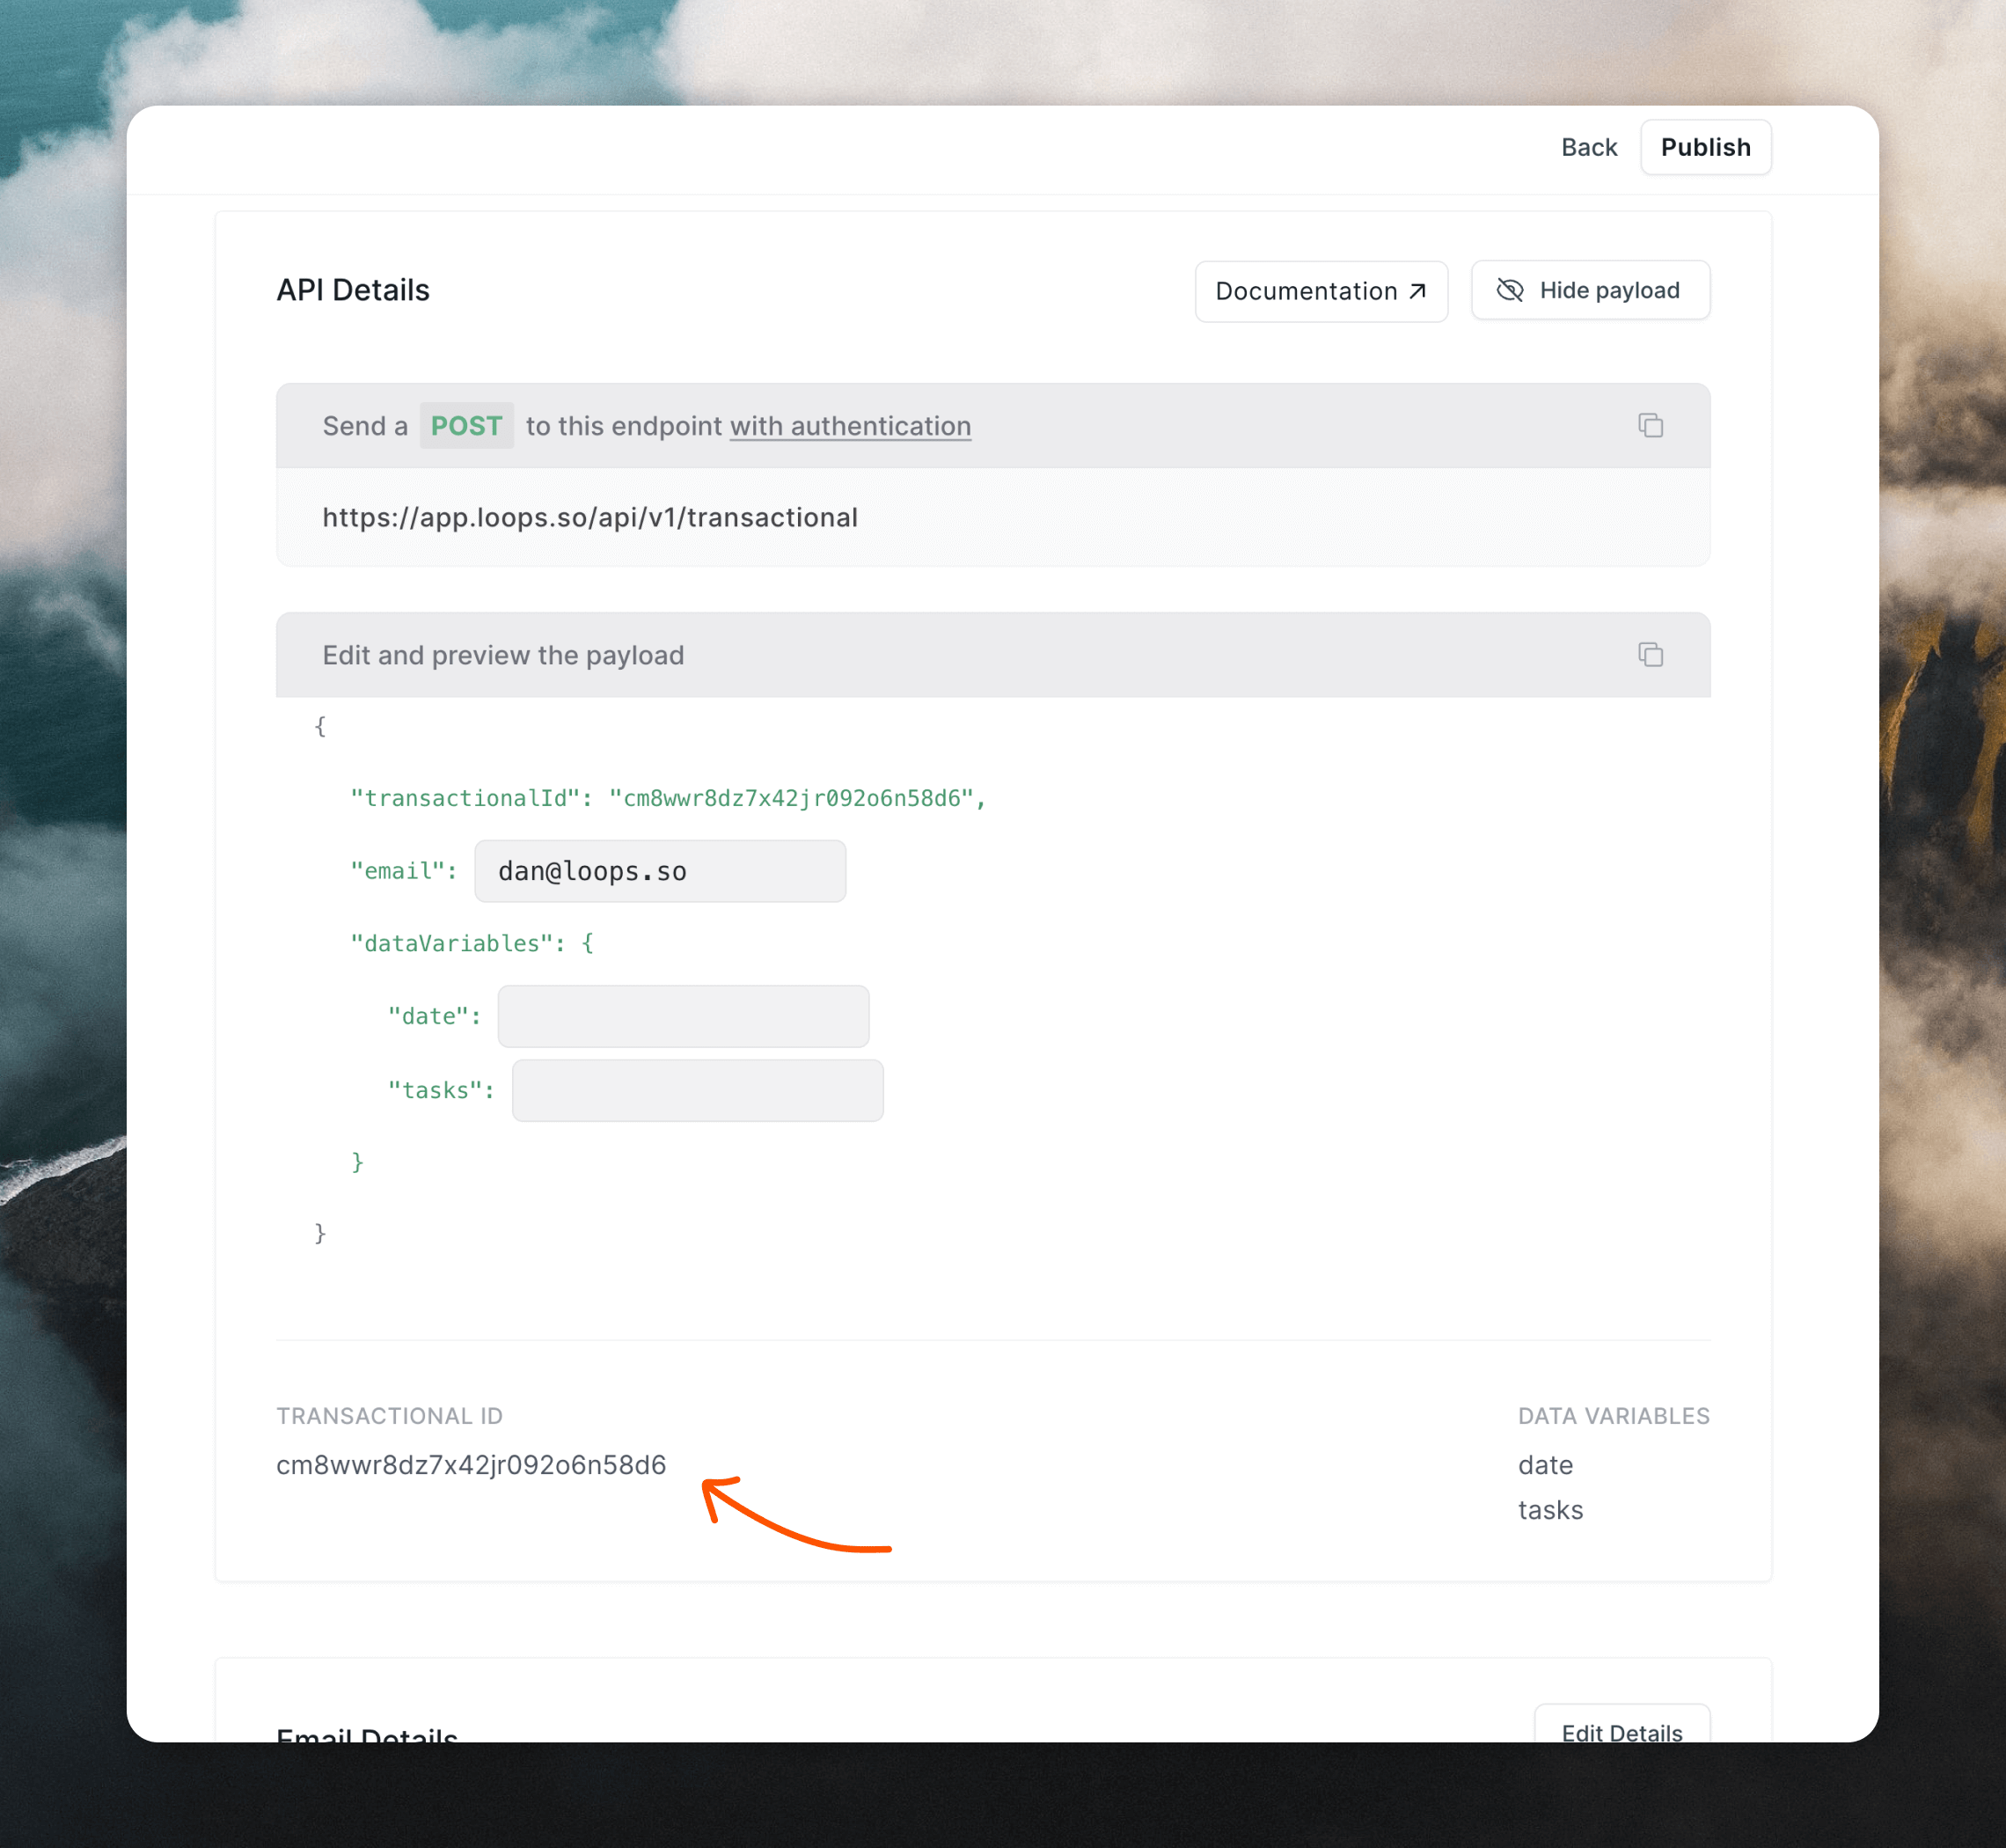
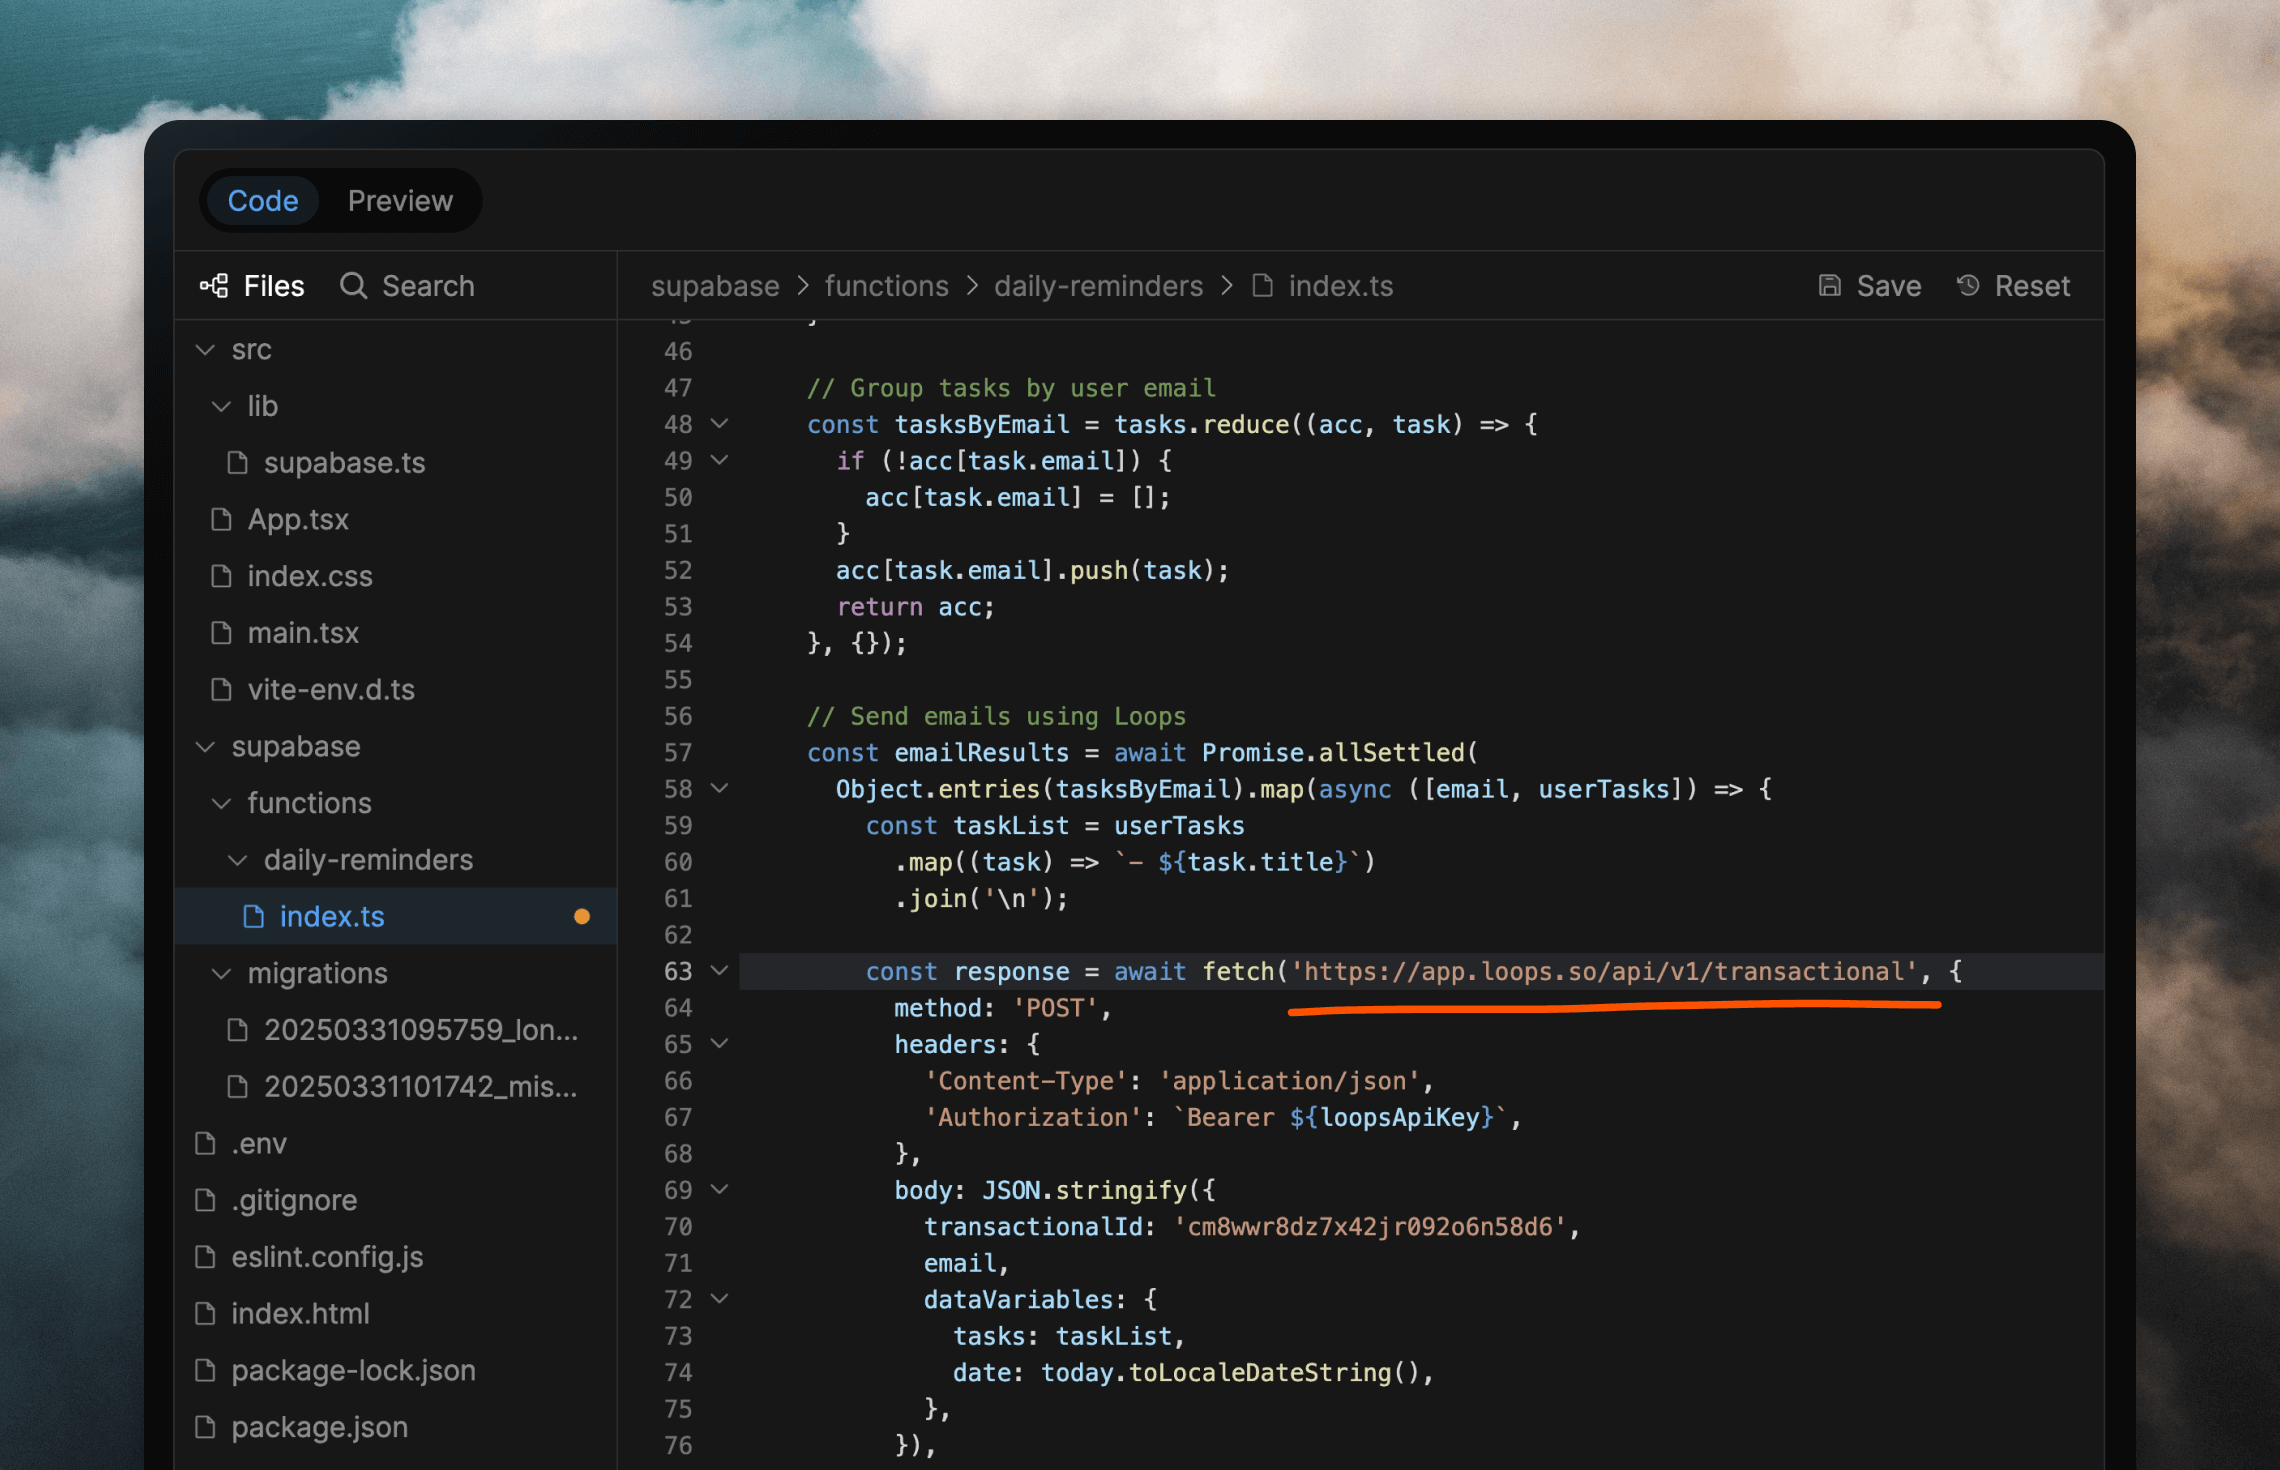
2. Create transactional email in Loops
Once you have the basics of the app working, you can move over to Loops to set up the digest email. This will be a transactional email (a 1:1 email for a single recipient), sent to each user every morning. With Loops’ transactional sending, you create the email body in the Loops editor and any dynamic content is added using data variables. Then, when it comes to sending the email via the API, you include the dynamic content in the API payload.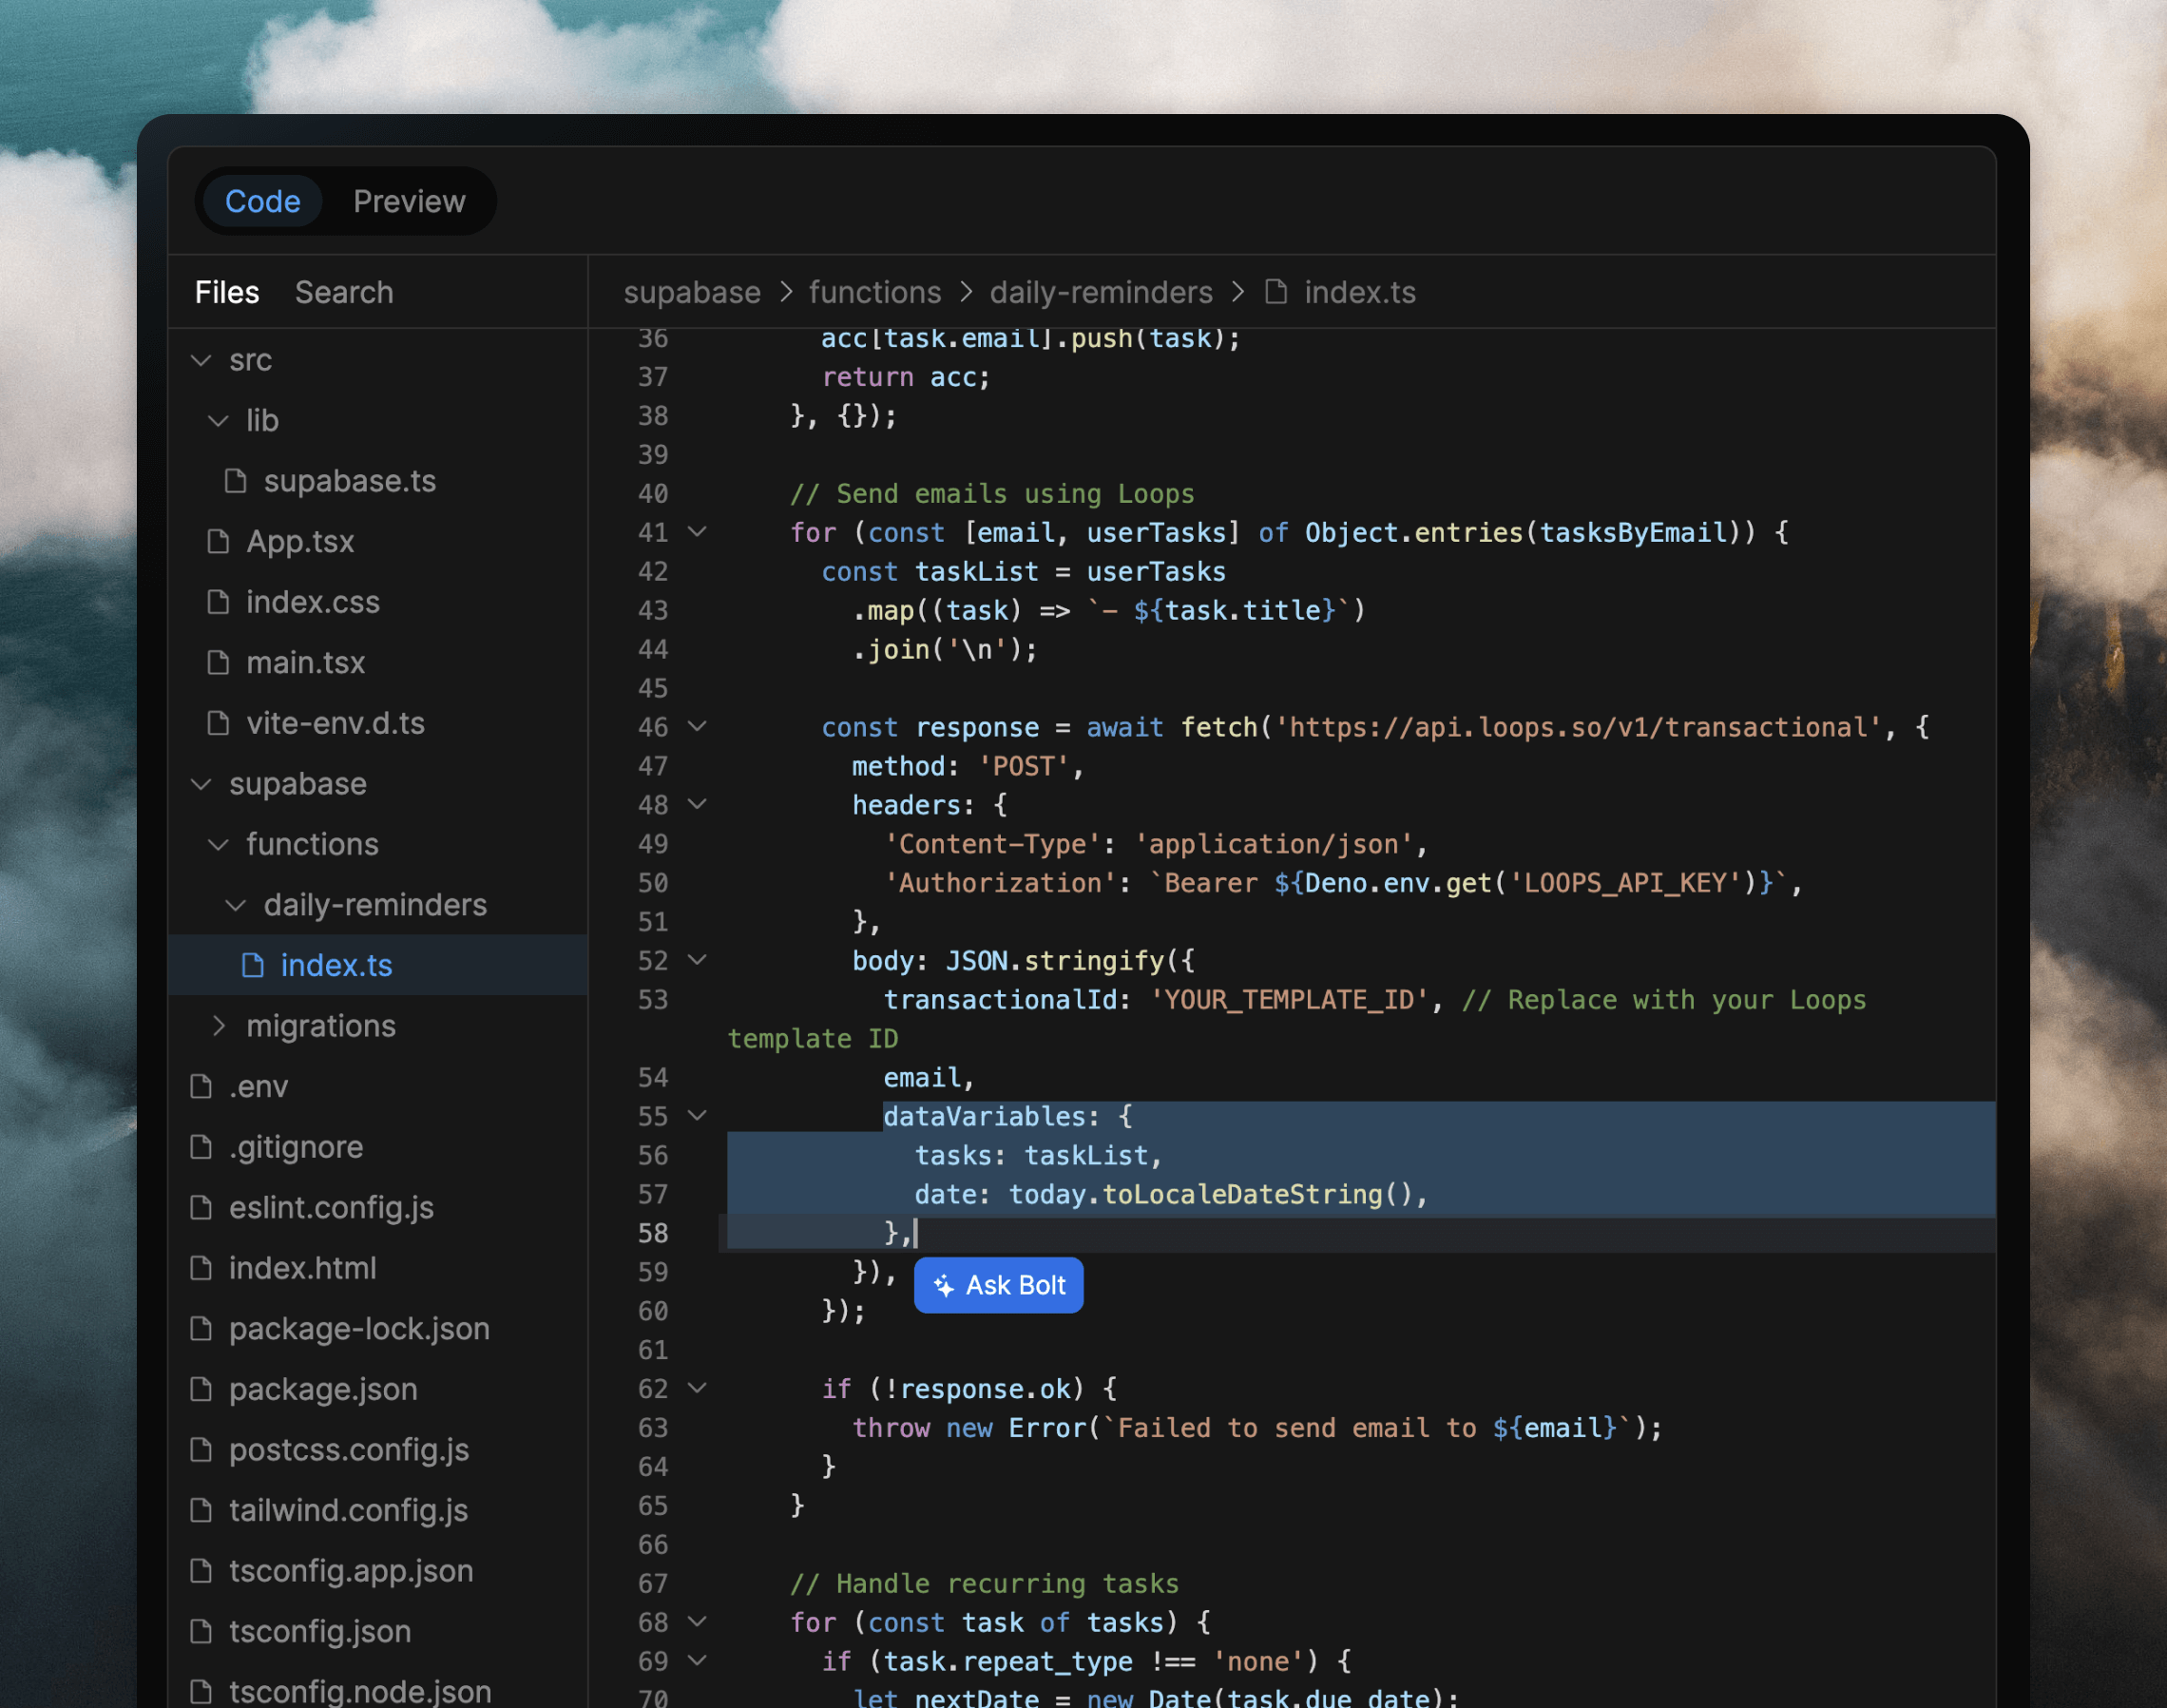
tasks and date to the code, so in my example I added those data variables to the email.
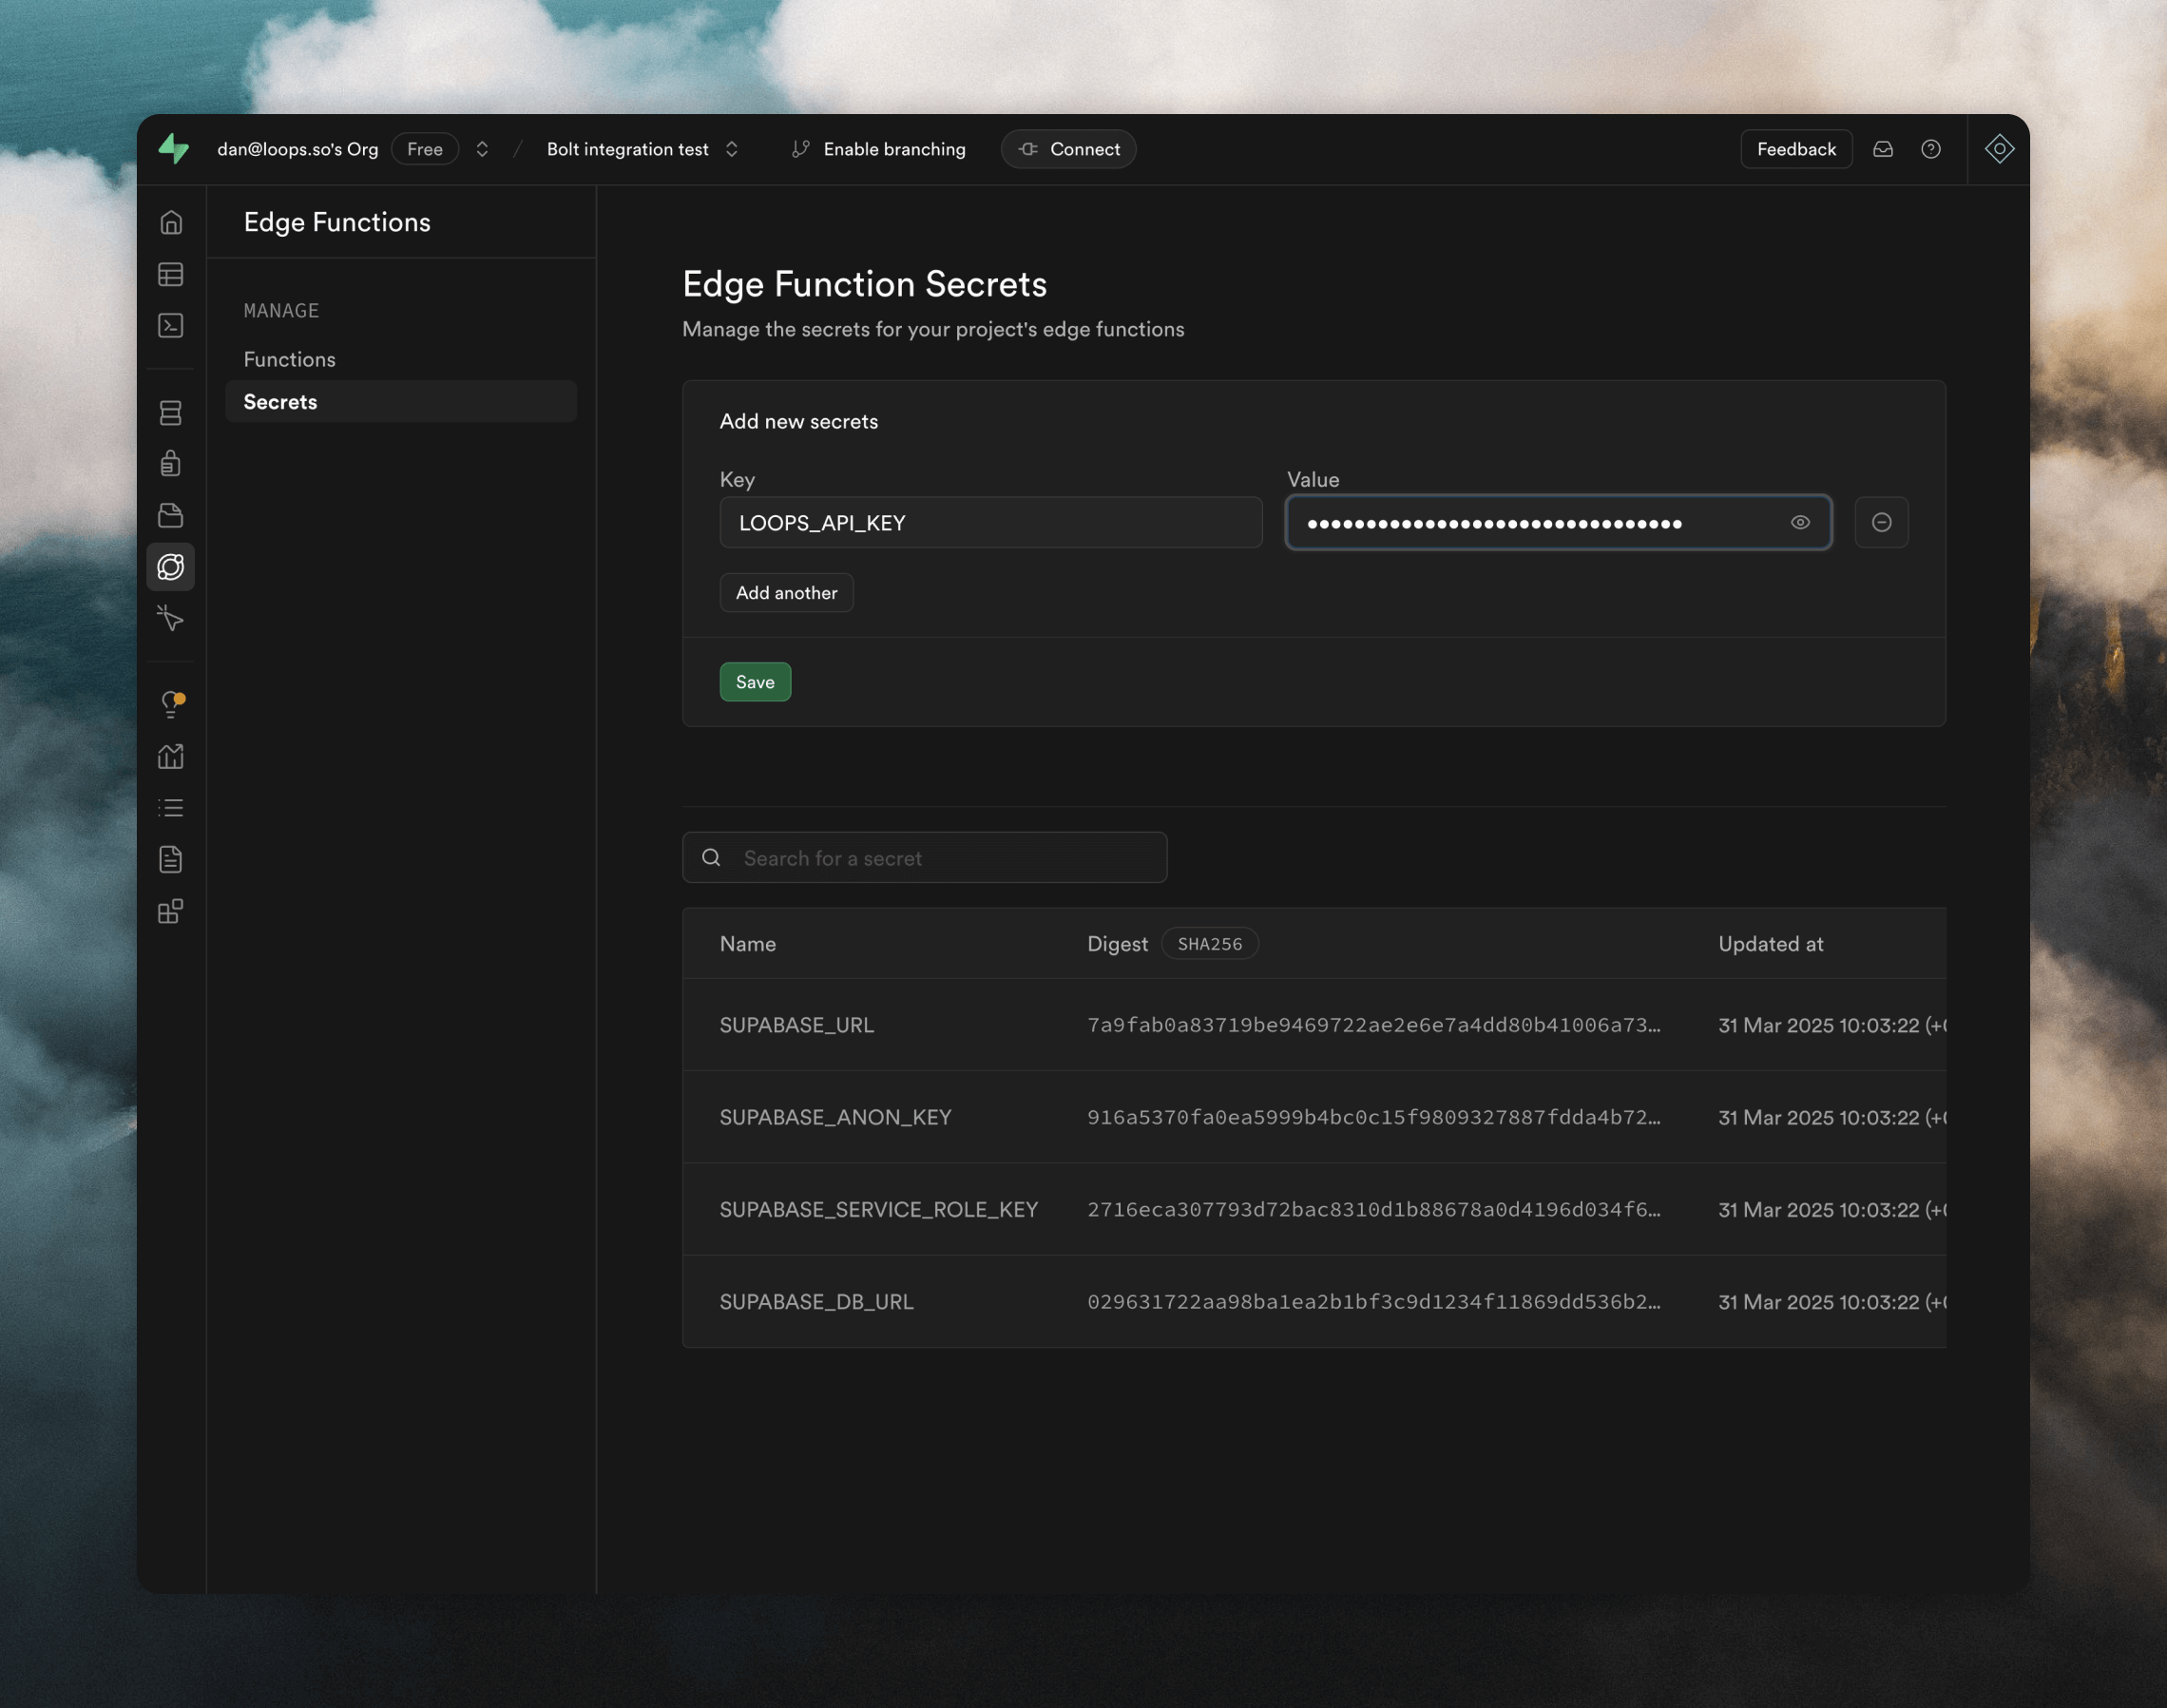
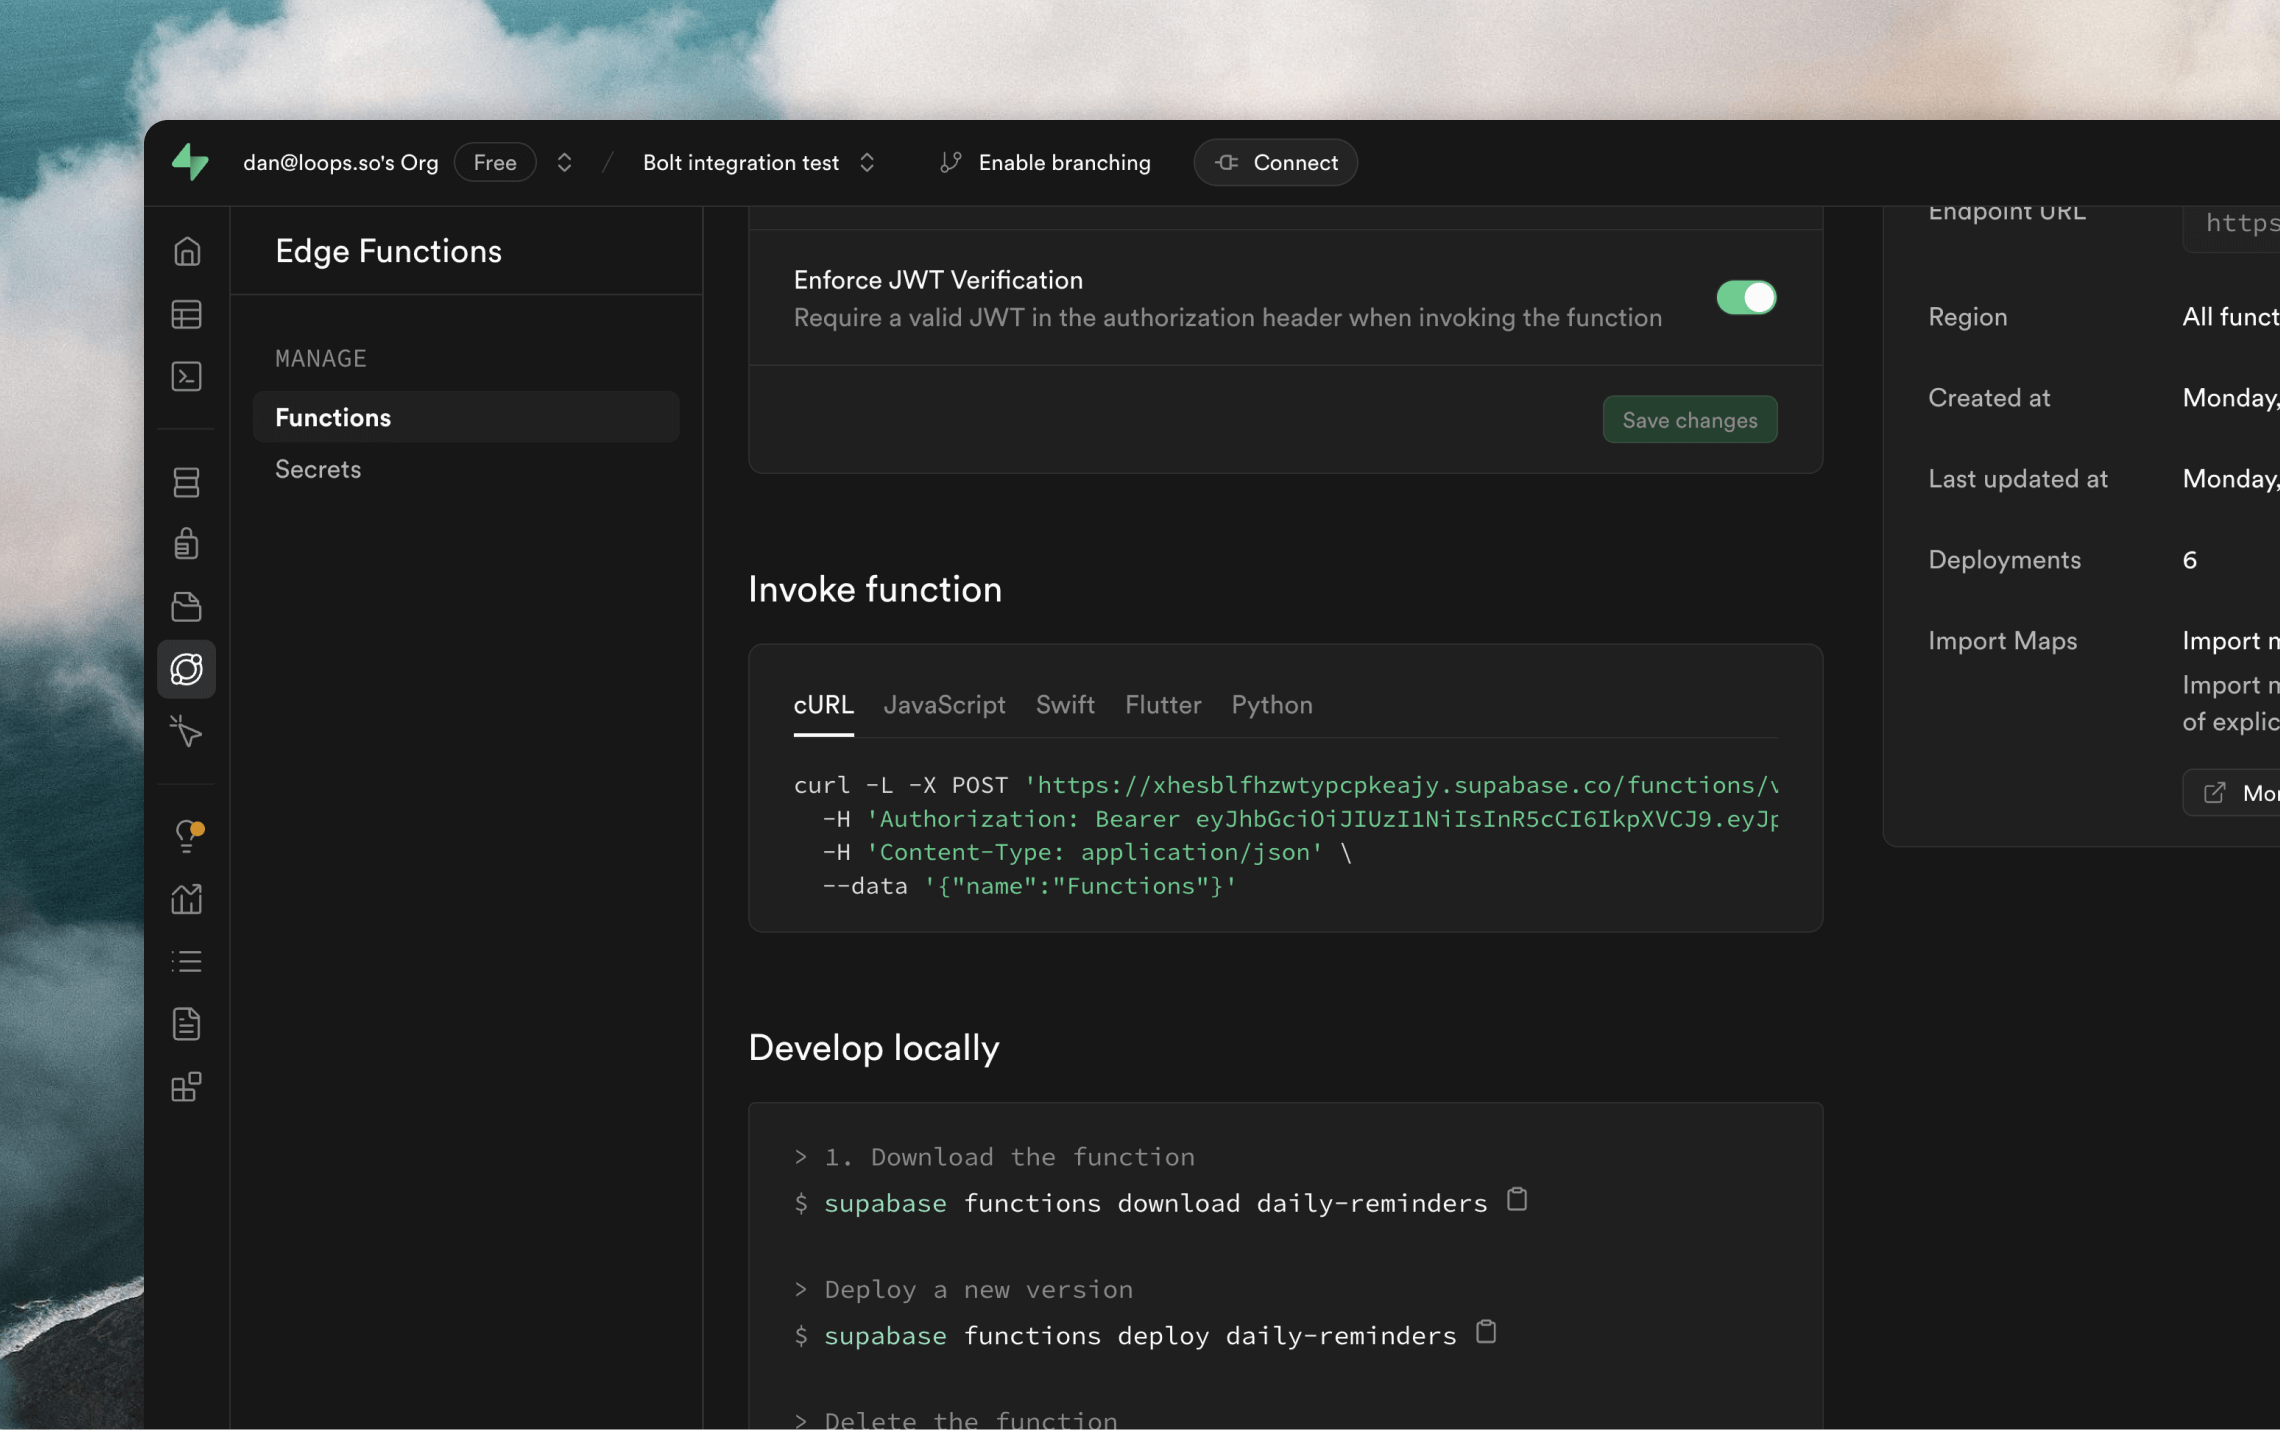
3. Add Loops credentials
As part of the integration with Loops, you will need to add a Loops API key to your code. This tells Loops which account is sending data as well as making sure the correct apps have access to the correct data. To do this, get an API key from your Loops API Settings page. For my example app I needed to add my Loops API key into the Edge Function’s secrets in Supabase (Edge functions -> Secrets). I called mineLOOPS_API_KEY to match the name Bolt used in the code.
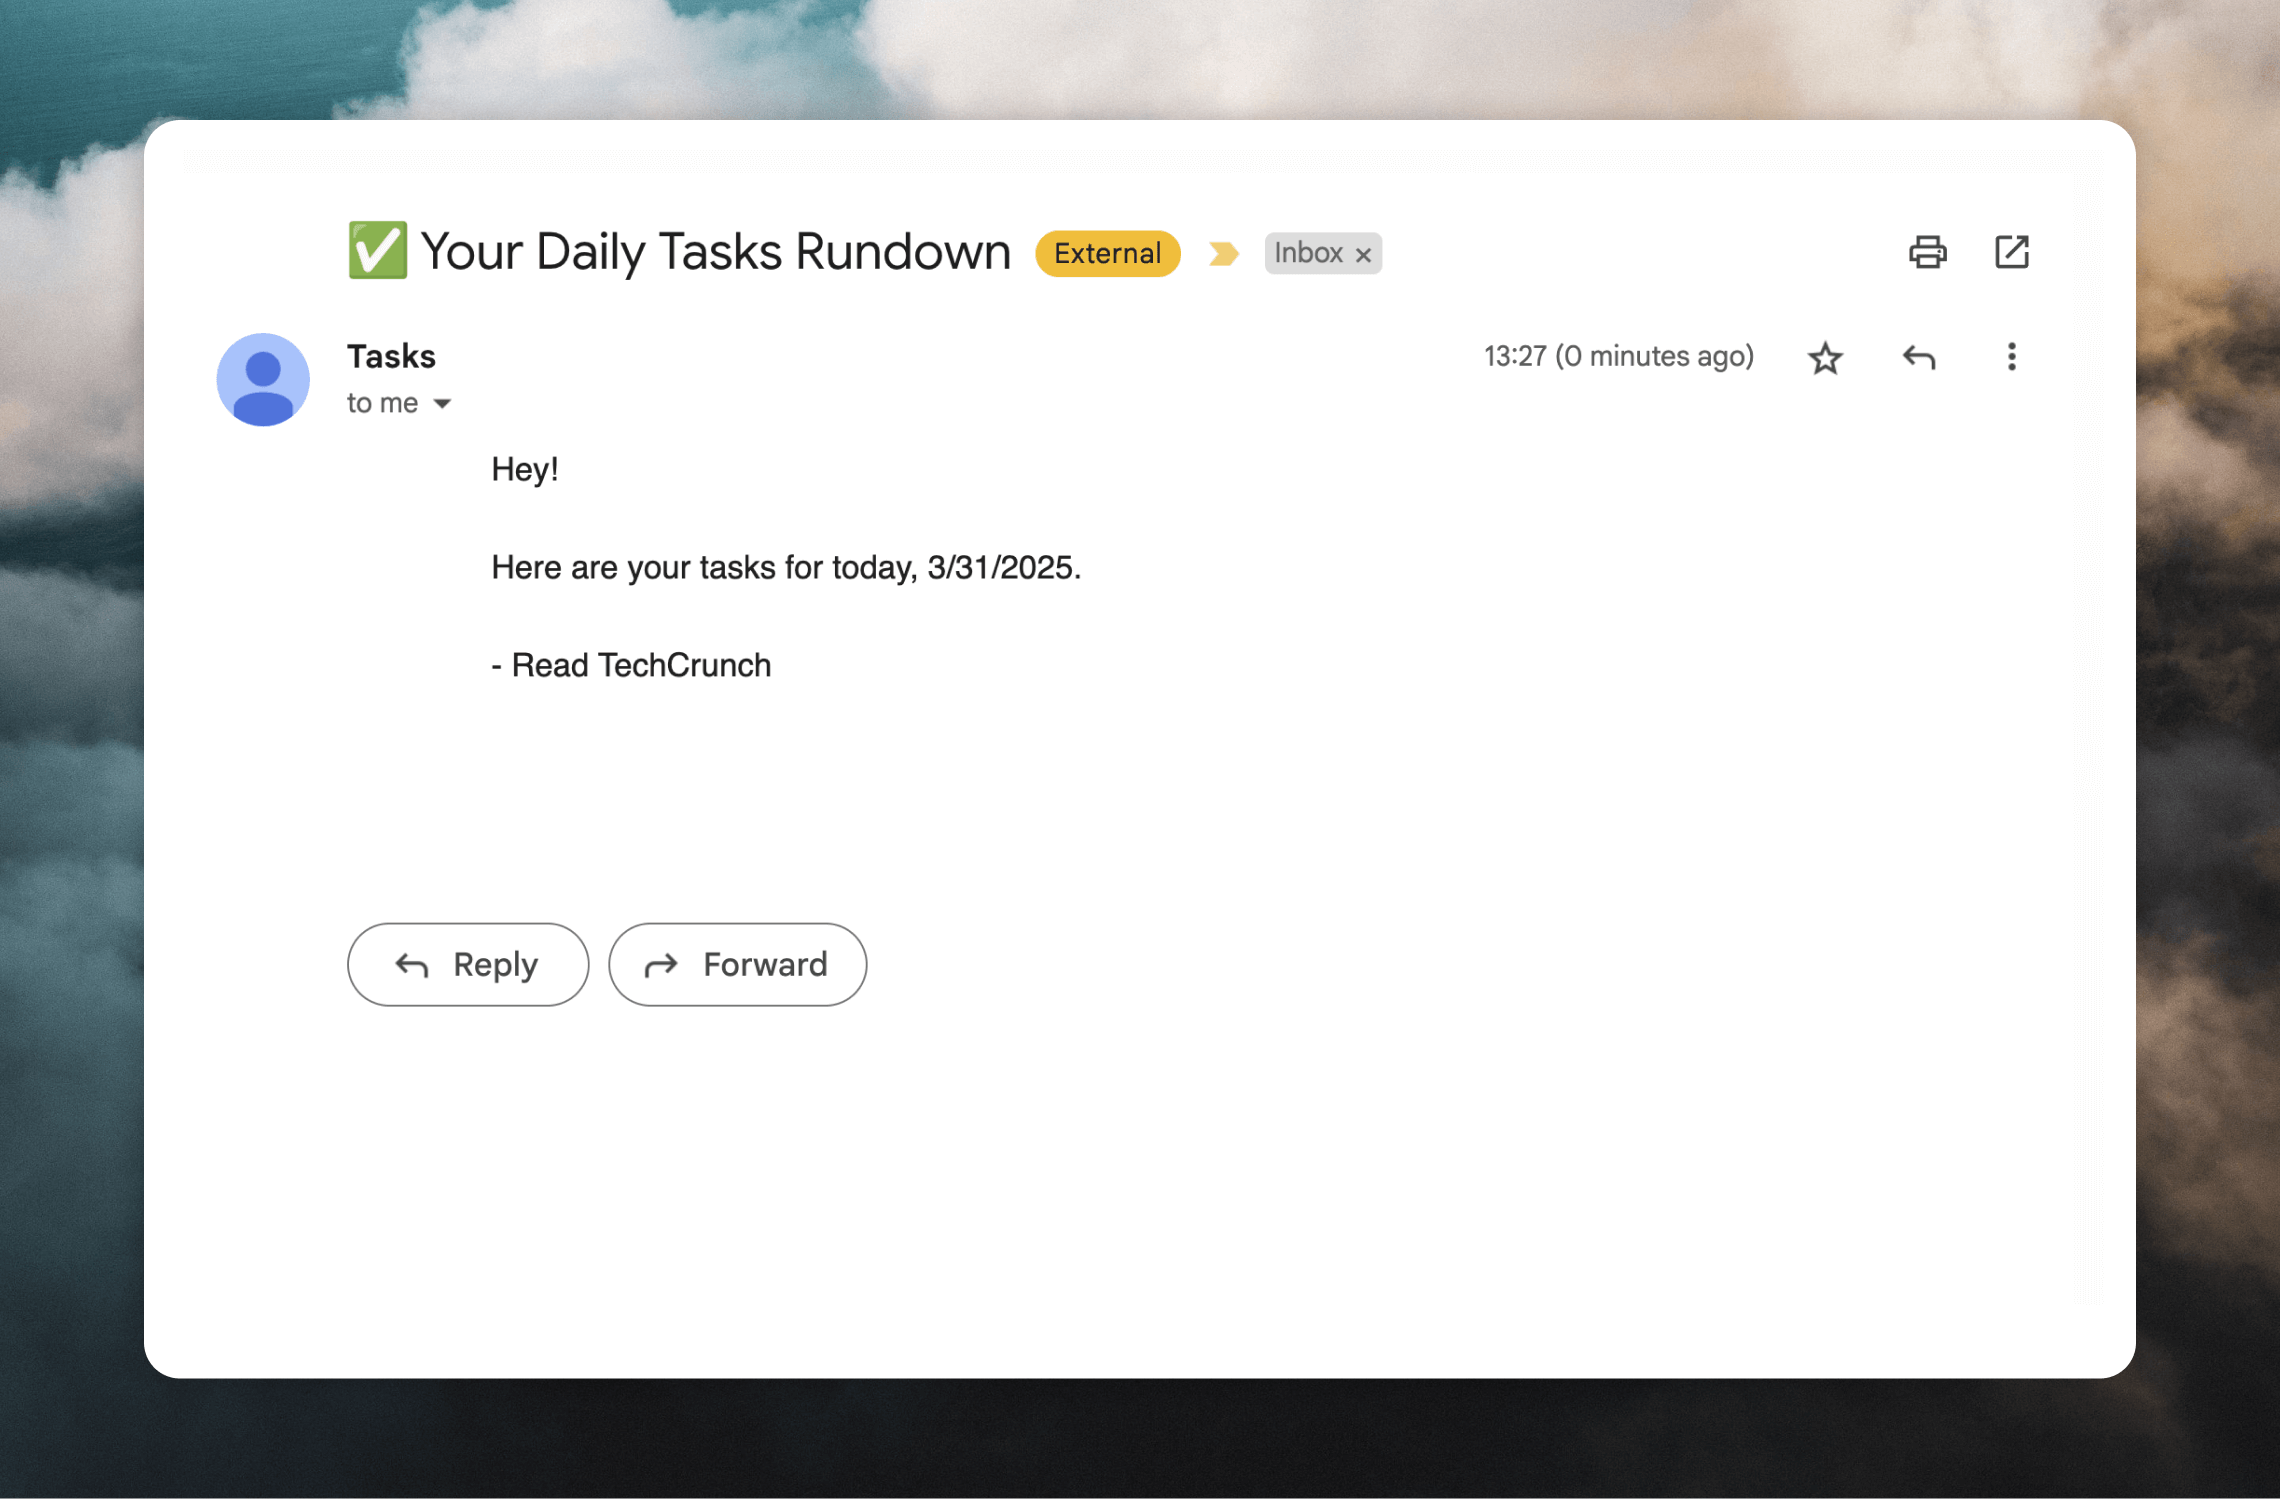
4. Fix bugs
Now that the app is set up, it’s time to see if things are working correctly. For me, I discovered a few bugs. For example, the original Google sign in that Bolt had added didn’t work so I asked Bolt to change to email and password authentication. Overall the app worked as I had prompted. I could sign up and create tasks and the delay feature worked great.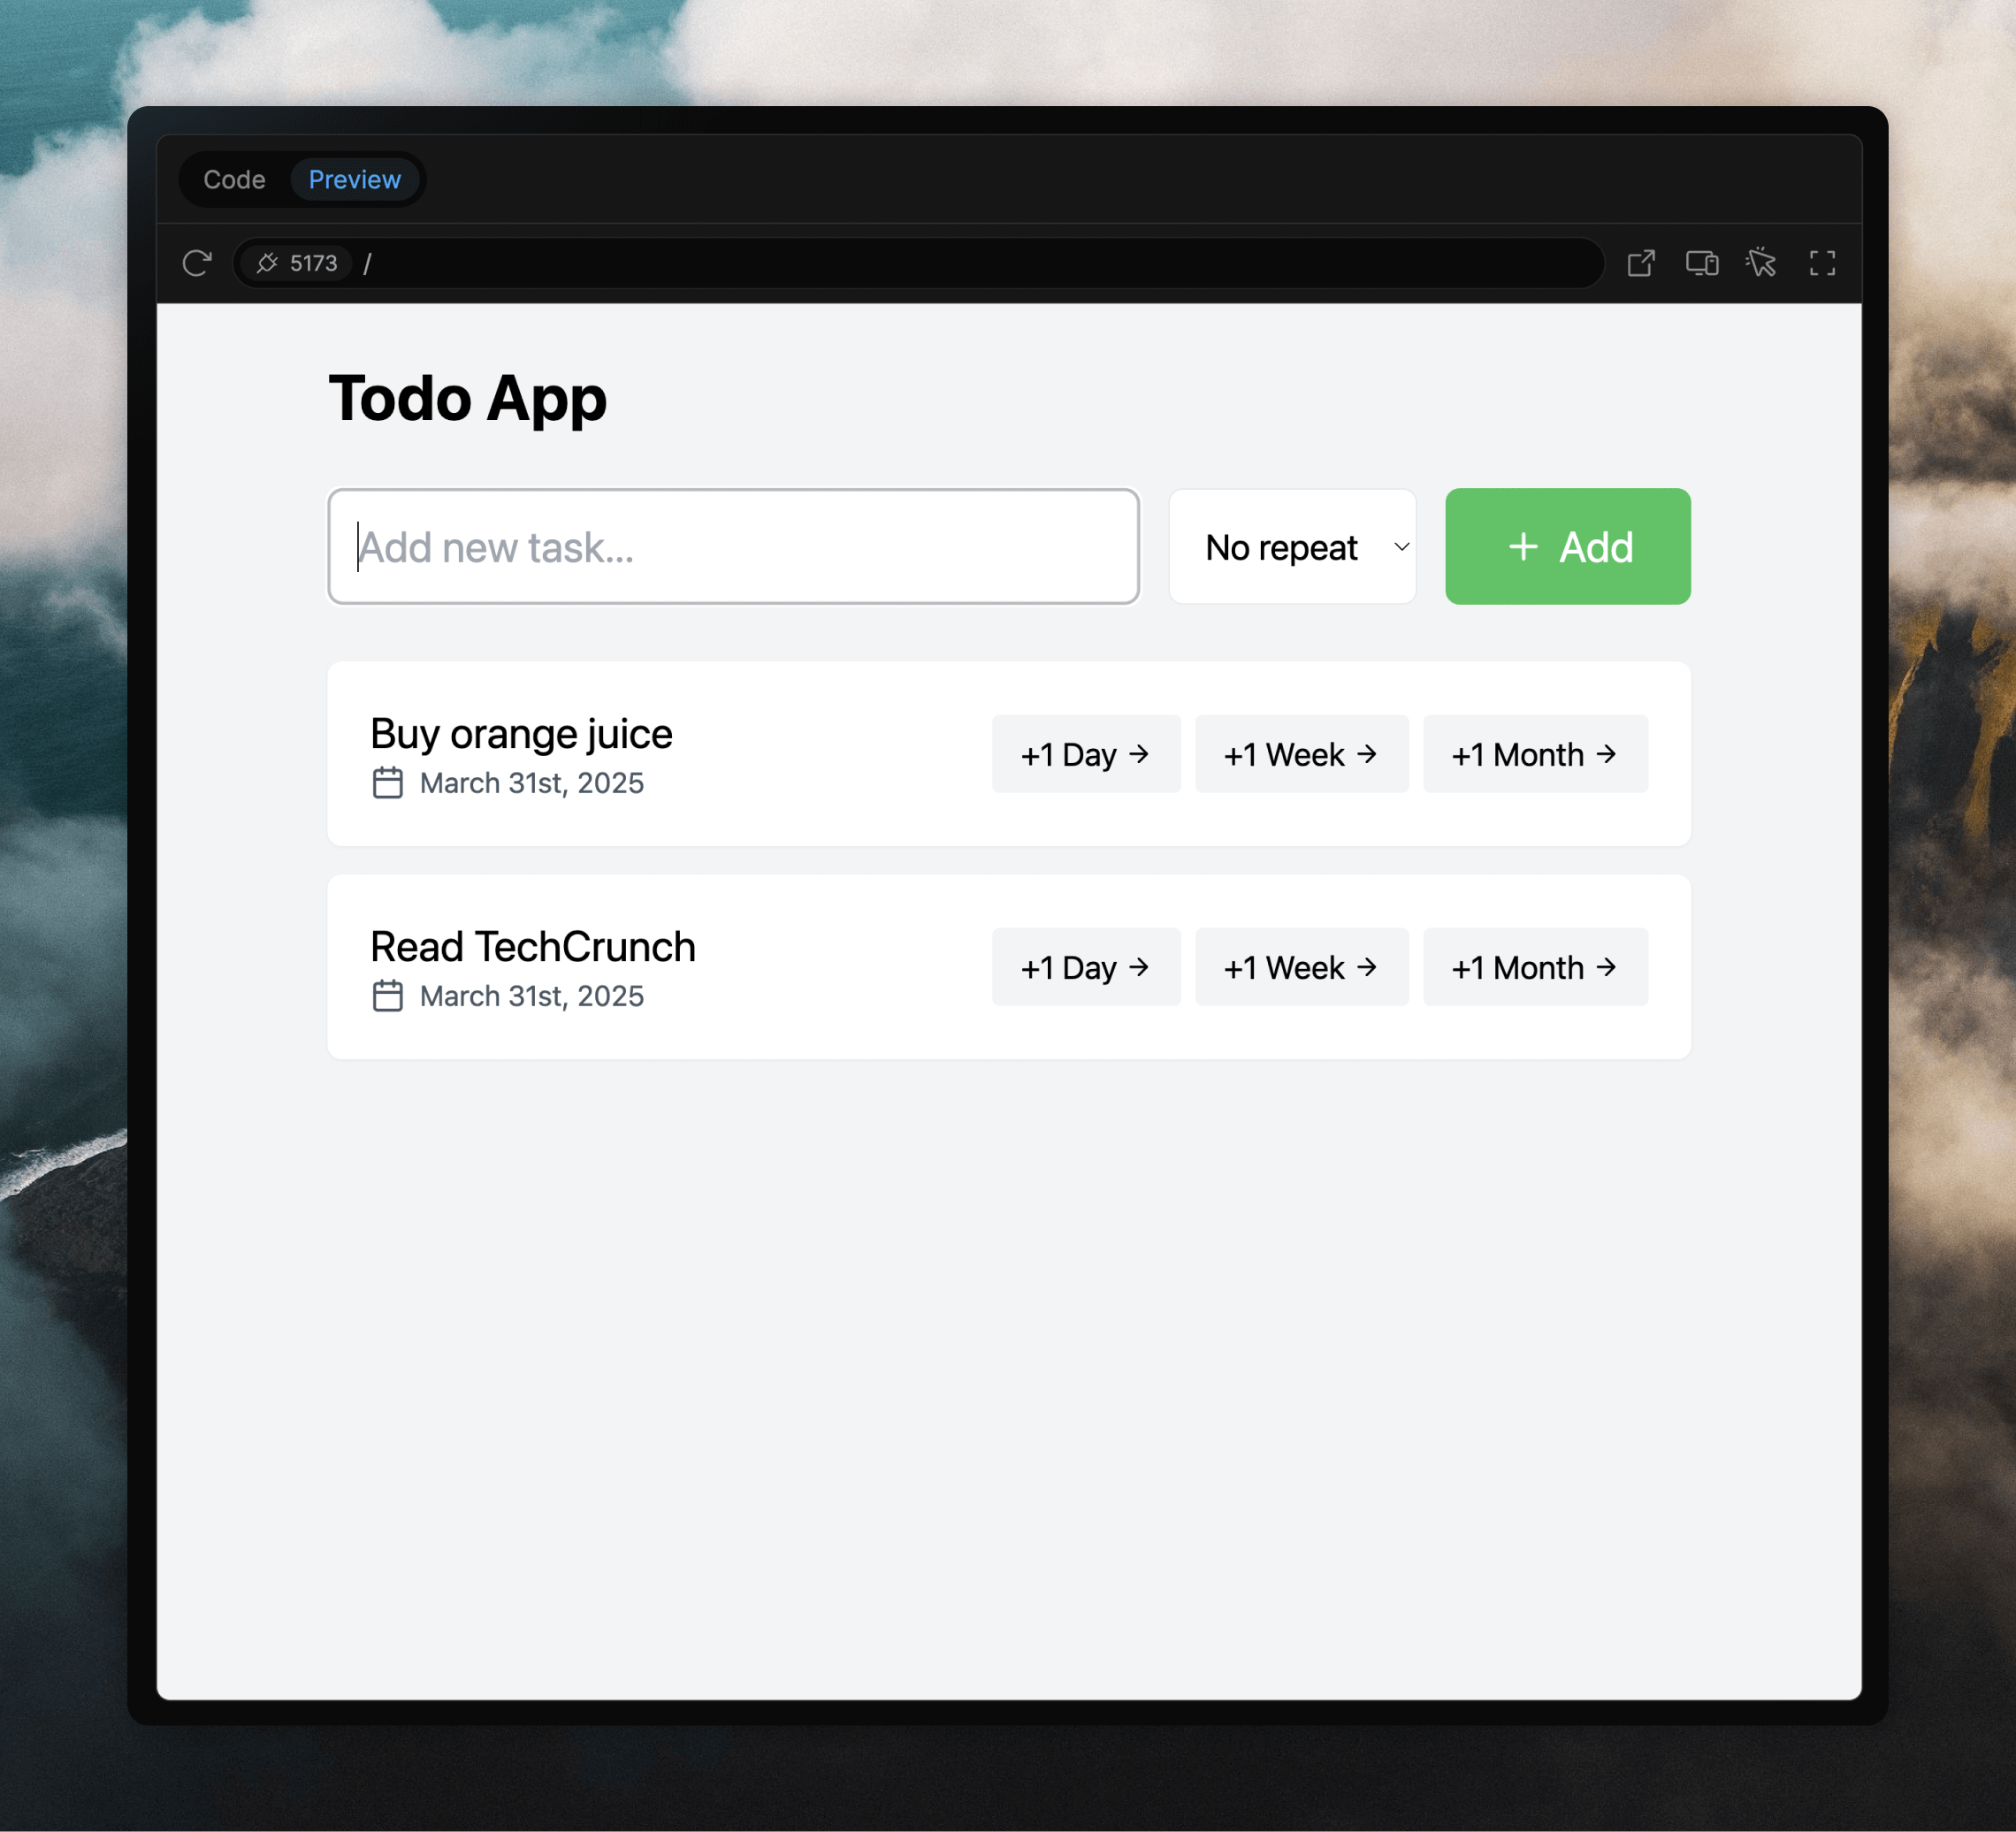
To help with this kind of AI hallucination you can upload or link to our
LLM-friendly docs file within your
prompts or chats.

Loops API
View all of our API endpoints.
Creating emails in the editor
Learn how to create stylized emails and add personalization.
Transactional guide
Read our detailed guide for sending transactional emails.