Step 1: Add your sending domain
During the sign up flow, you are asked to specify your desired sending domain. You can enter any domain here that you can set up DNS records for, and if you choose a subdomain, it doesn’t need to exist yet. We recommend using a subdomain for this, e.g.mail.yourcompany.com, rather than sending from your root domain yourcompany.com.
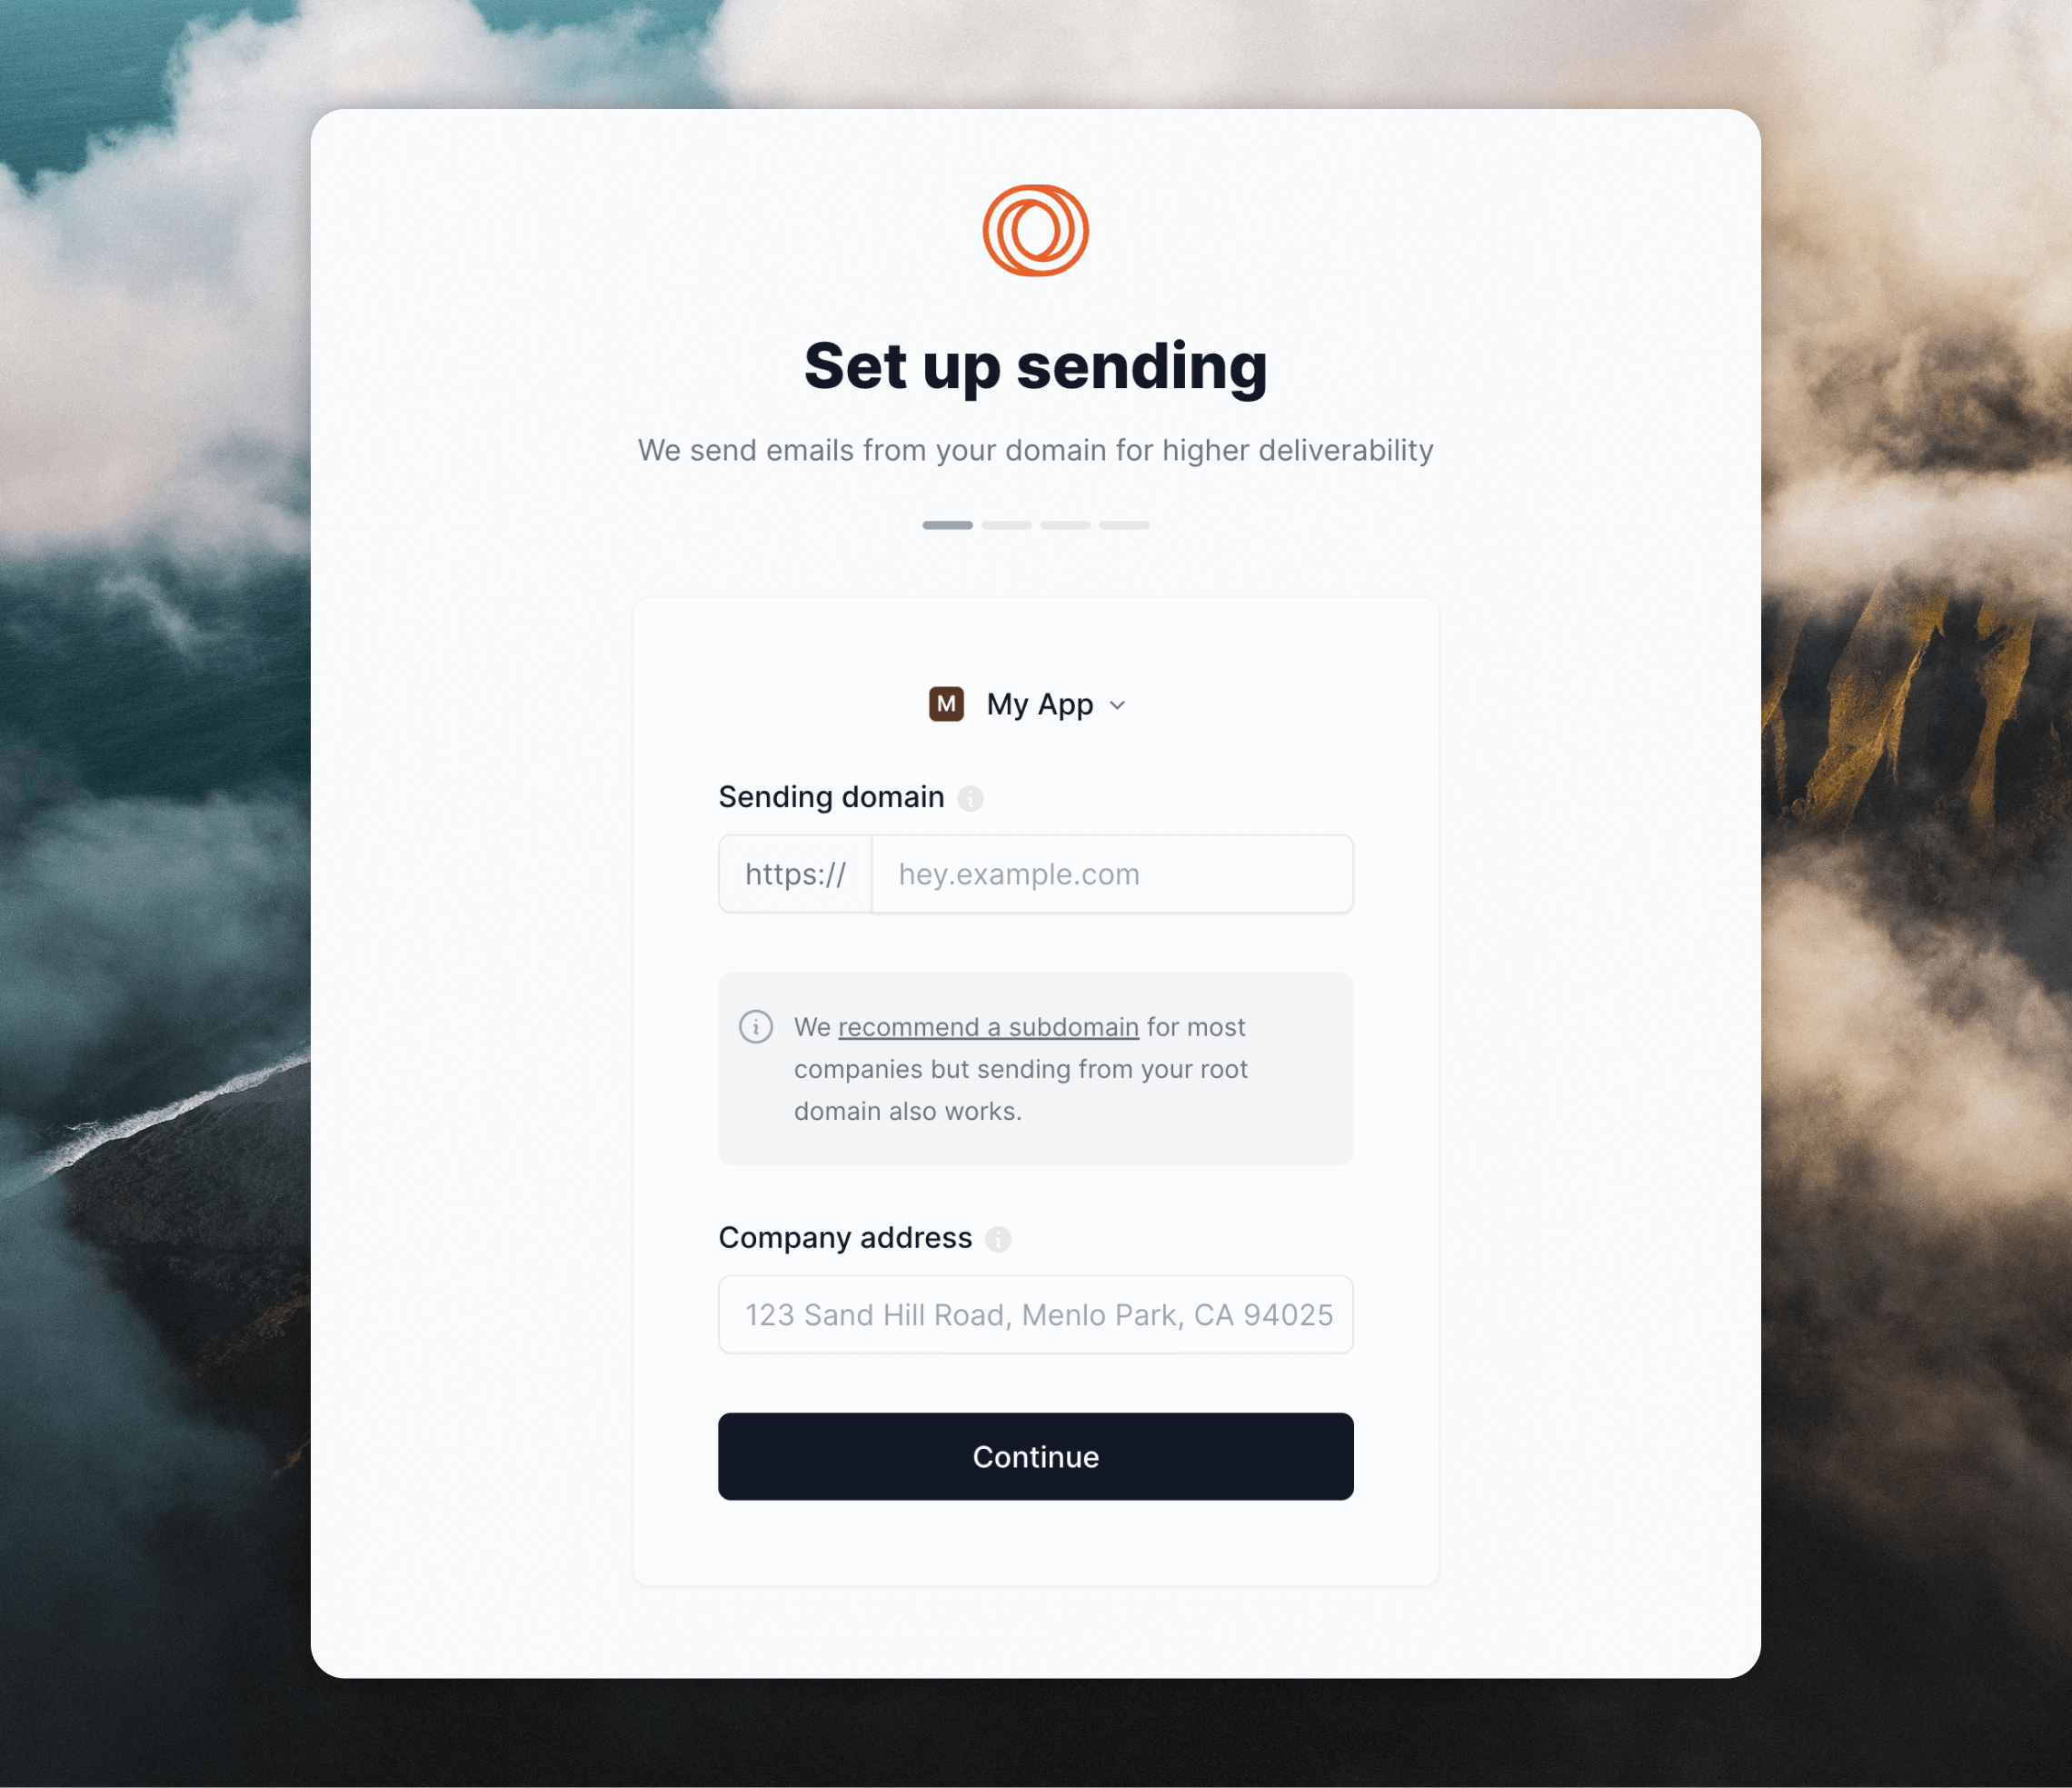
You do not need to create this subdomain with an A or CNAME record. Loops will
provide all DNS records you need to set up.
Step 2: Set up your records
From the Settings -> Domain page, click View records (or click this link to go directly).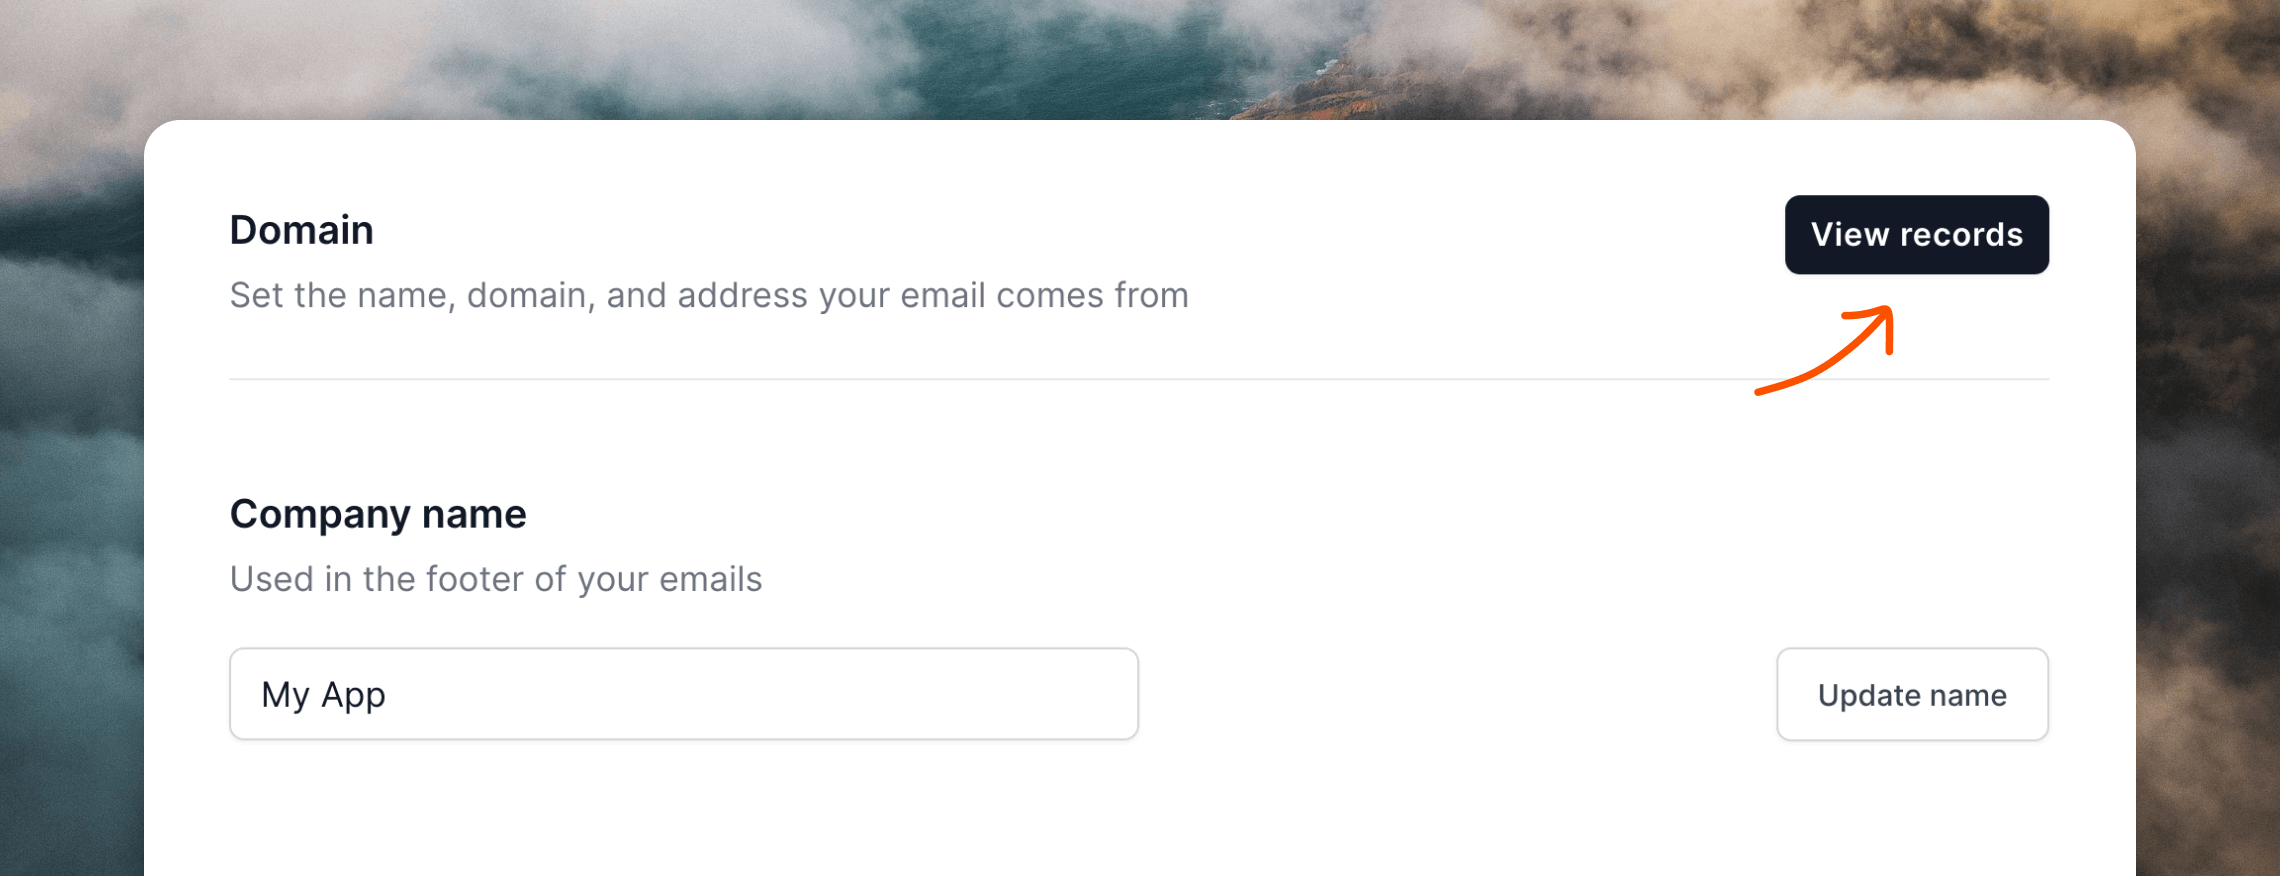
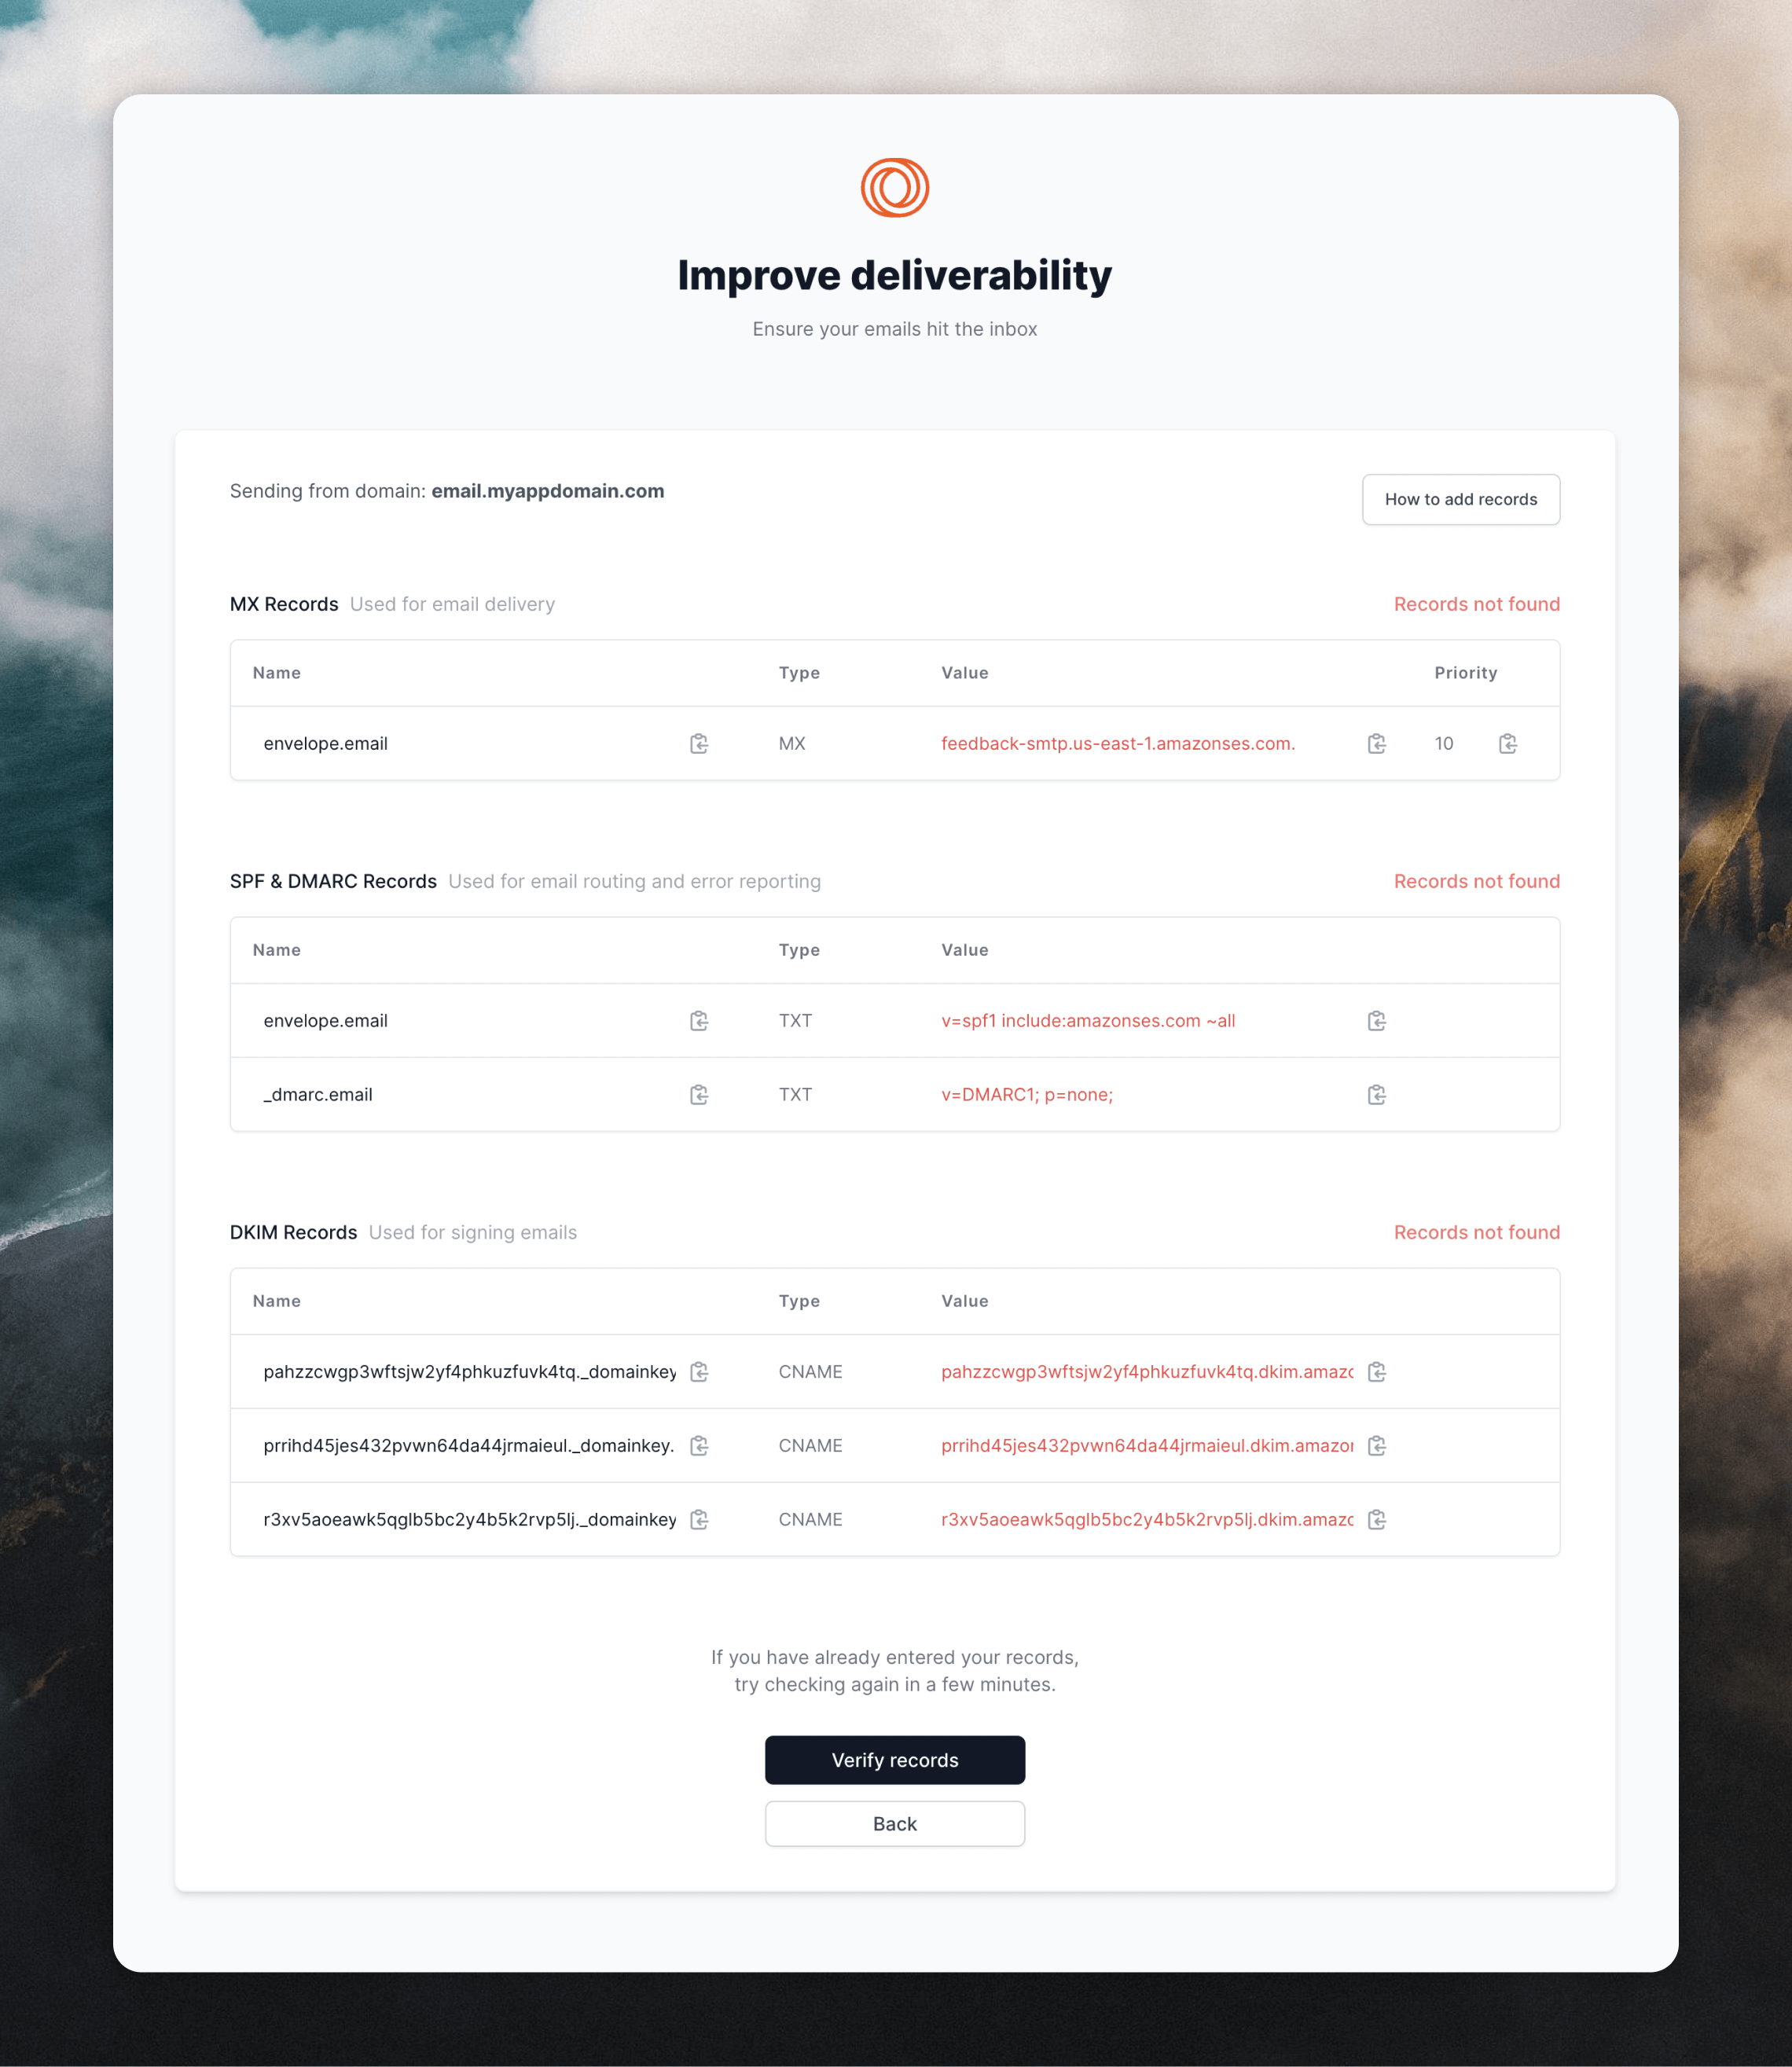
Step 3: Add your domain records
Copy and paste the records one by one into your registrar. You want to use the Type (indicated as TXT, CNAME and MX) in setting up your records, not the title of the record e.g. SPF, DKIM, MX.Want inbox providers to display your verified logo? Set up BIMI (Brand
Indicators for Message Identification) after your domain authentication is in
place. Learn more in our What is BIMI? guide.
Cloudflare
Cloudflare
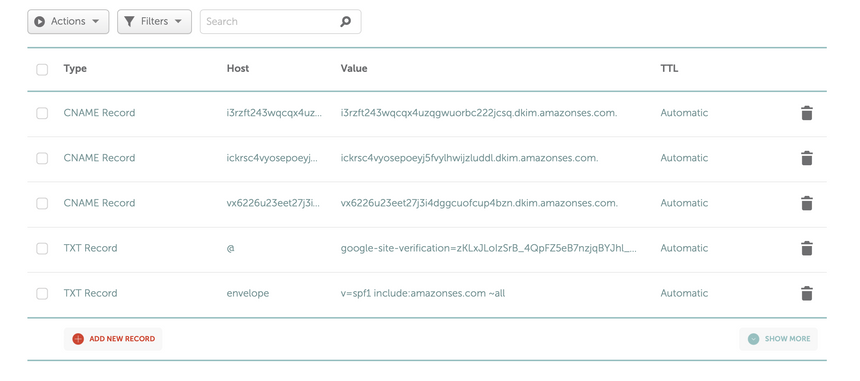
DNS records can be added from the “DNS” page within a website.Click Add record to open the form. Select a “Type” (TXT, MX or CNAME), then paste the “Name” and “Value” information.Read the guideBe sure to set the proxy to “DNS Only” for the CNAME records: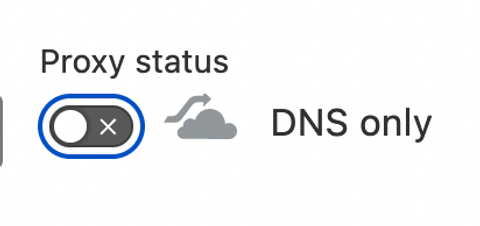
Dreamhost
Dreamhost
Dreamhost is currently unsupported in full because you cannot add custom MX records.
GoDaddy
GoDaddy
For GoDaddy, read this guide.
Google Domains
Google Domains
Google Domains (and potentially other providers) combine the mail server and
priority inputs into a single line. So if you receive an error like this when
setting up the domain, make sure to instead type out the input like this: 
10 feedback-smtp.us-east-1.amazonses.comNamecheap
Namecheap
Go to the Advanced DNS page for your domain.If you are using the automatic Gmail/Gsuite integration with Namecheap, you
will need to disable the automatic integration and switch to Custom MX in the Mail Settings dropdown. You then need to add an MX record to set up Gmail on your domain again.Then you can add Loops’ MX records by clicking Add new record in the “Mail Settings” section and pasting in the values provided in Loops. Click the 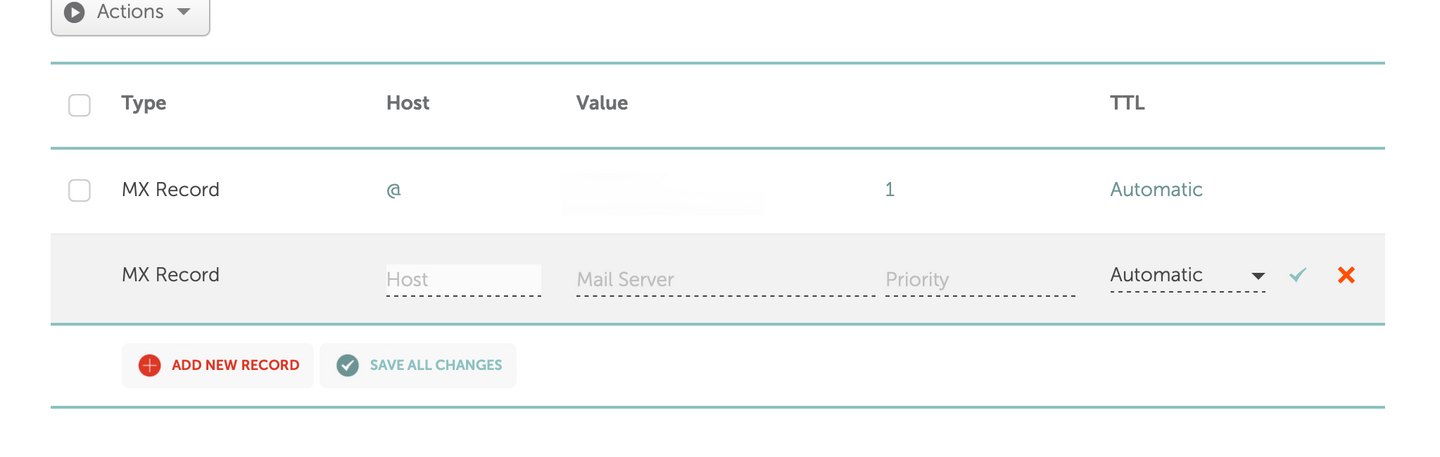
✓ icon to save each record.Route 53
Route 53
For Route 53, read this guide.
Squarespace
Squarespace
For adding your records to Squarespace, read this guide.Note that you might need to trim a trailing period from the record values.
Wix
Wix
Unfortunately, Wix DNS does not support subdomains for MX records when your nameservers are pointed at Wix.If you purchased a domain outside of Wix, you should use the “Pointing” method for your domain, which will let you set up DNS records externally at a domain registrar. Then you can add records using this guide.
Step 4: Verify your records are set up correctly
After you have copied and pasted your records into your domain registrar, click Verify Records at the bottom of the page to check your configuration is correct. If the domain is set up correctly, you should see a page like the one below. If not, check back soon; sometimes records can take some time to propagate. Notice the “Records present” in green next to each record section.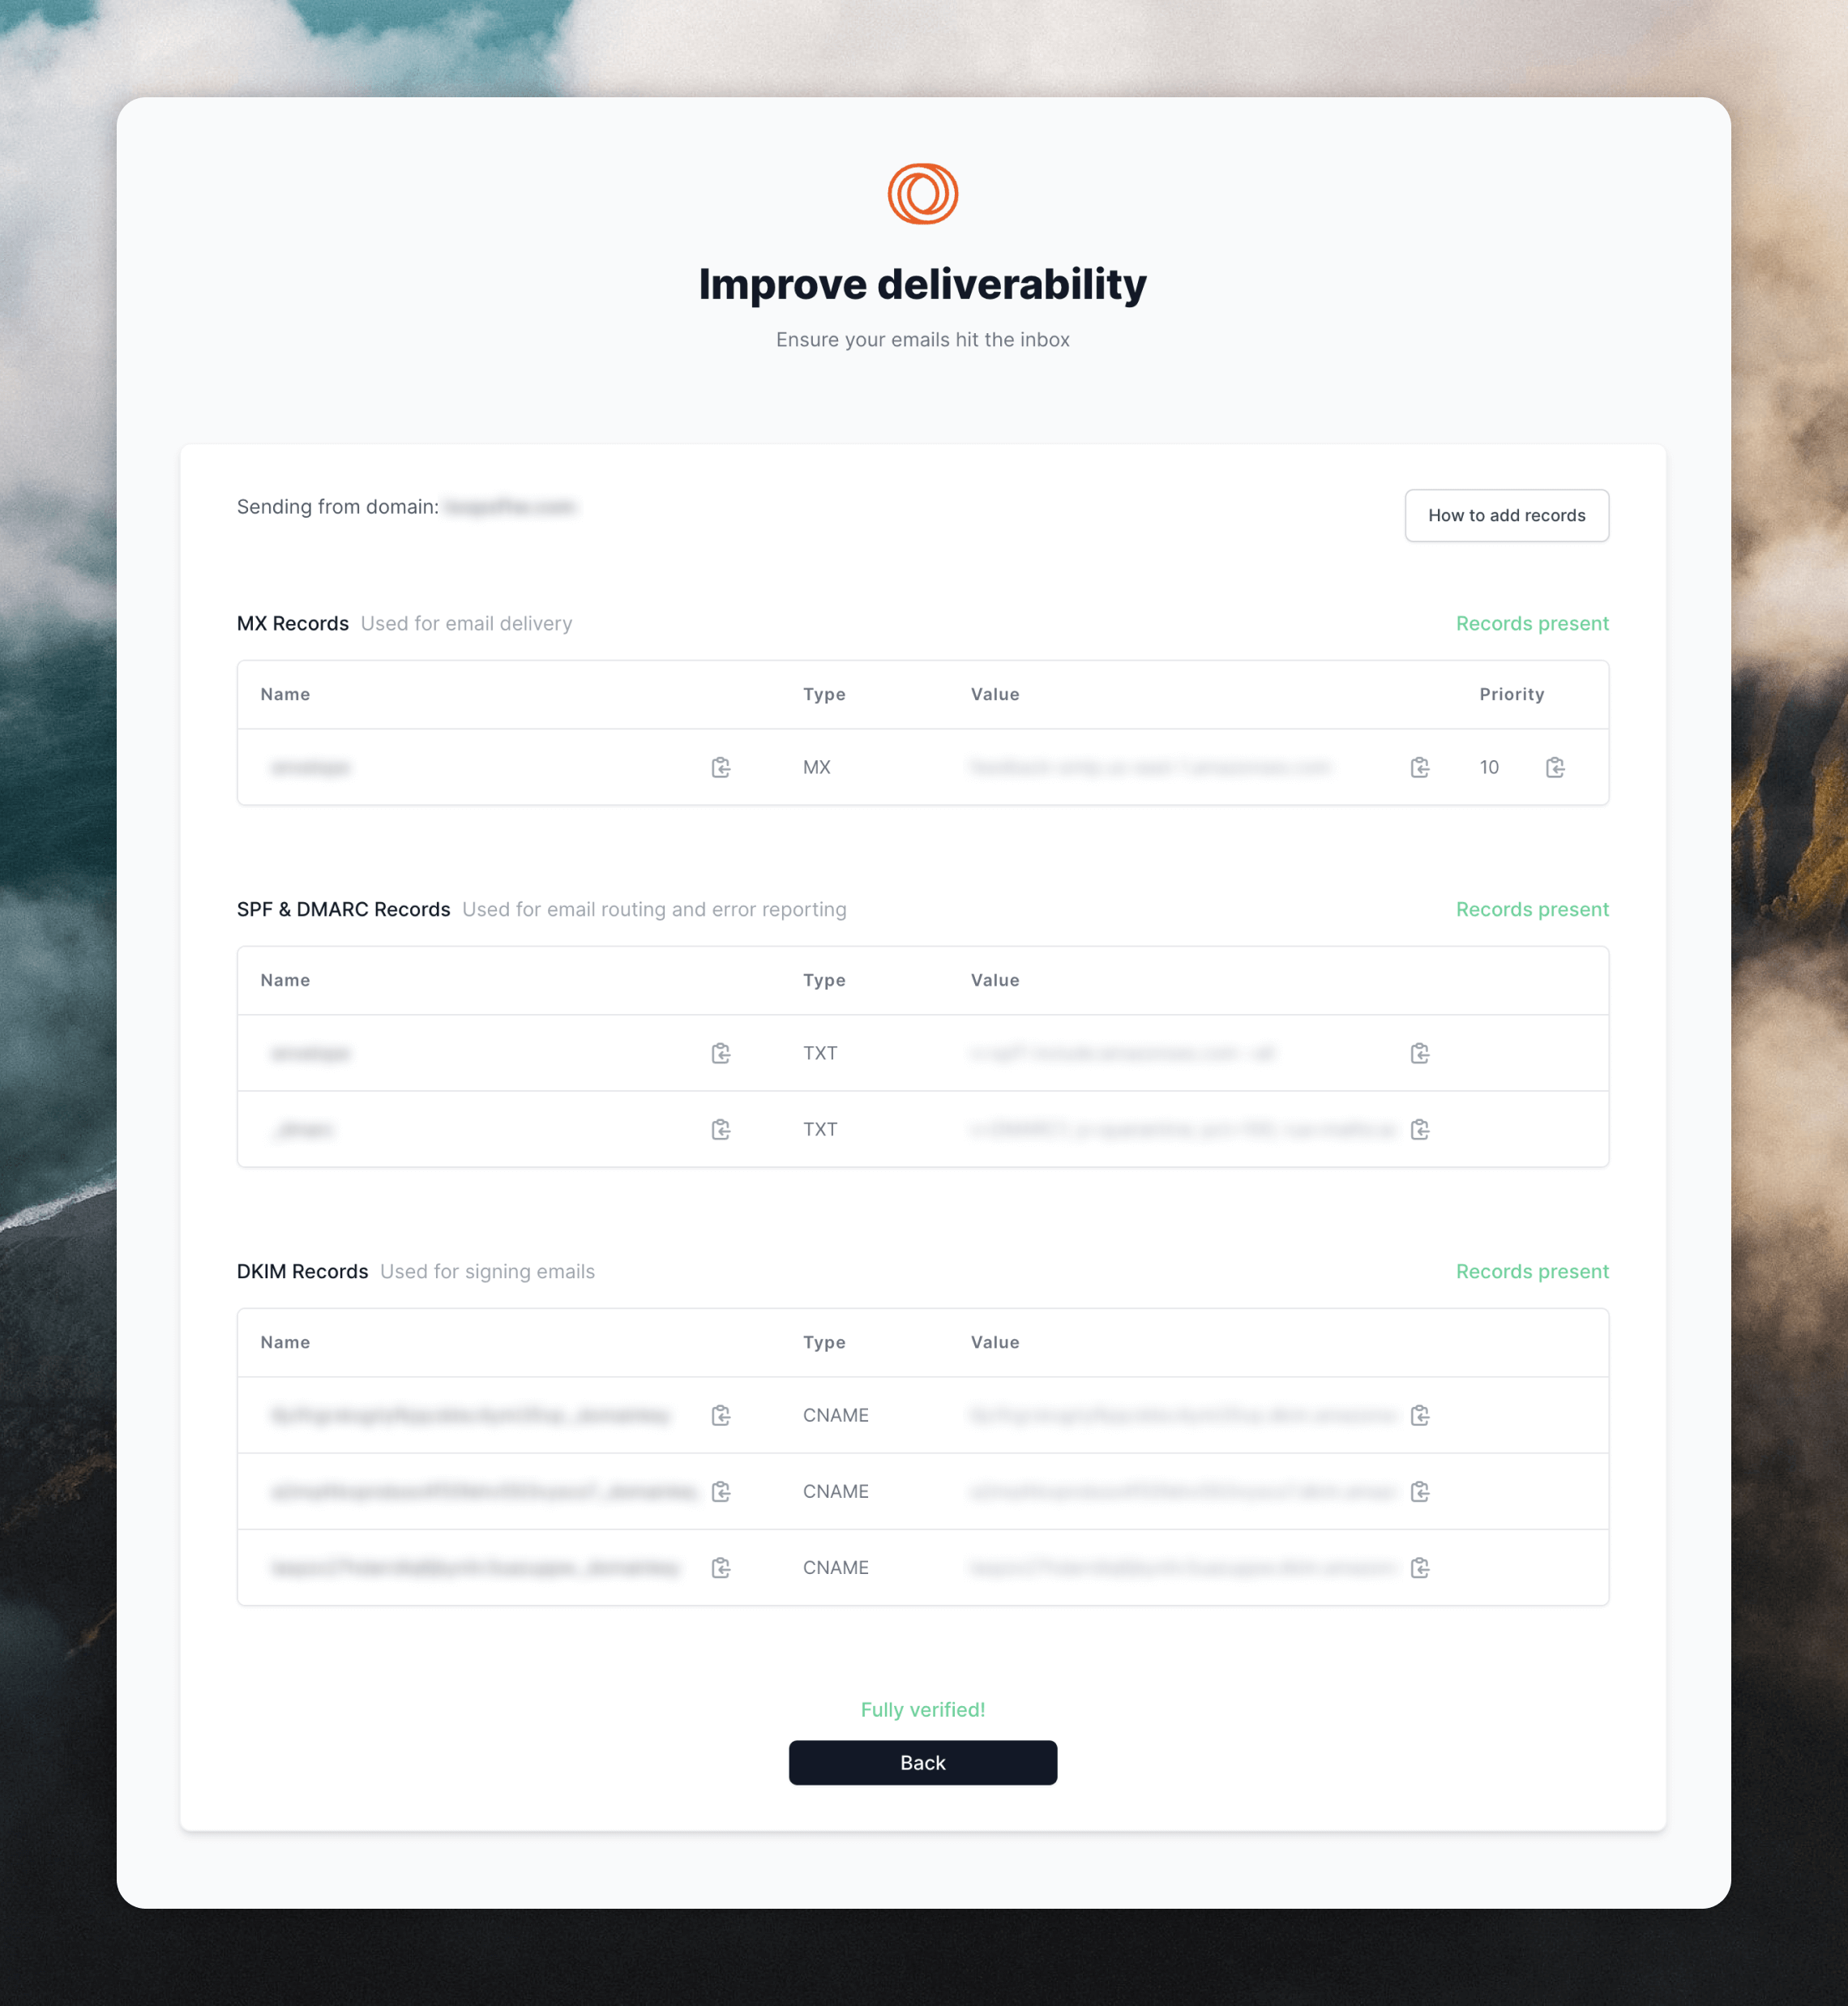
Domain already in use
If you’re getting a “domain already in use” error when trying to set up your domain, this typically means someone on your team has already registered an account with Loops using your domain. Here are the steps you can take to resolve this:Signing in with another account
Signing in with another account
Go to the Loops login page and request a login link
using your email address.
Search your inbox
Search your inbox
Search for
loopsbot@mail.loops.so in your email inbox(es) to see if you
have received other registration or login emails from Loops.Check with your team
Check with your team
Ask your teammates if someone has already set up a Loops account for your
organization. If so, ask them to invite you to the existing account.