> ## Documentation Index
> Fetch the complete documentation index at: https://loops.so/docs/llms.txt
> Use this file to discover all available pages before exploring further.
# Laravel
> Send transactional emails from your Laravel project using Loops' SMTP service.
Transactional emails with Loops simplifies your code. With our WYSIWYG editor and API-like payloads, you can design and manage email templates outside of your codebase, ensuring cleaner code and easier template maintenance.
Unlike older SMTP services, Loops requires the body of emails sent via SMTP to
be formatted as an [API-like payload](/smtp#how-it-works). This approach
allows you to use Loops' [powerful email editor](/creating-emails/editor) to
craft your emails and keep email templating outside of your application code.
Every email sent over Loops SMTP requires a transactional email to be set up
in your Loops account. Note the `transactionalId` value in the email payload.
Here's how you can set up transactional emails with Loops SMTP in Laravel:
Create transactional emails in Loops using the [editor](/creating-emails/editor).
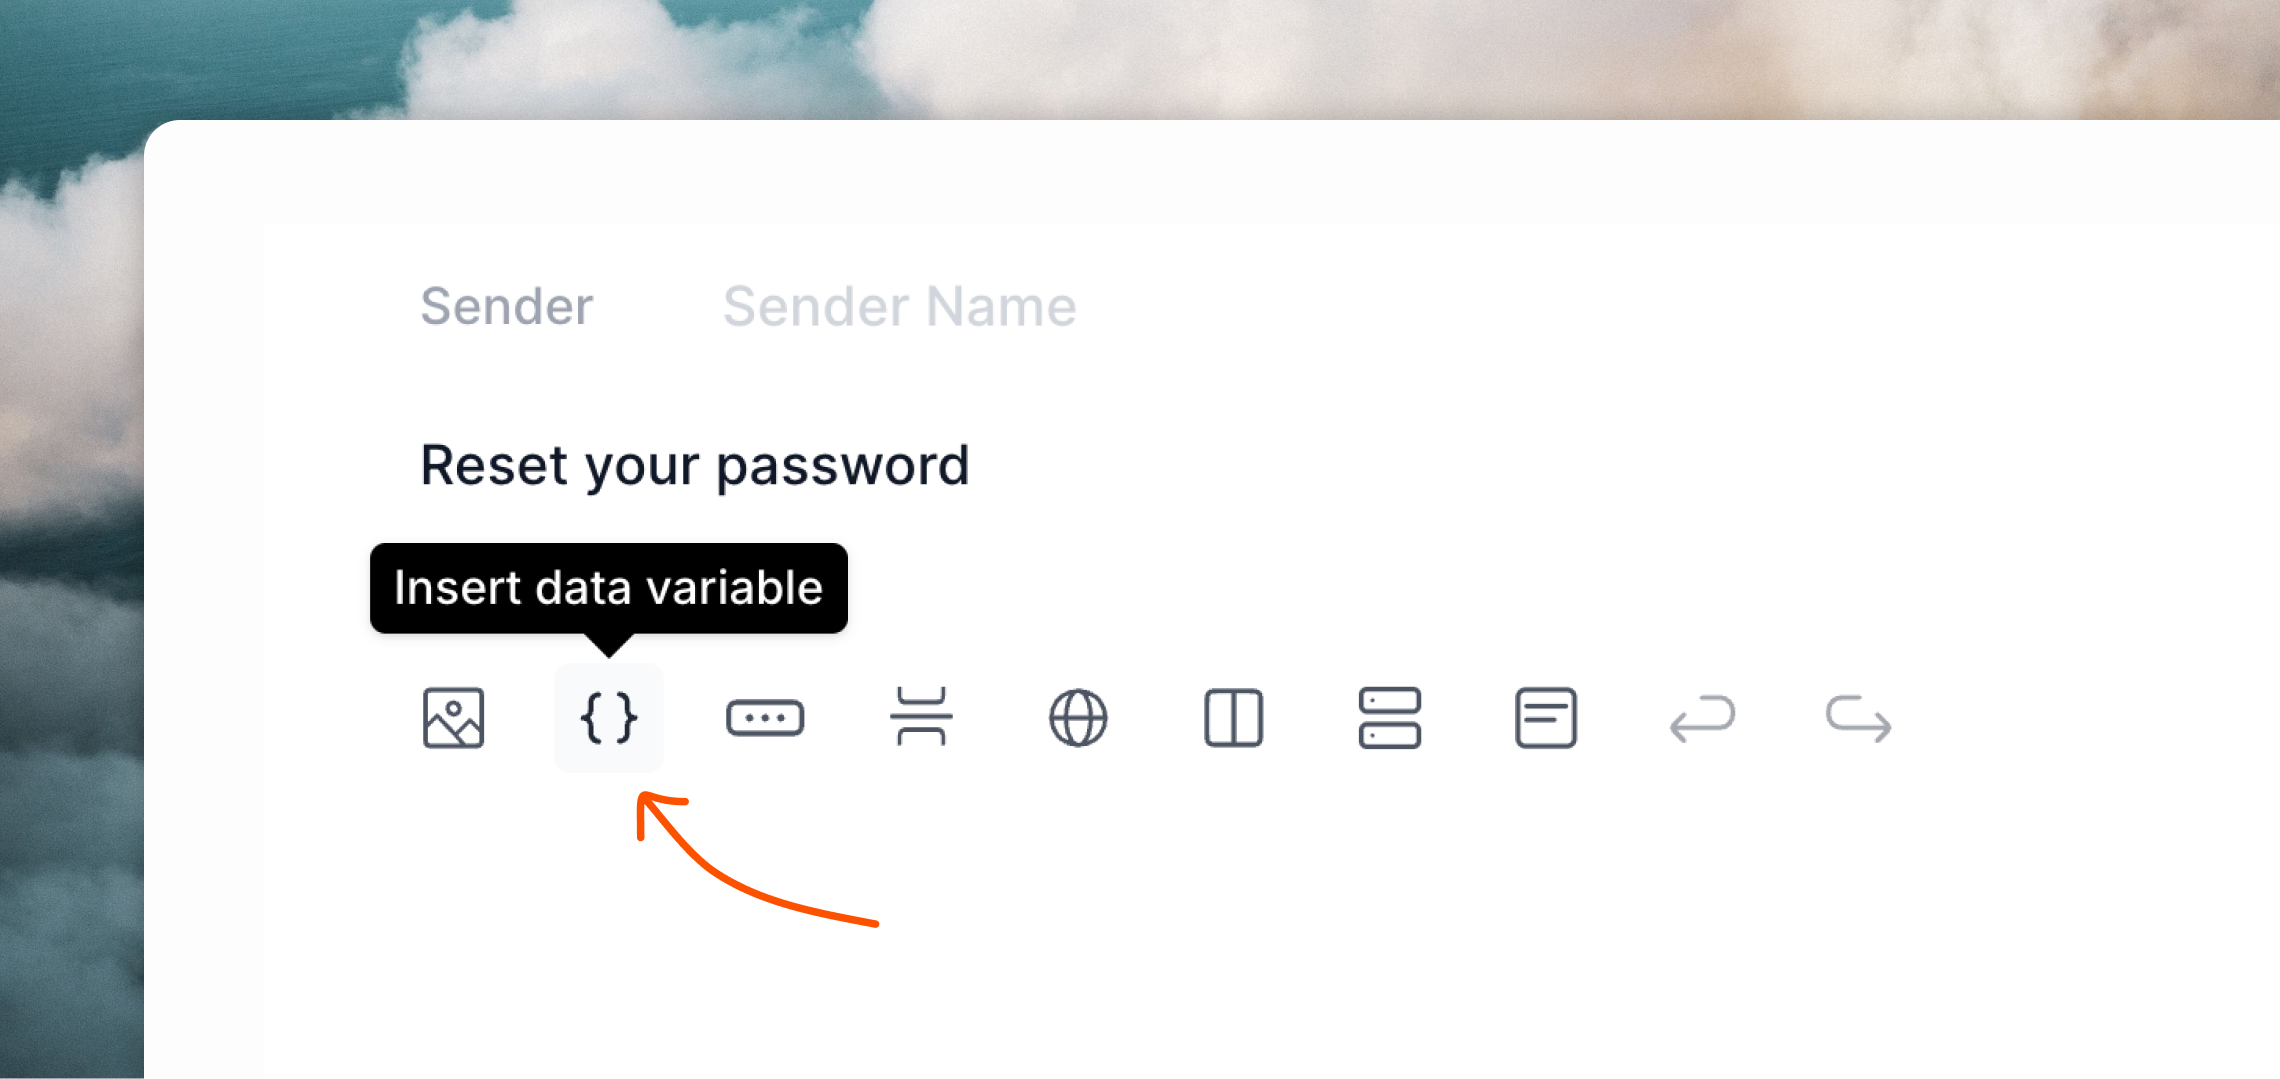
Add [data variables](/transactional#add-data-variables) to your emails for any dynamic content you want to send from your Laravel application.
 To configure Loops SMTP in your Laravel project, add the following values to your `.env` file.
`MAIL_PASSWORD` should be an API key from your [API Settings](https://app.loops.so/settings?page=api) page.
```bash .env theme={"dark"}
MAIL_MAILER=smtp
MAIL_HOST=smtp.loops.so
MAIL_PORT=587
MAIL_USERNAME=loops
MAIL_PASSWORD=
MAIL_ENCRYPTION=tls
```
Now you can send emails from your application.
If you haven't already, create a mailable class, for example `AuthEmail`:
```bash theme={"dark"}
php artisan make:mail AuthEmail
```
Loops' SMTP system doesn't send full HTML emails directly. Instead, you should provide a structured API-like payload, which Loops will then use to render an HTML email.
Create a view for your email, like below.
You can copy an example payload from the **Publish** page of your transactional email in Loops.
```json resources/views/mail/auth-email-text.blade.php theme={"dark"}
{
"transactionalId": "clomzp89u635xl30px7wrl0ri",
"email": "{{ $email }}", /* recipient */
"dataVariables": {
"loginUrl": "https://myapp.com/login?code={{ $auth_code }}"
}
}
```
Then add a reference to your template in the `Content` definition using the `text` key.
You also need to pass the values for the recipient email address and any data variables in your email. In this case we are using a `$user` property added to the constructor.
```php app/Mail/AuthEmail.php theme={"dark"}
use App\Models\User;
class AuthEmail extends Mailable
{
/**
* Create a new message instance.
*/
public function __construct(
private User $user,
) {}
/**
* Get the message content definition.
*/
public function content(): Content
{
return new Content(
text: 'mail.auth-email-text',
with: [
'email' => $this->user->email,
'auth_code' => $this->user->auth_code,
]
);
}
}
```
You can omit the `view` option typically required for HTML emails in Laravel. Loops handles HTML rendering using the provided payload.
You can skip adding values to the `Envelope` because the "from" address and subject are all defined within Loops on your transactional email.
Now you can send transactional emails.
```php theme={"dark"}
use \App\Mail\AuthEmail;
Mail::to('test@example.com')->send(new AuthEmail($user));
```
Note that the email address defined in `to()` will not be used for sending the email even though it's a required parameter. **You have to provide the recipient's email to the template itself**.
You can read more about sending emails from Laravel [in their docs](https://laravel.com/docs/11.x/mail#writing-mailables).
Read how to send transactional email with our API.
Learn how to send transactional email with Loops.
To configure Loops SMTP in your Laravel project, add the following values to your `.env` file.
`MAIL_PASSWORD` should be an API key from your [API Settings](https://app.loops.so/settings?page=api) page.
```bash .env theme={"dark"}
MAIL_MAILER=smtp
MAIL_HOST=smtp.loops.so
MAIL_PORT=587
MAIL_USERNAME=loops
MAIL_PASSWORD=
MAIL_ENCRYPTION=tls
```
Now you can send emails from your application.
If you haven't already, create a mailable class, for example `AuthEmail`:
```bash theme={"dark"}
php artisan make:mail AuthEmail
```
Loops' SMTP system doesn't send full HTML emails directly. Instead, you should provide a structured API-like payload, which Loops will then use to render an HTML email.
Create a view for your email, like below.
You can copy an example payload from the **Publish** page of your transactional email in Loops.
```json resources/views/mail/auth-email-text.blade.php theme={"dark"}
{
"transactionalId": "clomzp89u635xl30px7wrl0ri",
"email": "{{ $email }}", /* recipient */
"dataVariables": {
"loginUrl": "https://myapp.com/login?code={{ $auth_code }}"
}
}
```
Then add a reference to your template in the `Content` definition using the `text` key.
You also need to pass the values for the recipient email address and any data variables in your email. In this case we are using a `$user` property added to the constructor.
```php app/Mail/AuthEmail.php theme={"dark"}
use App\Models\User;
class AuthEmail extends Mailable
{
/**
* Create a new message instance.
*/
public function __construct(
private User $user,
) {}
/**
* Get the message content definition.
*/
public function content(): Content
{
return new Content(
text: 'mail.auth-email-text',
with: [
'email' => $this->user->email,
'auth_code' => $this->user->auth_code,
]
);
}
}
```
You can omit the `view` option typically required for HTML emails in Laravel. Loops handles HTML rendering using the provided payload.
You can skip adding values to the `Envelope` because the "from" address and subject are all defined within Loops on your transactional email.
Now you can send transactional emails.
```php theme={"dark"}
use \App\Mail\AuthEmail;
Mail::to('test@example.com')->send(new AuthEmail($user));
```
Note that the email address defined in `to()` will not be used for sending the email even though it's a required parameter. **You have to provide the recipient's email to the template itself**.
You can read more about sending emails from Laravel [in their docs](https://laravel.com/docs/11.x/mail#writing-mailables).
Read how to send transactional email with our API.
Learn how to send transactional email with Loops.