> ## Documentation Index
> Fetch the complete documentation index at: https://loops.so/docs/llms.txt
> Use this file to discover all available pages before exploring further.
# Your first onboarding emails
> Some best practices for building your sender reputation with onboarding emails.
We covered the basics of a Sender Reputation in [this guide](/deliverability/sending-reputation) and this guide will cover some best practices for building your sender reputation with onboarding emails.
If you're new to Loops, we recommend taking some specific steps to help warm up your sending reputation and to ensure your emails land in inboxes.
We want to start with an onboarding workflow and transactional emails before we send larger campaigns to a large list. When we send those larger campaigns, we want to first start with a small list and then slowly increase volume while monitoring the results.
## Onboarding welcome workflow
The first step is to set up a welcome email sent to users after they sign up to your application or subscribe to your list. Recipients of these emails are expecting the email and are most likely to engage with it.
For example, new users who sign up could expect a welcome email from you, welcoming them to your platform and explaining some initial steps to get them started.
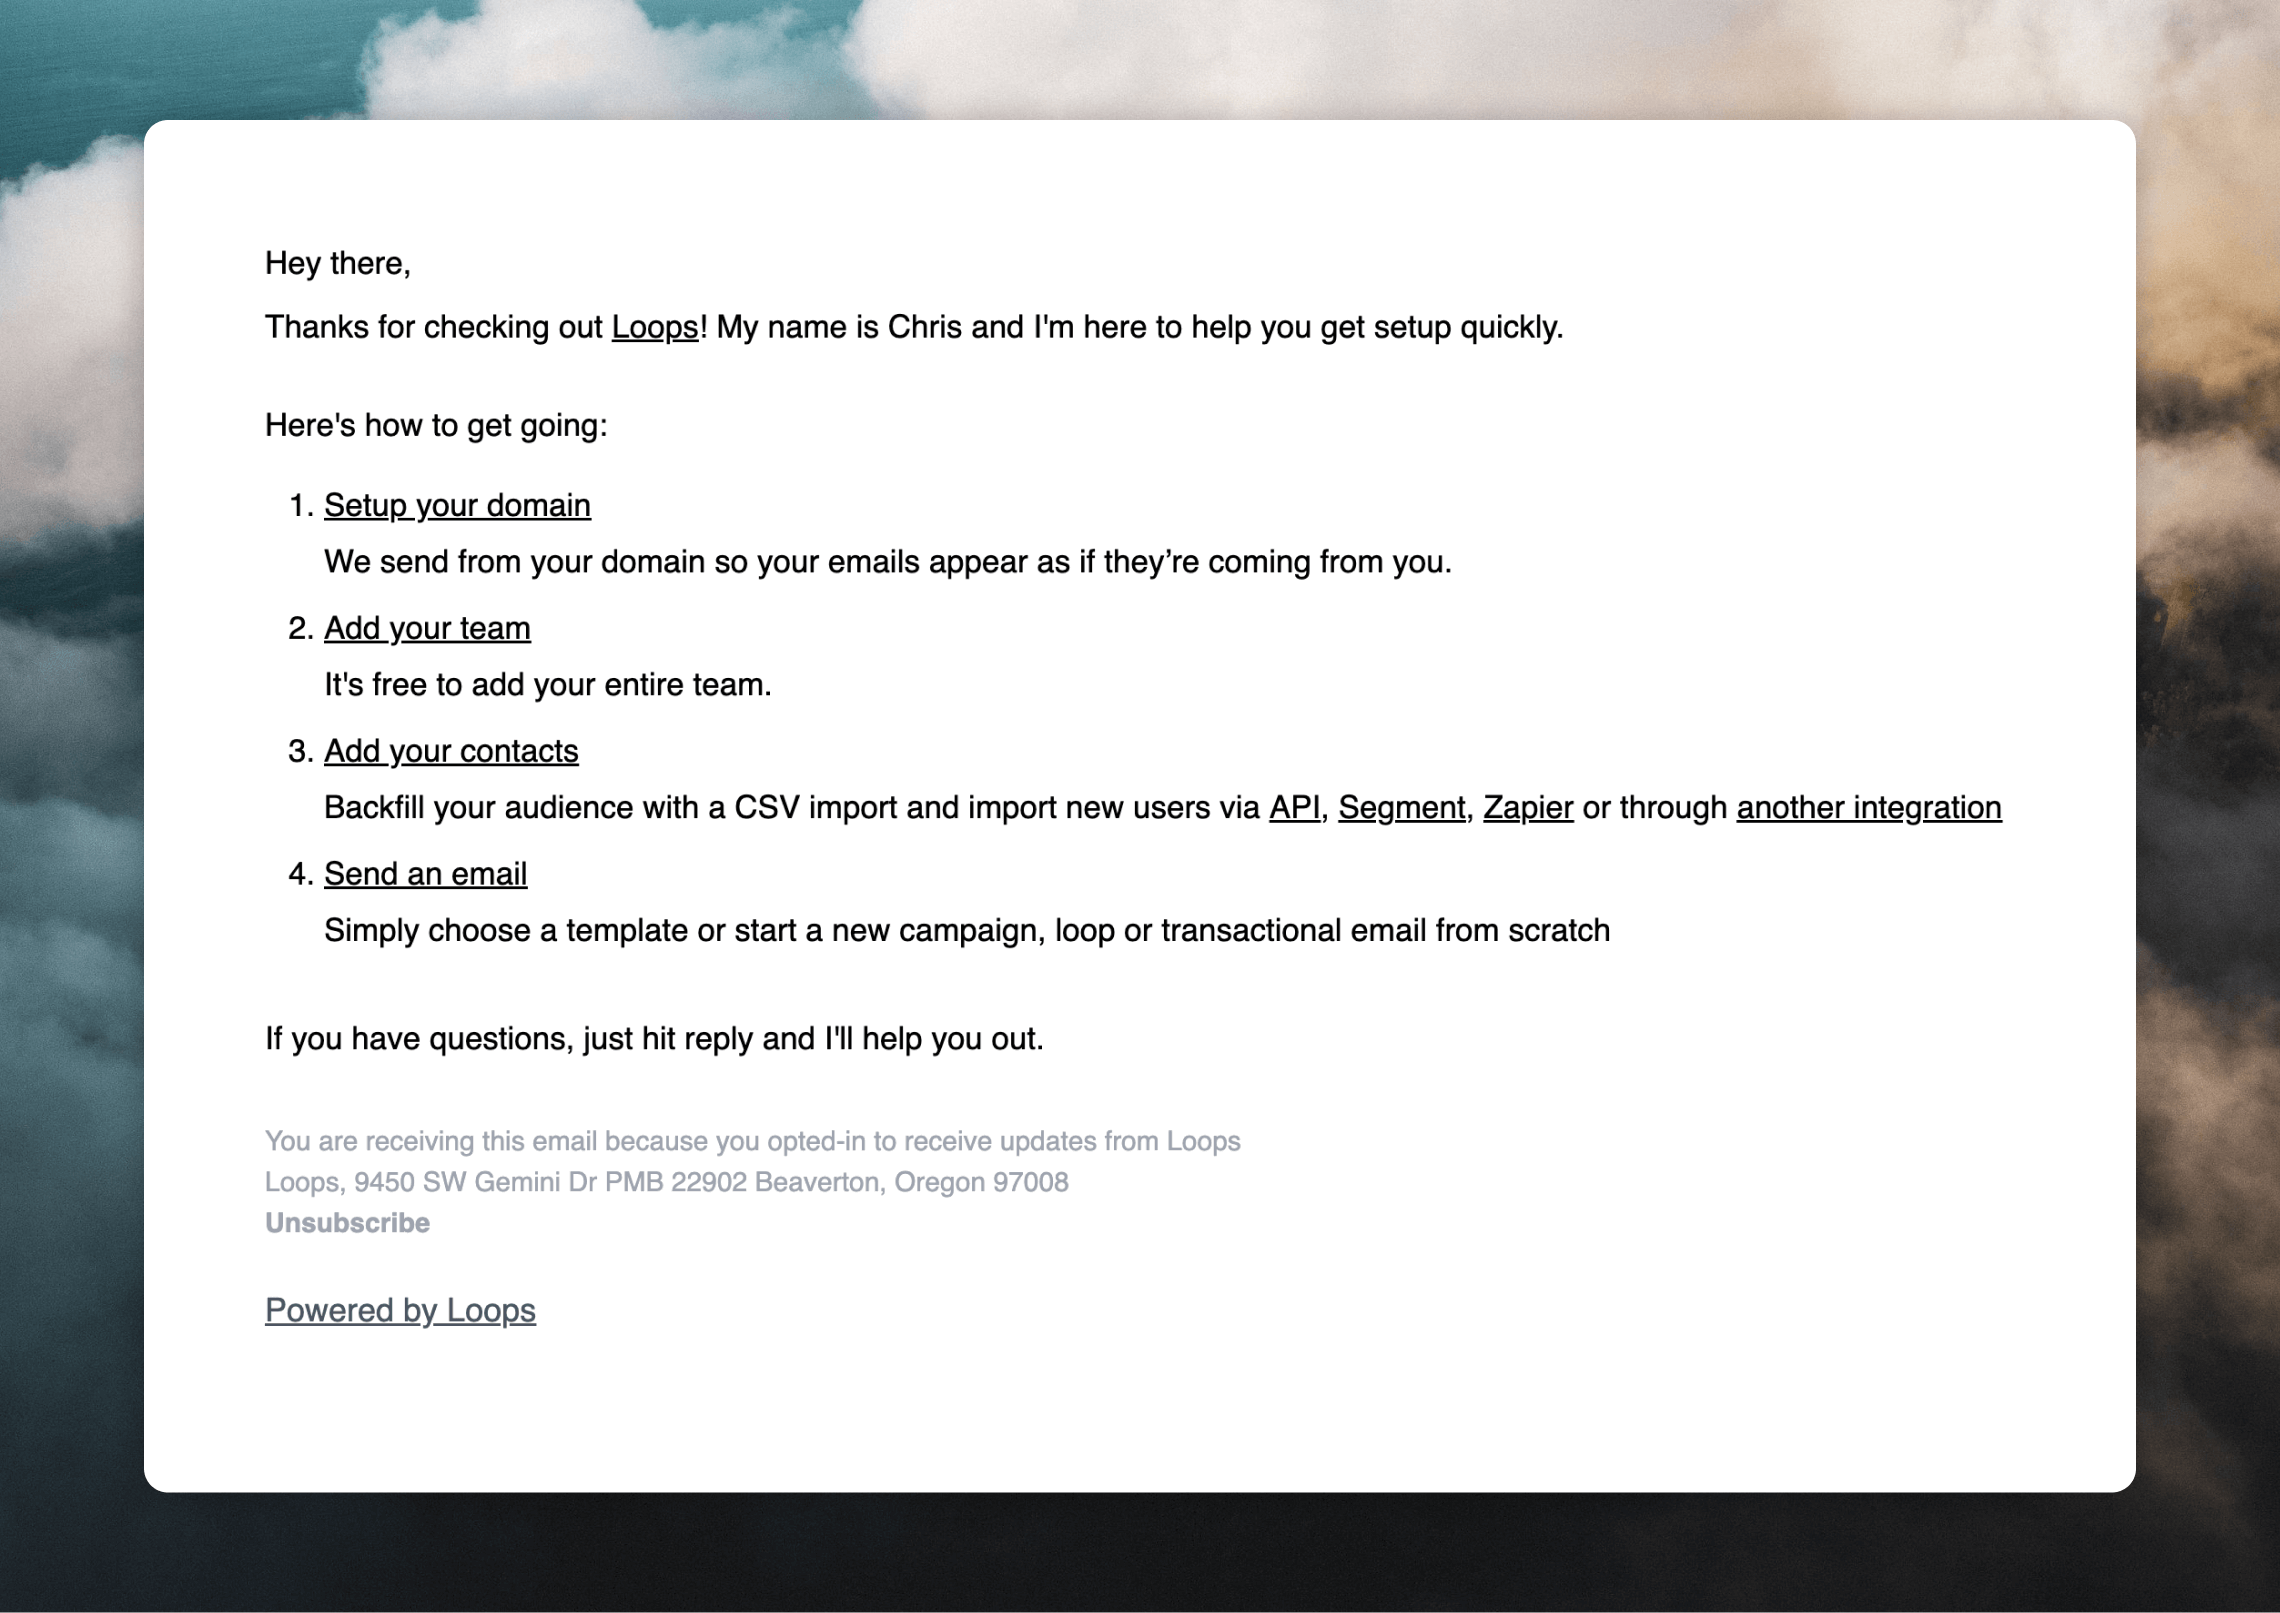
Here is an example of the email we at Loops send out to new users:
 Check out our library of useful templates for creating welcome emails.
Users receive these emails because they expect them, so they are more likely to open and engage with them, building your sender reputation.
Get started by [creating workflows](/workflows), which are email automations used to send emails after certain triggers, like a new contact joining your audience or after an event happens in your platform.
### Creating a welcome workflow in Loops
Check out our library of useful templates for creating welcome emails.
Users receive these emails because they expect them, so they are more likely to open and engage with them, building your sender reputation.
Get started by [creating workflows](/workflows), which are email automations used to send emails after certain triggers, like a new contact joining your audience or after an event happens in your platform.
### Creating a welcome workflow in Loops
 Go to your [Workflows page](https://app.loops.so/loops) and click **New**, or select from one of our [ready-made templates](https://app.loops.so/templates).
Set your trigger to **Contact added** if you want the workflow to fire for every new contact. You can also set a filter to only send to contacts with a specific tag or property, or specifically target it to a specific list.
Select **Event received** if you want to trigger the workflow based on something happening in an external platform.
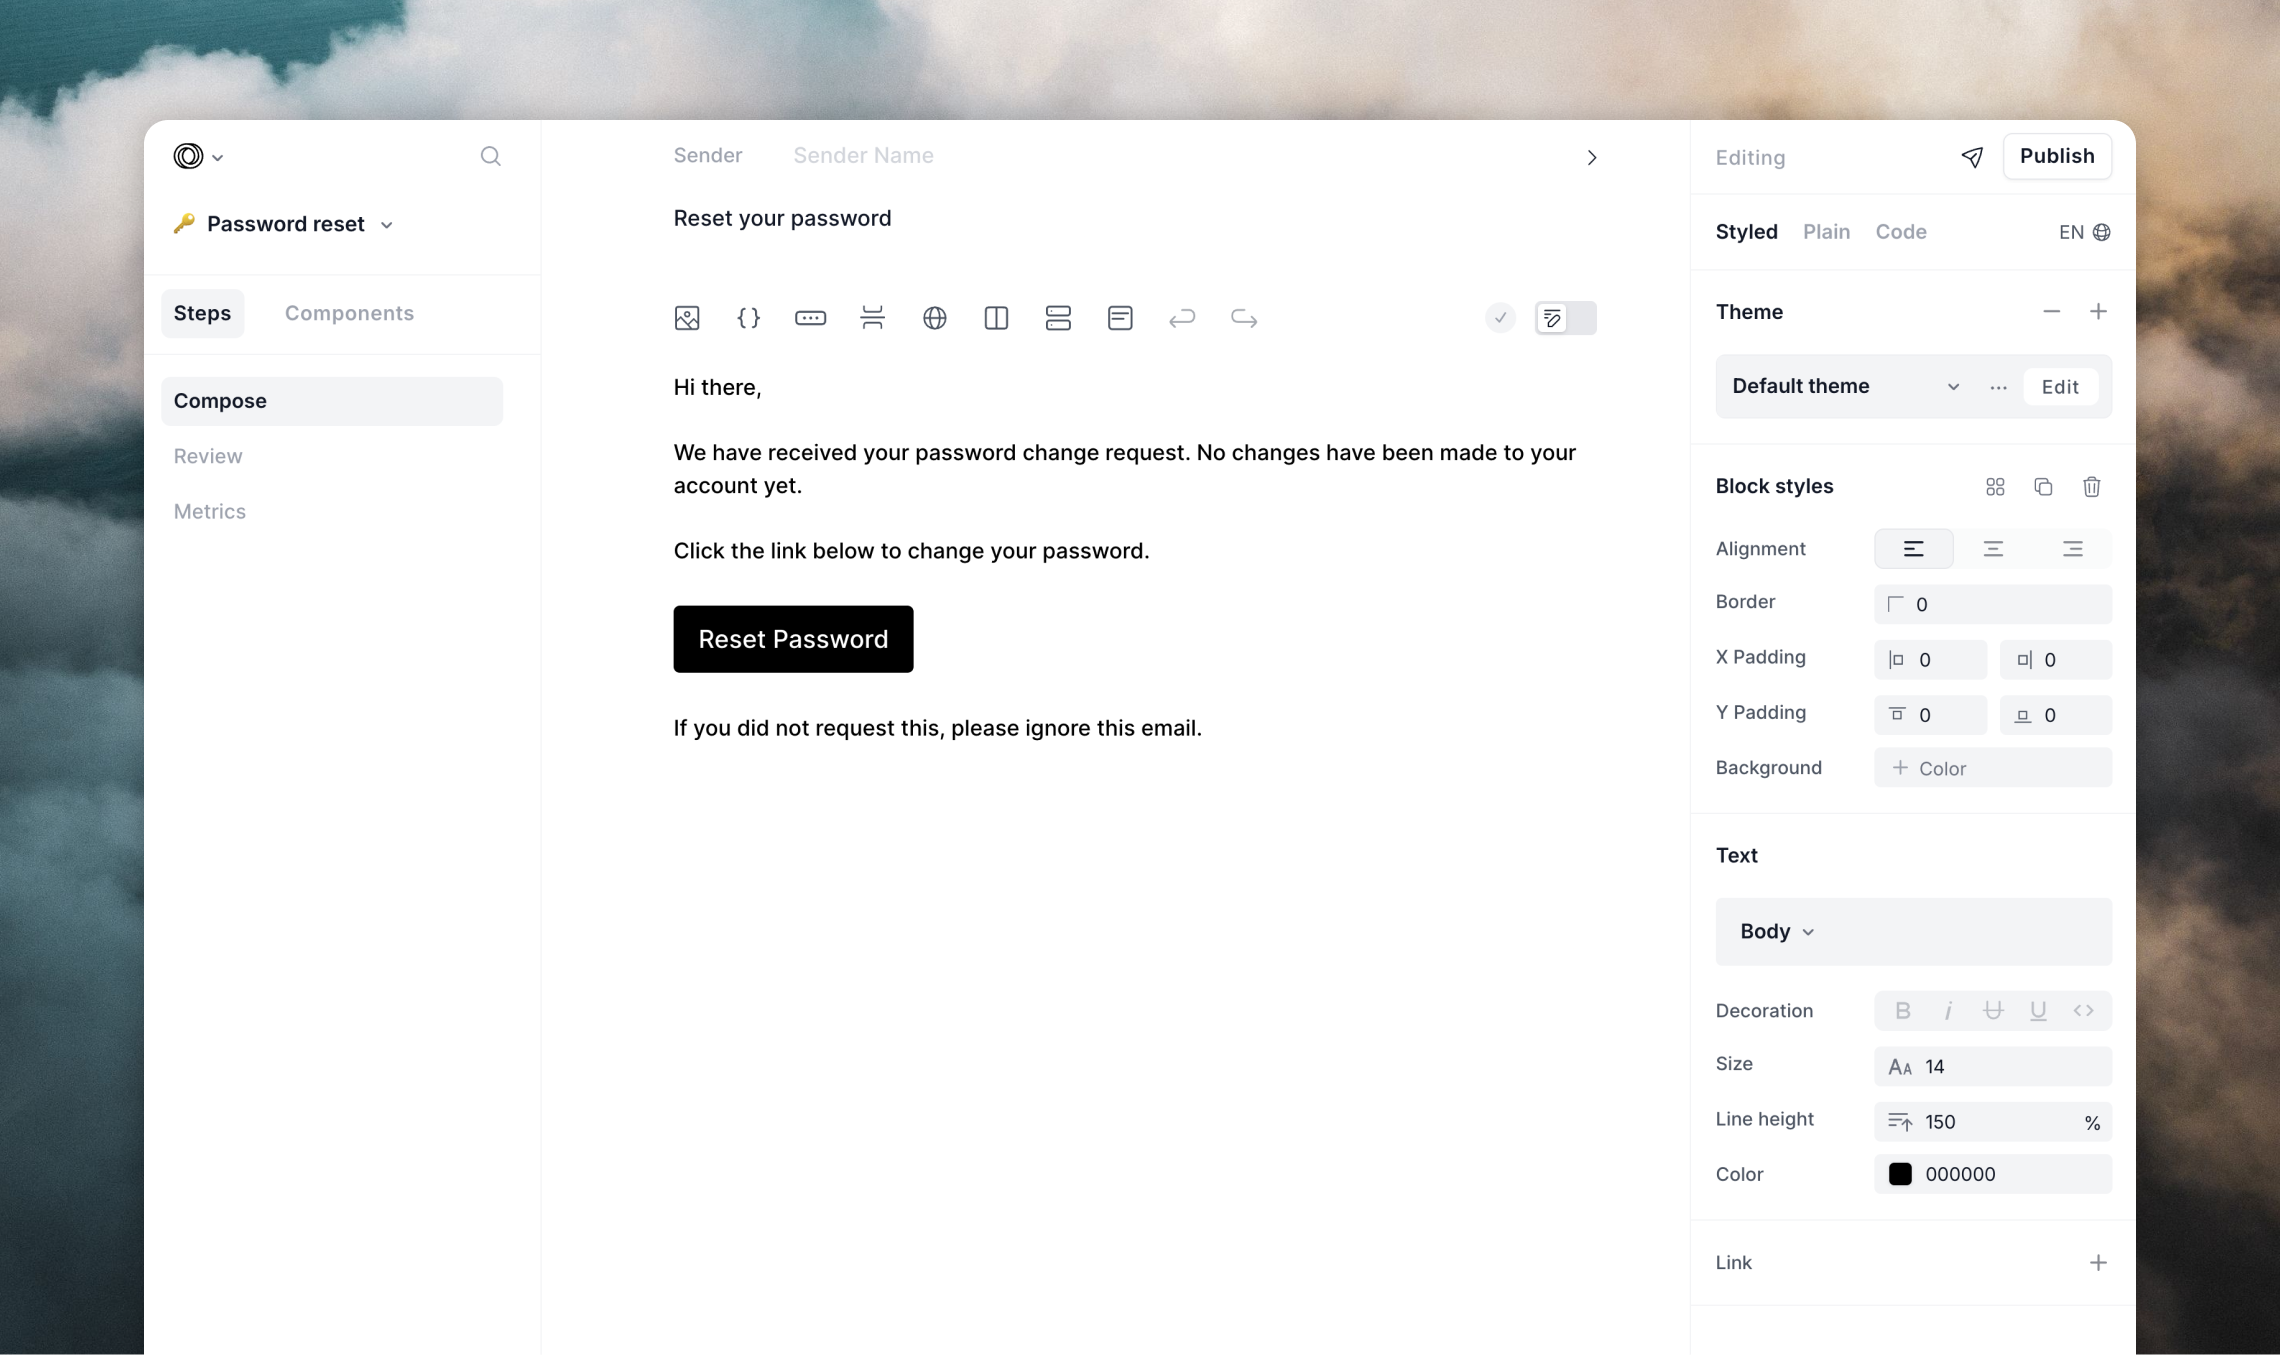
Next, write your email by clicking on the **Send email** node.\
Make sure to make your workflow active by clicking **Start**.
## Transactional emails
Transactional emails are by definition emails that are sent to users because of an action they took or need to take to use your platform. Since all emails from Loops send from a single domain, we can also use these emails to build our sender reputation. We recommend starting with these essential transactional emails:
* Login verification emails
* Password reset emails
* Account confirmation emails
These types of emails have high engagement rates since users actively request them, which helps build your sender reputation.
Go to your [Workflows page](https://app.loops.so/loops) and click **New**, or select from one of our [ready-made templates](https://app.loops.so/templates).
Set your trigger to **Contact added** if you want the workflow to fire for every new contact. You can also set a filter to only send to contacts with a specific tag or property, or specifically target it to a specific list.
Select **Event received** if you want to trigger the workflow based on something happening in an external platform.
Next, write your email by clicking on the **Send email** node.\
Make sure to make your workflow active by clicking **Start**.
## Transactional emails
Transactional emails are by definition emails that are sent to users because of an action they took or need to take to use your platform. Since all emails from Loops send from a single domain, we can also use these emails to build our sender reputation. We recommend starting with these essential transactional emails:
* Login verification emails
* Password reset emails
* Account confirmation emails
These types of emails have high engagement rates since users actively request them, which helps build your sender reputation.
 Check out our library of useful transactional email templates.
## Targeted campaign
Once your welcome workflow has been active and sending for 2 or 3 days, you should see an open rate of around 40% on the first email after the welcome email.
Now you can start to send a campaign to a small list of engaged users. Here are two recommended approaches:
1. Target recent signups using the `createdAt` property to find users added in the last 3 days
2. Target active users by syncing login data to track your most engaged users
For your first campaign content, we recommend:
✅ Product updates or new feature announcements
❌ Avoid generic newsletters, giveaways or promotional content
Important metrics to monitor:
* Campaign open rate should be above 30%
* Welcome workflow open rate should stay above 40%
* If either drops below these thresholds, pause sending and re-evaluate
Loops helps to mitigate deliverability issues by sending campaign emails in batches, waiting to check open rates and then sending further emails in your list depending on the results. We take great care to make sure your emails have the highest deliverability as possible from our side.
### Sending a campaign to active users in Loops
You can use the default `createdAt` contact property, or you can create custom [contact properties](/contacts/properties#custom-contact-properties) and use the [API](/api-reference/update-contact) or an [integration](/integrations) to update contacts when an event happens in your account (e.g. a log in).
For example, you could use the name `lastActive` and choose the "Date" field type. Then whenever the user does a major action in your application, update the contact with a new `lastActive` value:
```javascript theme={"dark"}
POST /v1/contacts/update
{
"userId": user.id,
"lastActive": new Date().getTime() // timestamp in milliseconds
}
```
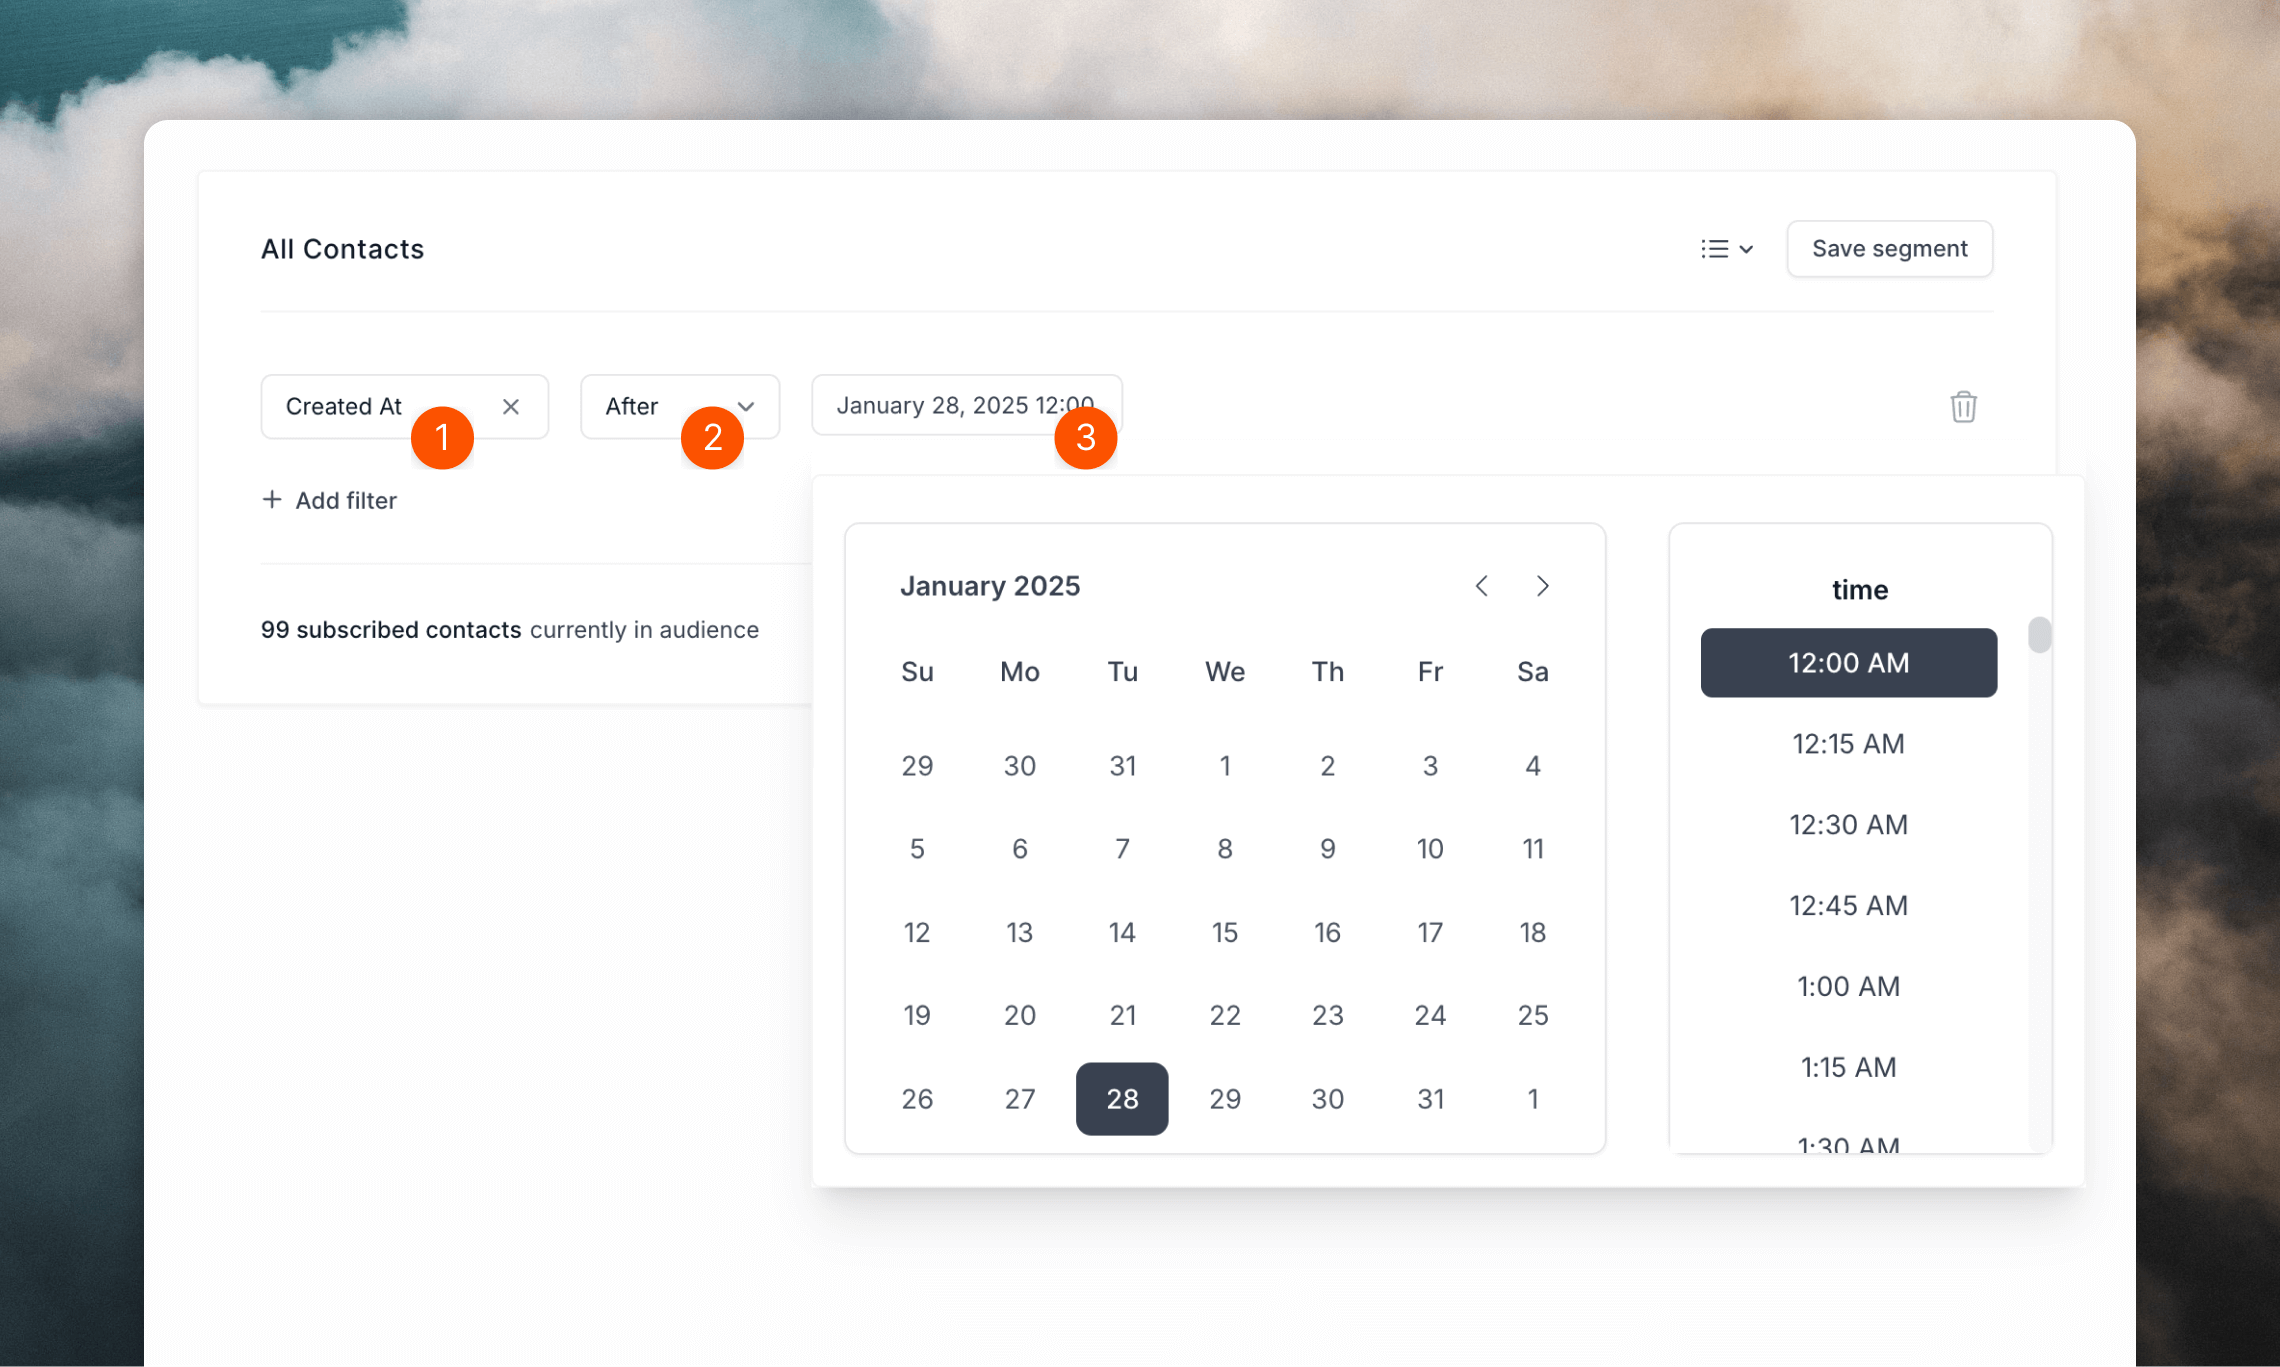
Once you have created your campaign in Loops, you need to specify the audience based on your chosen date field.
In the "Audience" tab, choose "Last Active" (or "Created At"), then "After" and then pick the date three days ago from the date field.
Check out our library of useful transactional email templates.
## Targeted campaign
Once your welcome workflow has been active and sending for 2 or 3 days, you should see an open rate of around 40% on the first email after the welcome email.
Now you can start to send a campaign to a small list of engaged users. Here are two recommended approaches:
1. Target recent signups using the `createdAt` property to find users added in the last 3 days
2. Target active users by syncing login data to track your most engaged users
For your first campaign content, we recommend:
✅ Product updates or new feature announcements
❌ Avoid generic newsletters, giveaways or promotional content
Important metrics to monitor:
* Campaign open rate should be above 30%
* Welcome workflow open rate should stay above 40%
* If either drops below these thresholds, pause sending and re-evaluate
Loops helps to mitigate deliverability issues by sending campaign emails in batches, waiting to check open rates and then sending further emails in your list depending on the results. We take great care to make sure your emails have the highest deliverability as possible from our side.
### Sending a campaign to active users in Loops
You can use the default `createdAt` contact property, or you can create custom [contact properties](/contacts/properties#custom-contact-properties) and use the [API](/api-reference/update-contact) or an [integration](/integrations) to update contacts when an event happens in your account (e.g. a log in).
For example, you could use the name `lastActive` and choose the "Date" field type. Then whenever the user does a major action in your application, update the contact with a new `lastActive` value:
```javascript theme={"dark"}
POST /v1/contacts/update
{
"userId": user.id,
"lastActive": new Date().getTime() // timestamp in milliseconds
}
```
Once you have created your campaign in Loops, you need to specify the audience based on your chosen date field.
In the "Audience" tab, choose "Last Active" (or "Created At"), then "After" and then pick the date three days ago from the date field.
 ## Larger campaigns
Now you have warmed up your account, you can start to send out larger campaigns to more contacts.
You may want to import users from another email platform of your application's user database.
We still recommend to not send to everyone on your list. Try to identify segments in your user list (especially if it's in the thousands) that are most likely to open emails from you.
## Read more
## Larger campaigns
Now you have warmed up your account, you can start to send out larger campaigns to more contacts.
You may want to import users from another email platform of your application's user database.
We still recommend to not send to everyone on your list. Try to identify segments in your user list (especially if it's in the thousands) that are most likely to open emails from you.
## Read more