> ## Documentation Index
> Fetch the complete documentation index at: https://loops.so/docs/llms.txt
> Use this file to discover all available pages before exploring further.
# Components
> Create reusable Loops components for your emails.
Components are reusable elements for emails. They help you create frequently-repeated sections of emails once, which you can then easily drop into new emails.
 Changes made to components can be synced to all other instances. You can also choose to make local edits to a single component instance without updating others.
Components can be created from and added to all emails created in Loops (campaign, workflow and transactional emails). They also work in both Plain and Styled emails.
## Example components
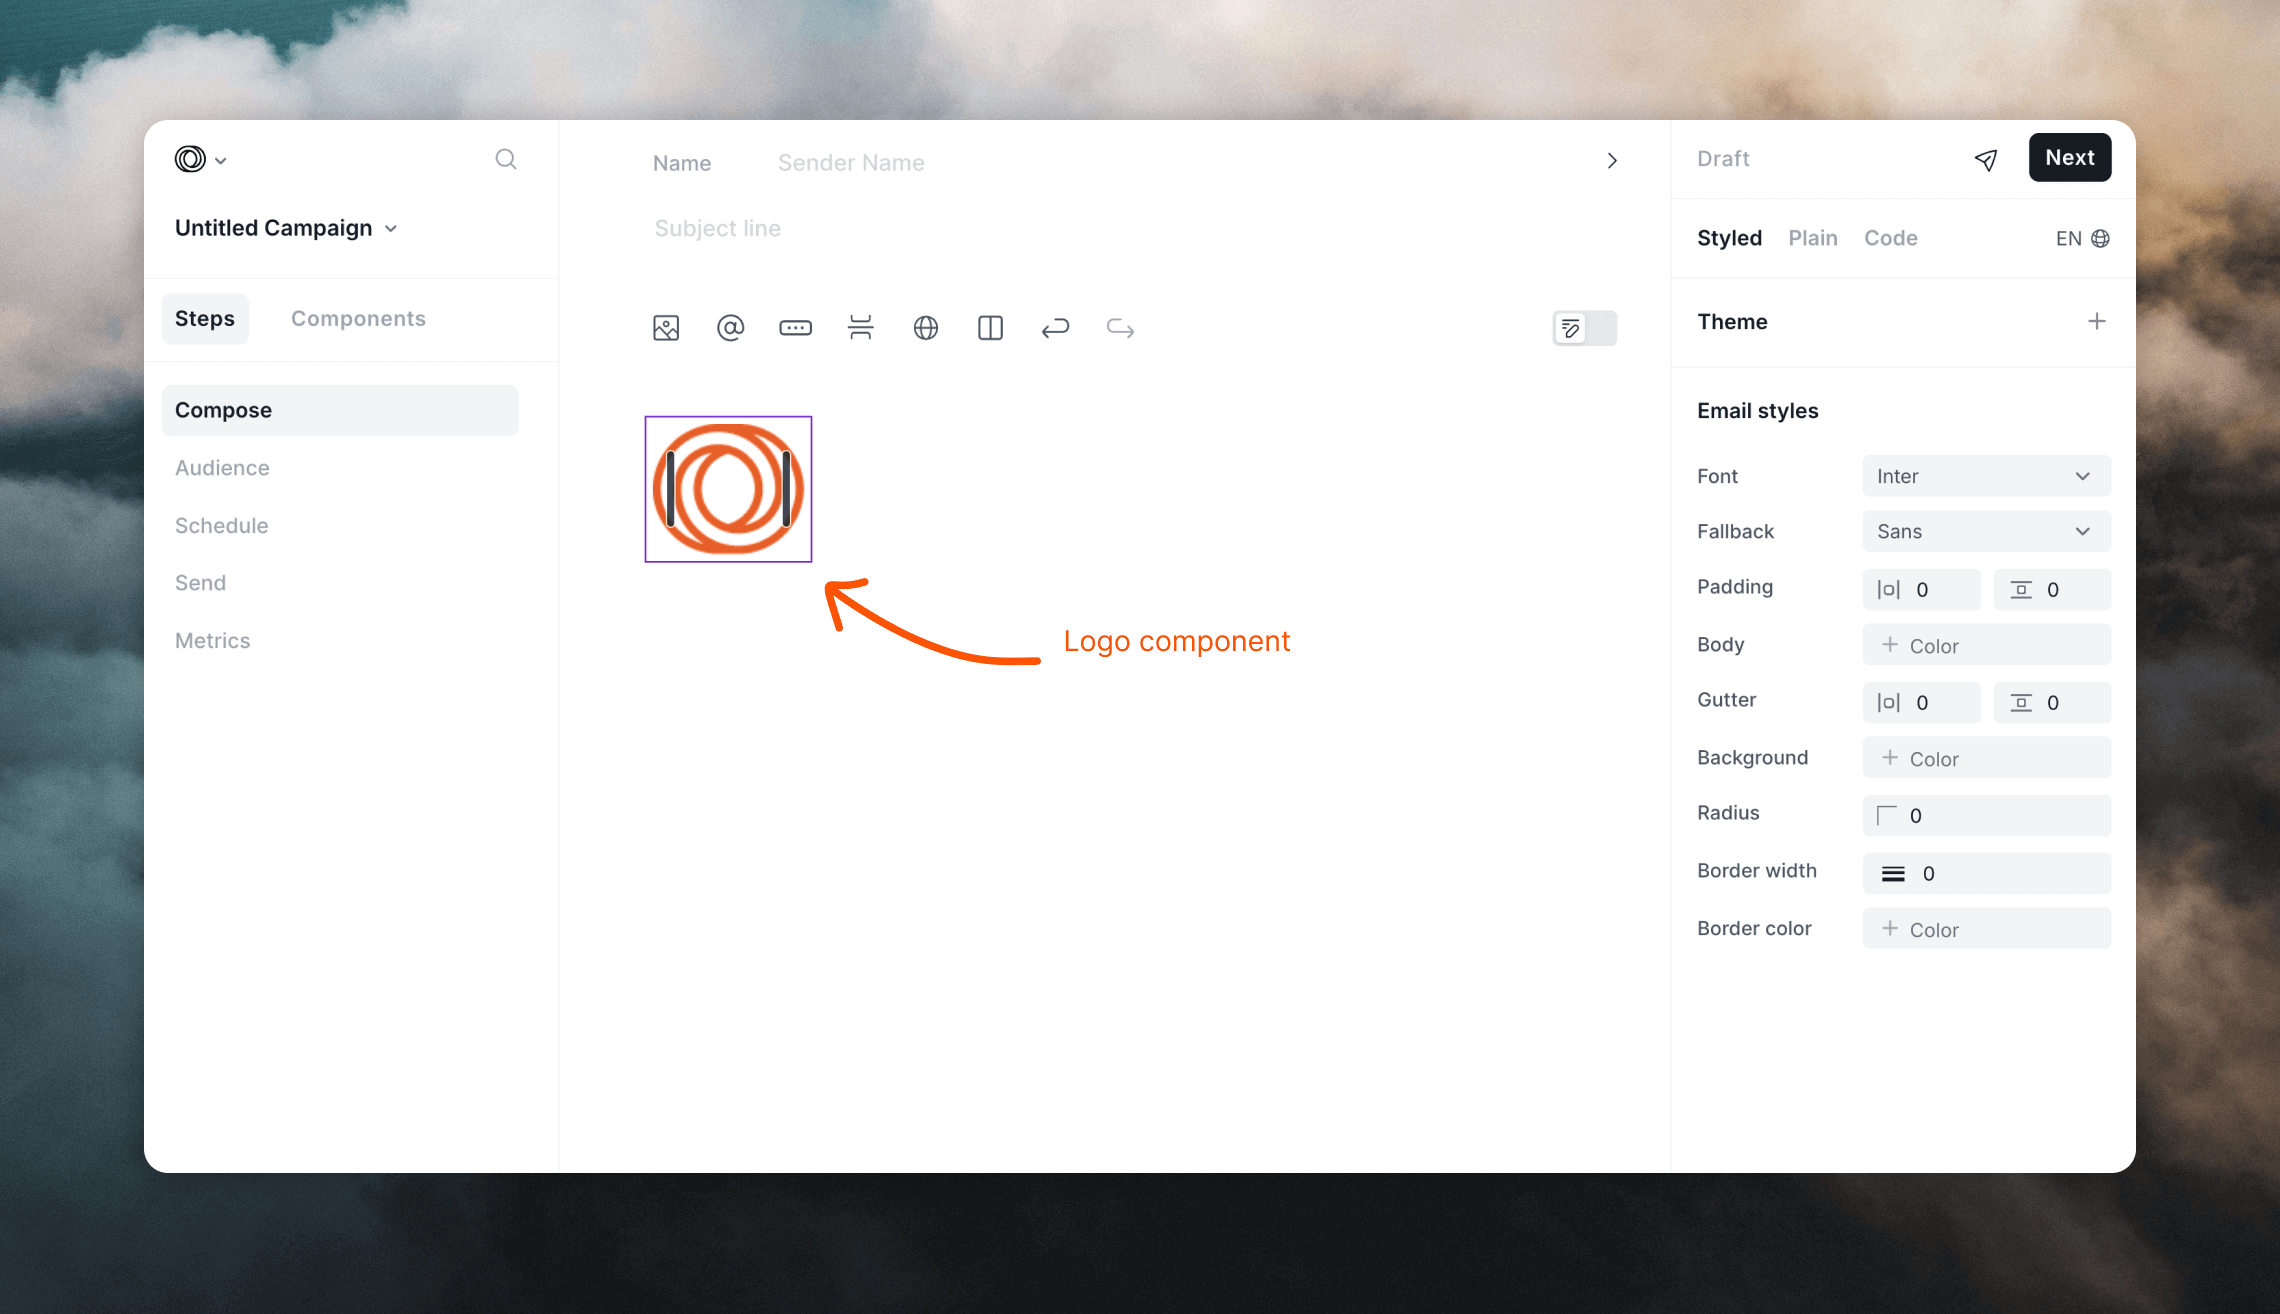
Some useful examples of components are logos and social icons. These elements are typically the same across multiple emails; using components will make sure they are the same everywhere.
Most of the time you will want your logo to have the same alignment, spacing and size in your emails. Similarly, you will want the same set of social icons readily available to drop into every new email you create.
Changes made to components can be synced to all other instances. You can also choose to make local edits to a single component instance without updating others.
Components can be created from and added to all emails created in Loops (campaign, workflow and transactional emails). They also work in both Plain and Styled emails.
## Example components
Some useful examples of components are logos and social icons. These elements are typically the same across multiple emails; using components will make sure they are the same everywhere.
Most of the time you will want your logo to have the same alignment, spacing and size in your emails. Similarly, you will want the same set of social icons readily available to drop into every new email you create.
 ## Create a component
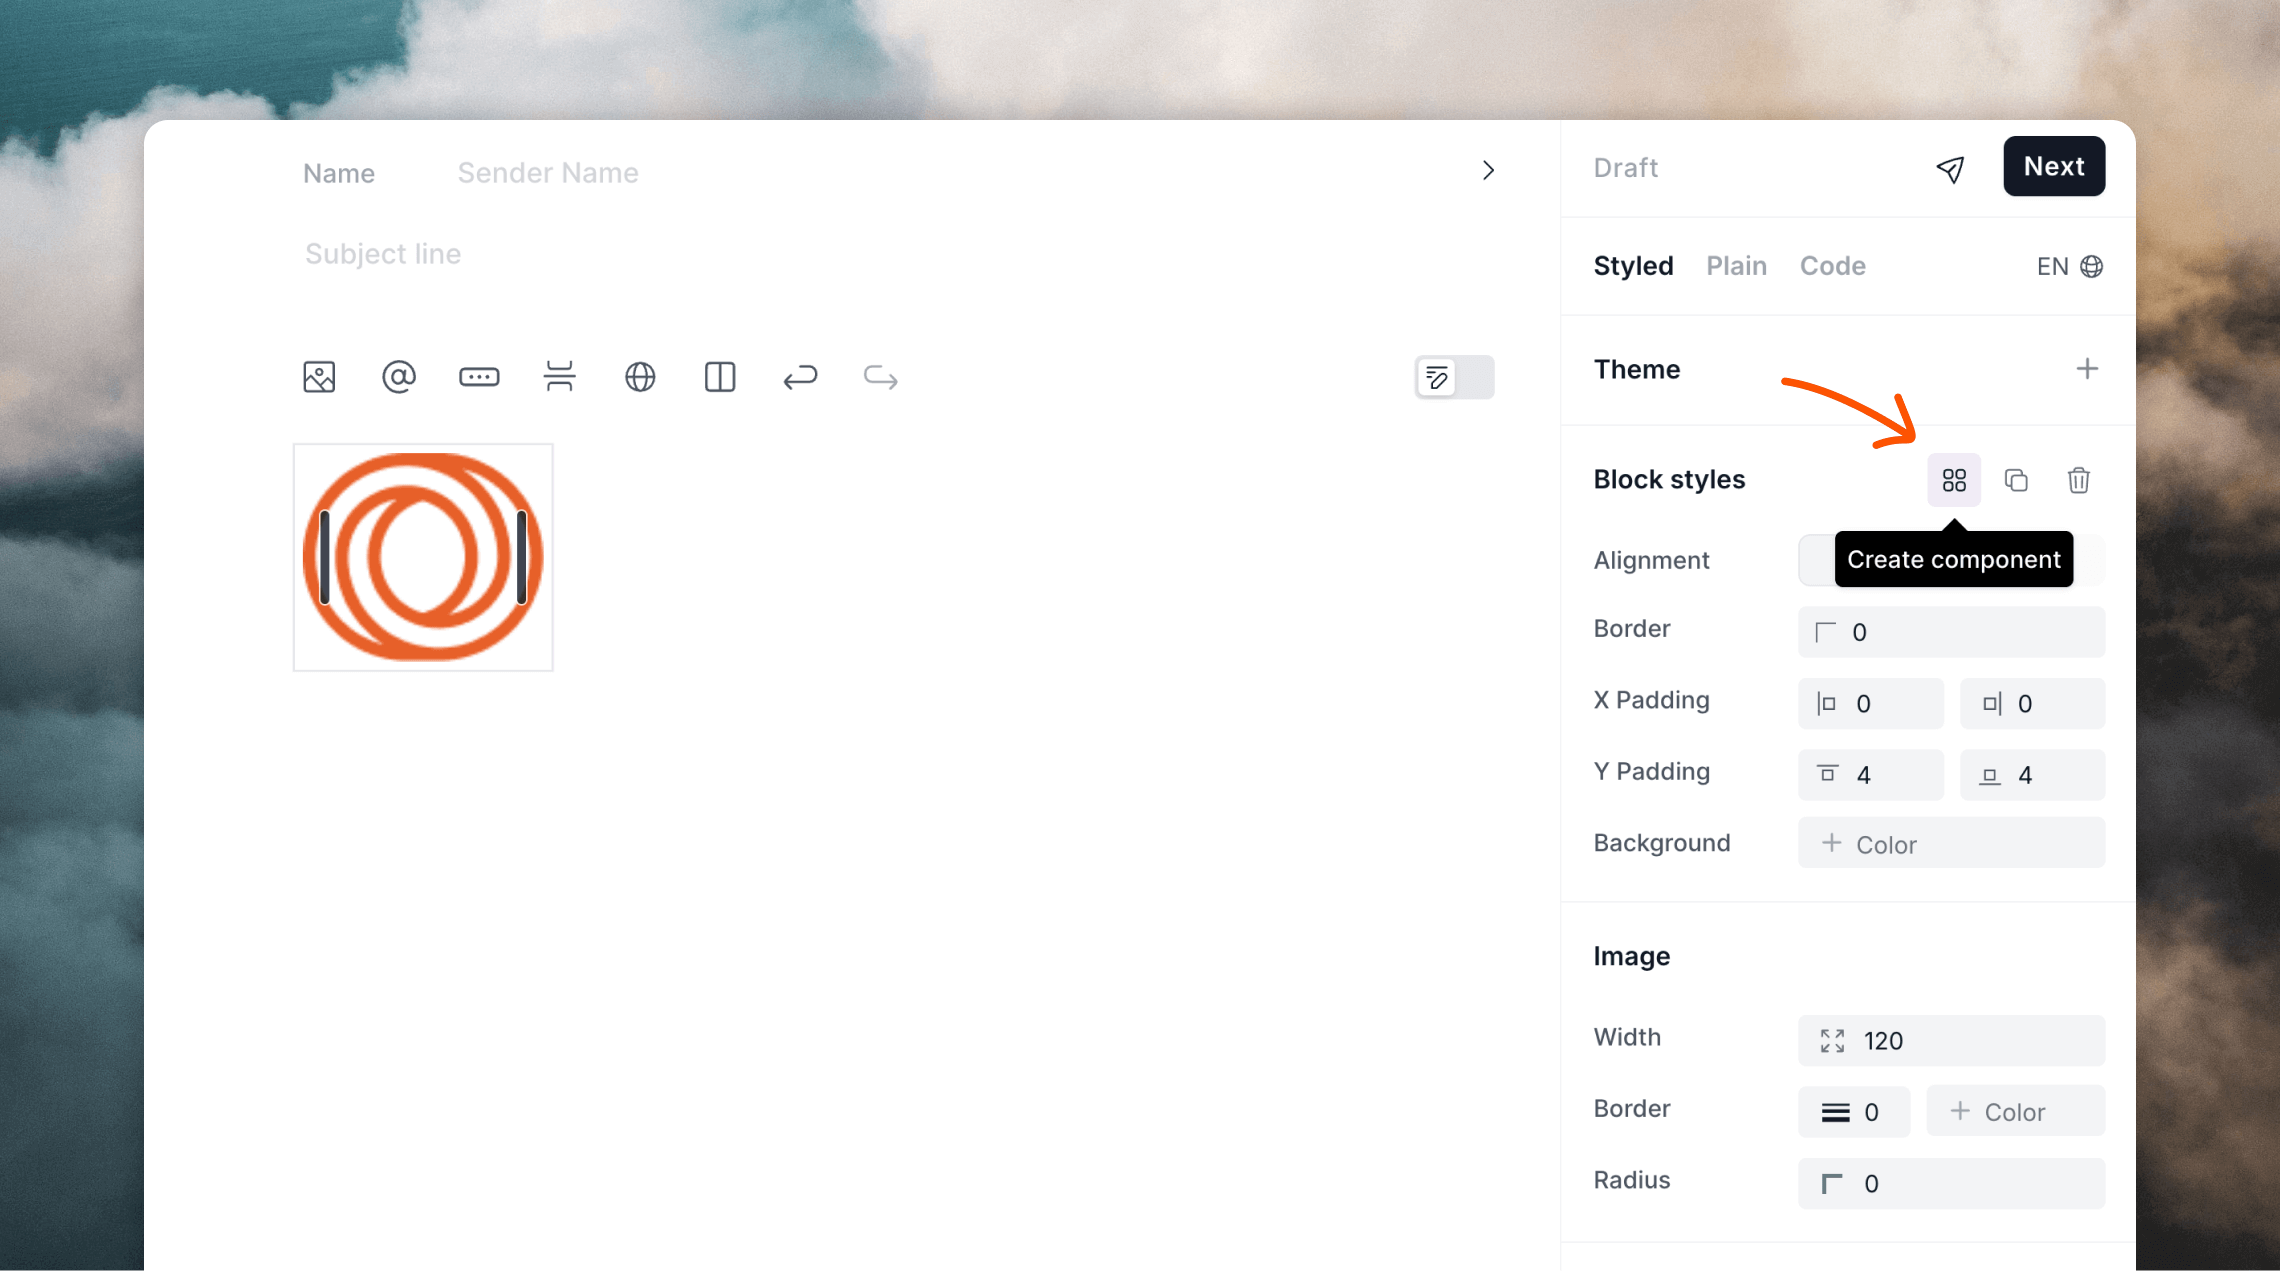
To create a component, click on an element in your email and then the **Create component** icon in the editor panel.
## Create a component
To create a component, click on an element in your email and then the **Create component** icon in the editor panel.
 A modal will appear where you can name your component. Use a descriptive name so you can easily find your component in the future.
Click **Create**. You will see your new component appear in the Components list on the left of the editor.
All components you create are available in all of your emails, i.e. a
component created in a campaign email is also available to insert into
transactional emails.
## Insert a component
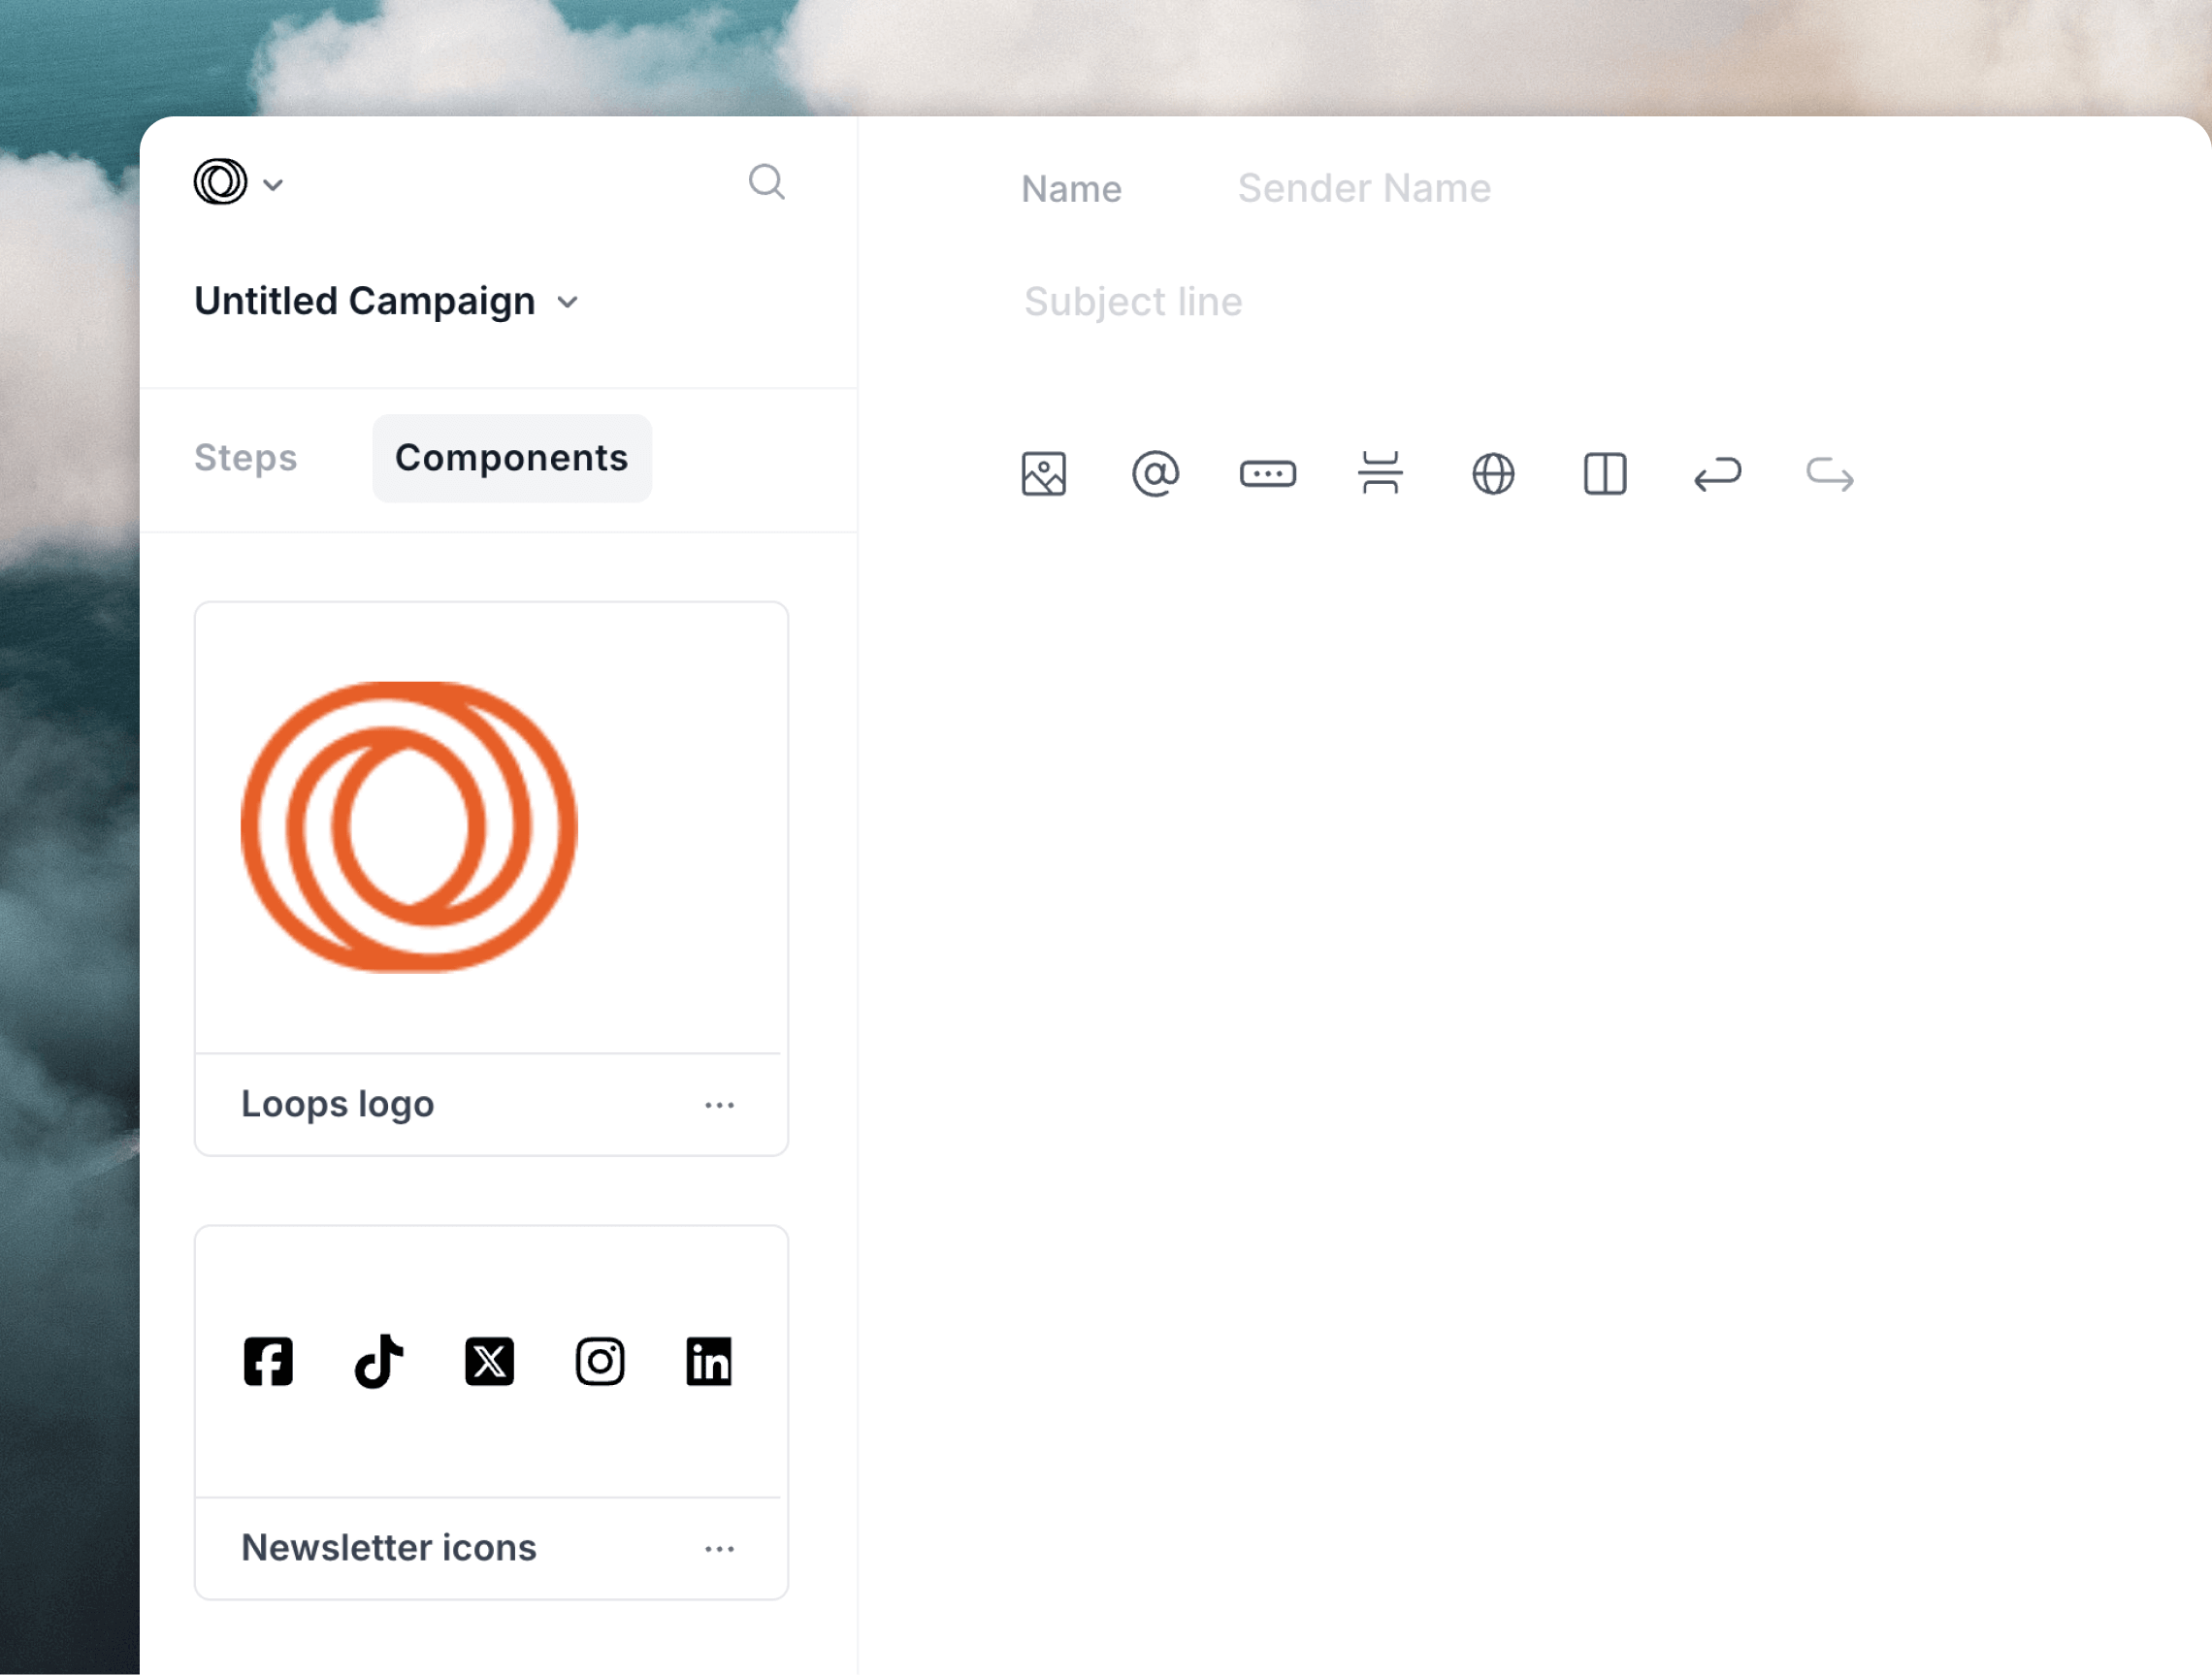
Click on **Components** at the top of the left-hand panel to reveal your components list, then simply click on a component to insert it.
A modal will appear where you can name your component. Use a descriptive name so you can easily find your component in the future.
Click **Create**. You will see your new component appear in the Components list on the left of the editor.
All components you create are available in all of your emails, i.e. a
component created in a campaign email is also available to insert into
transactional emails.
## Insert a component
Click on **Components** at the top of the left-hand panel to reveal your components list, then simply click on a component to insert it.
 If you want to change the location of a component in your email, you can drag and drop it within the editor just like other blocks, by using the six dot menu icon.
If you already have a component in your email, clicking **Duplicate** in the **Block styles** editor panel will add a copy of that component into the email, including any local edits made.
## Edit a component
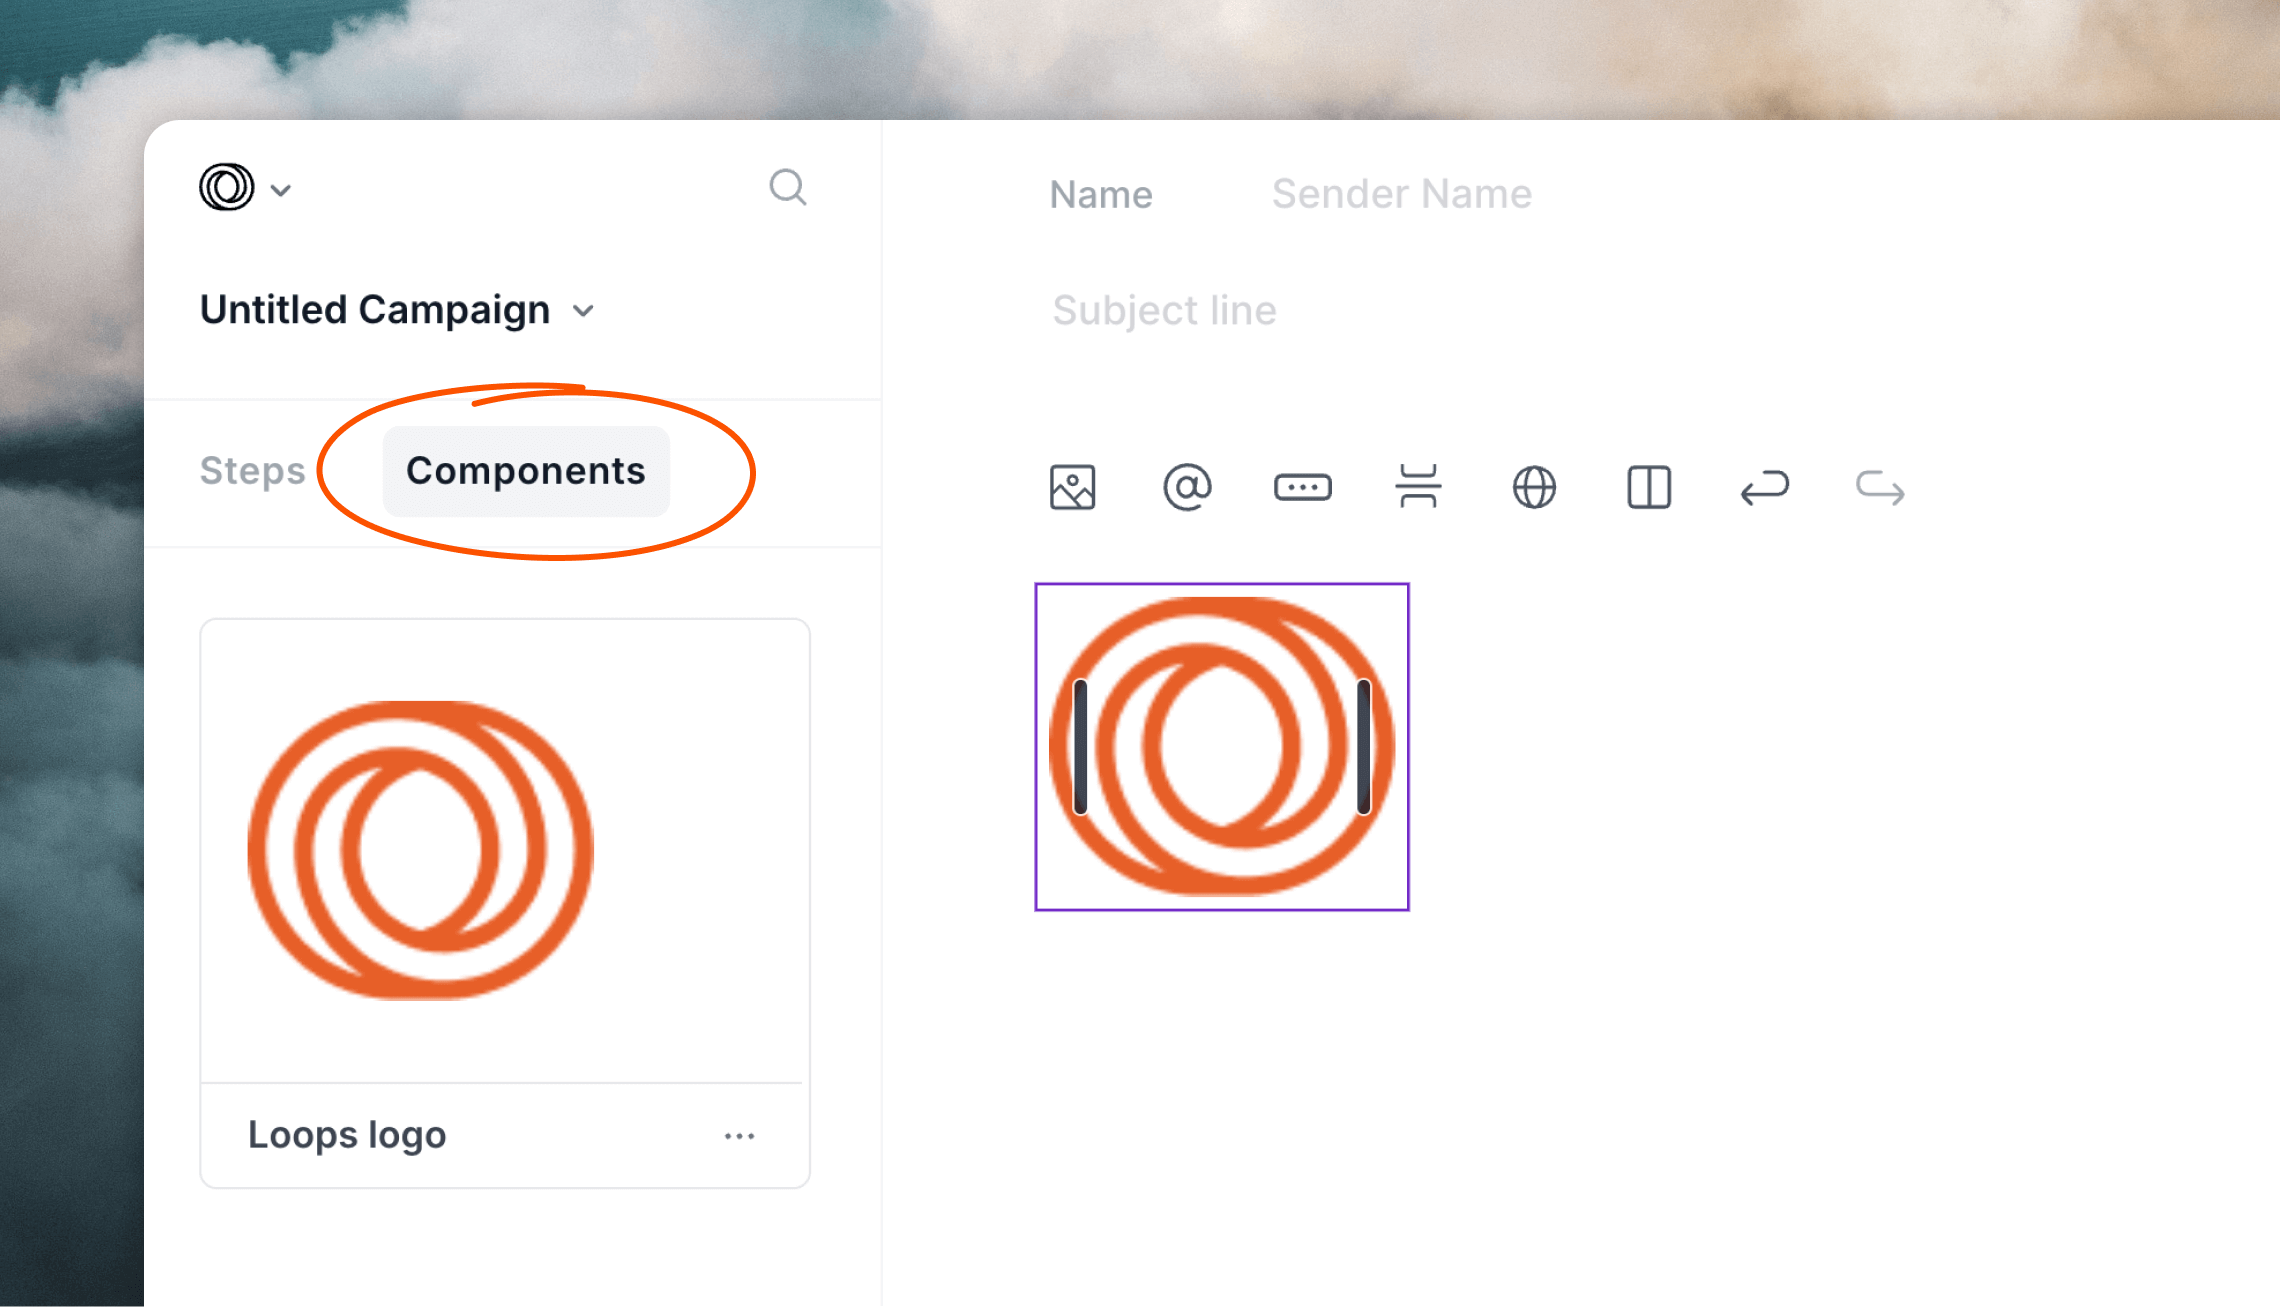
You can tell if an element in your email is a component by looking for a
purple outline around the block in the editor.
To edit a component, edit its content as you would any other part of your email.
This will create local edits to that single instance; these edits are not synced to other components in use elsewhere. This means you can make tweaks and changes to a single instance of a component without updating all other instances.
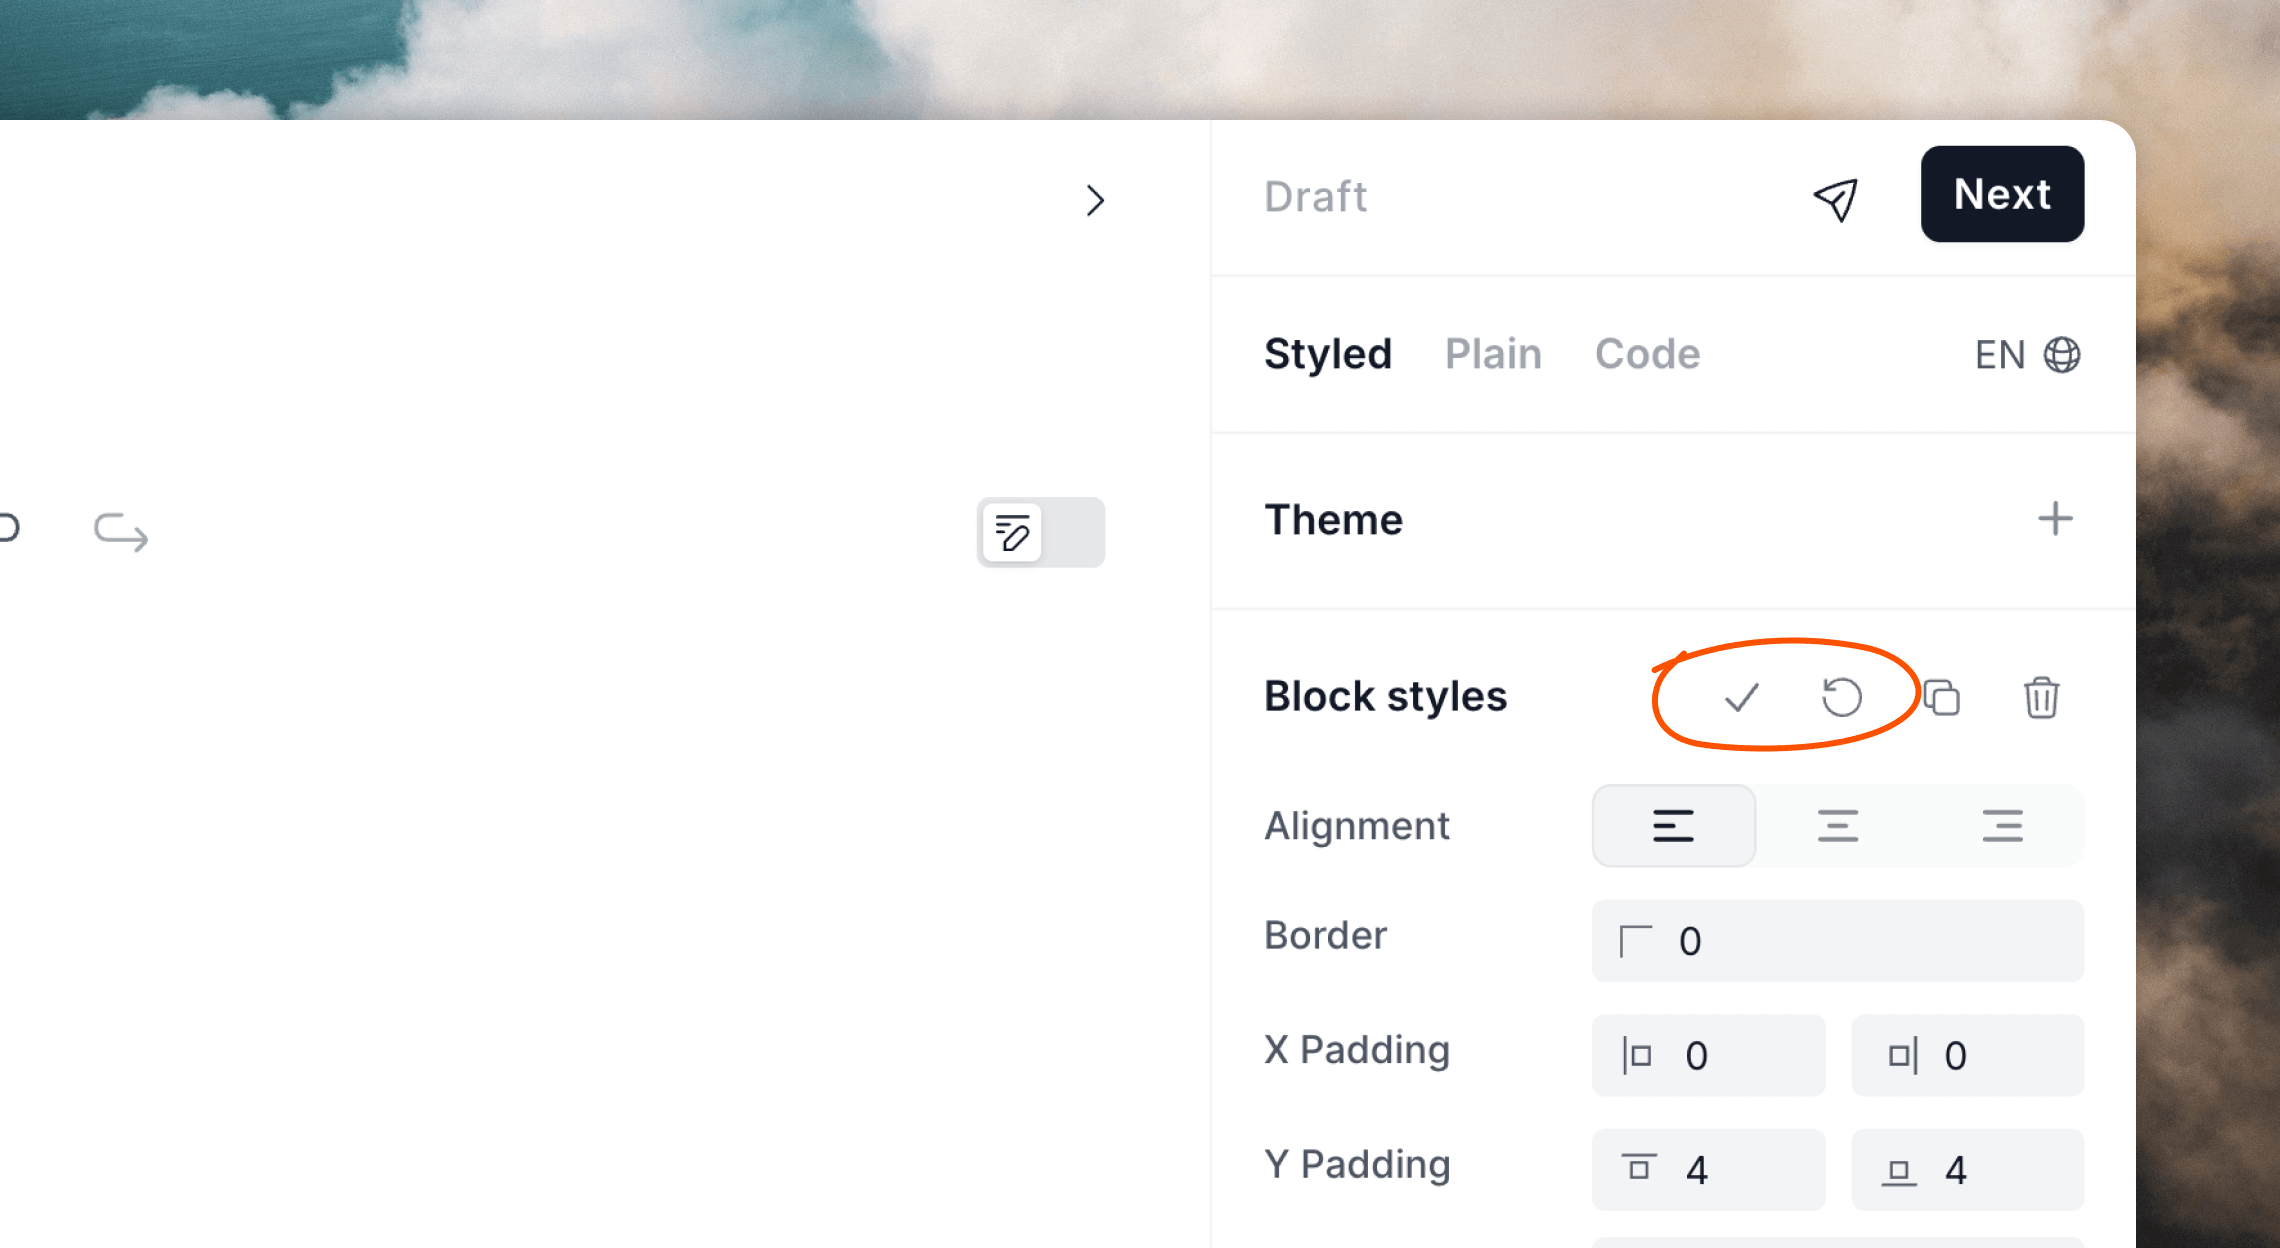
If a component has local edits, you will notice the **Push changes** and **Reset changes** icons are now active.
If you want to change the location of a component in your email, you can drag and drop it within the editor just like other blocks, by using the six dot menu icon.
If you already have a component in your email, clicking **Duplicate** in the **Block styles** editor panel will add a copy of that component into the email, including any local edits made.
## Edit a component
You can tell if an element in your email is a component by looking for a
purple outline around the block in the editor.
To edit a component, edit its content as you would any other part of your email.
This will create local edits to that single instance; these edits are not synced to other components in use elsewhere. This means you can make tweaks and changes to a single instance of a component without updating all other instances.
If a component has local edits, you will notice the **Push changes** and **Reset changes** icons are now active.
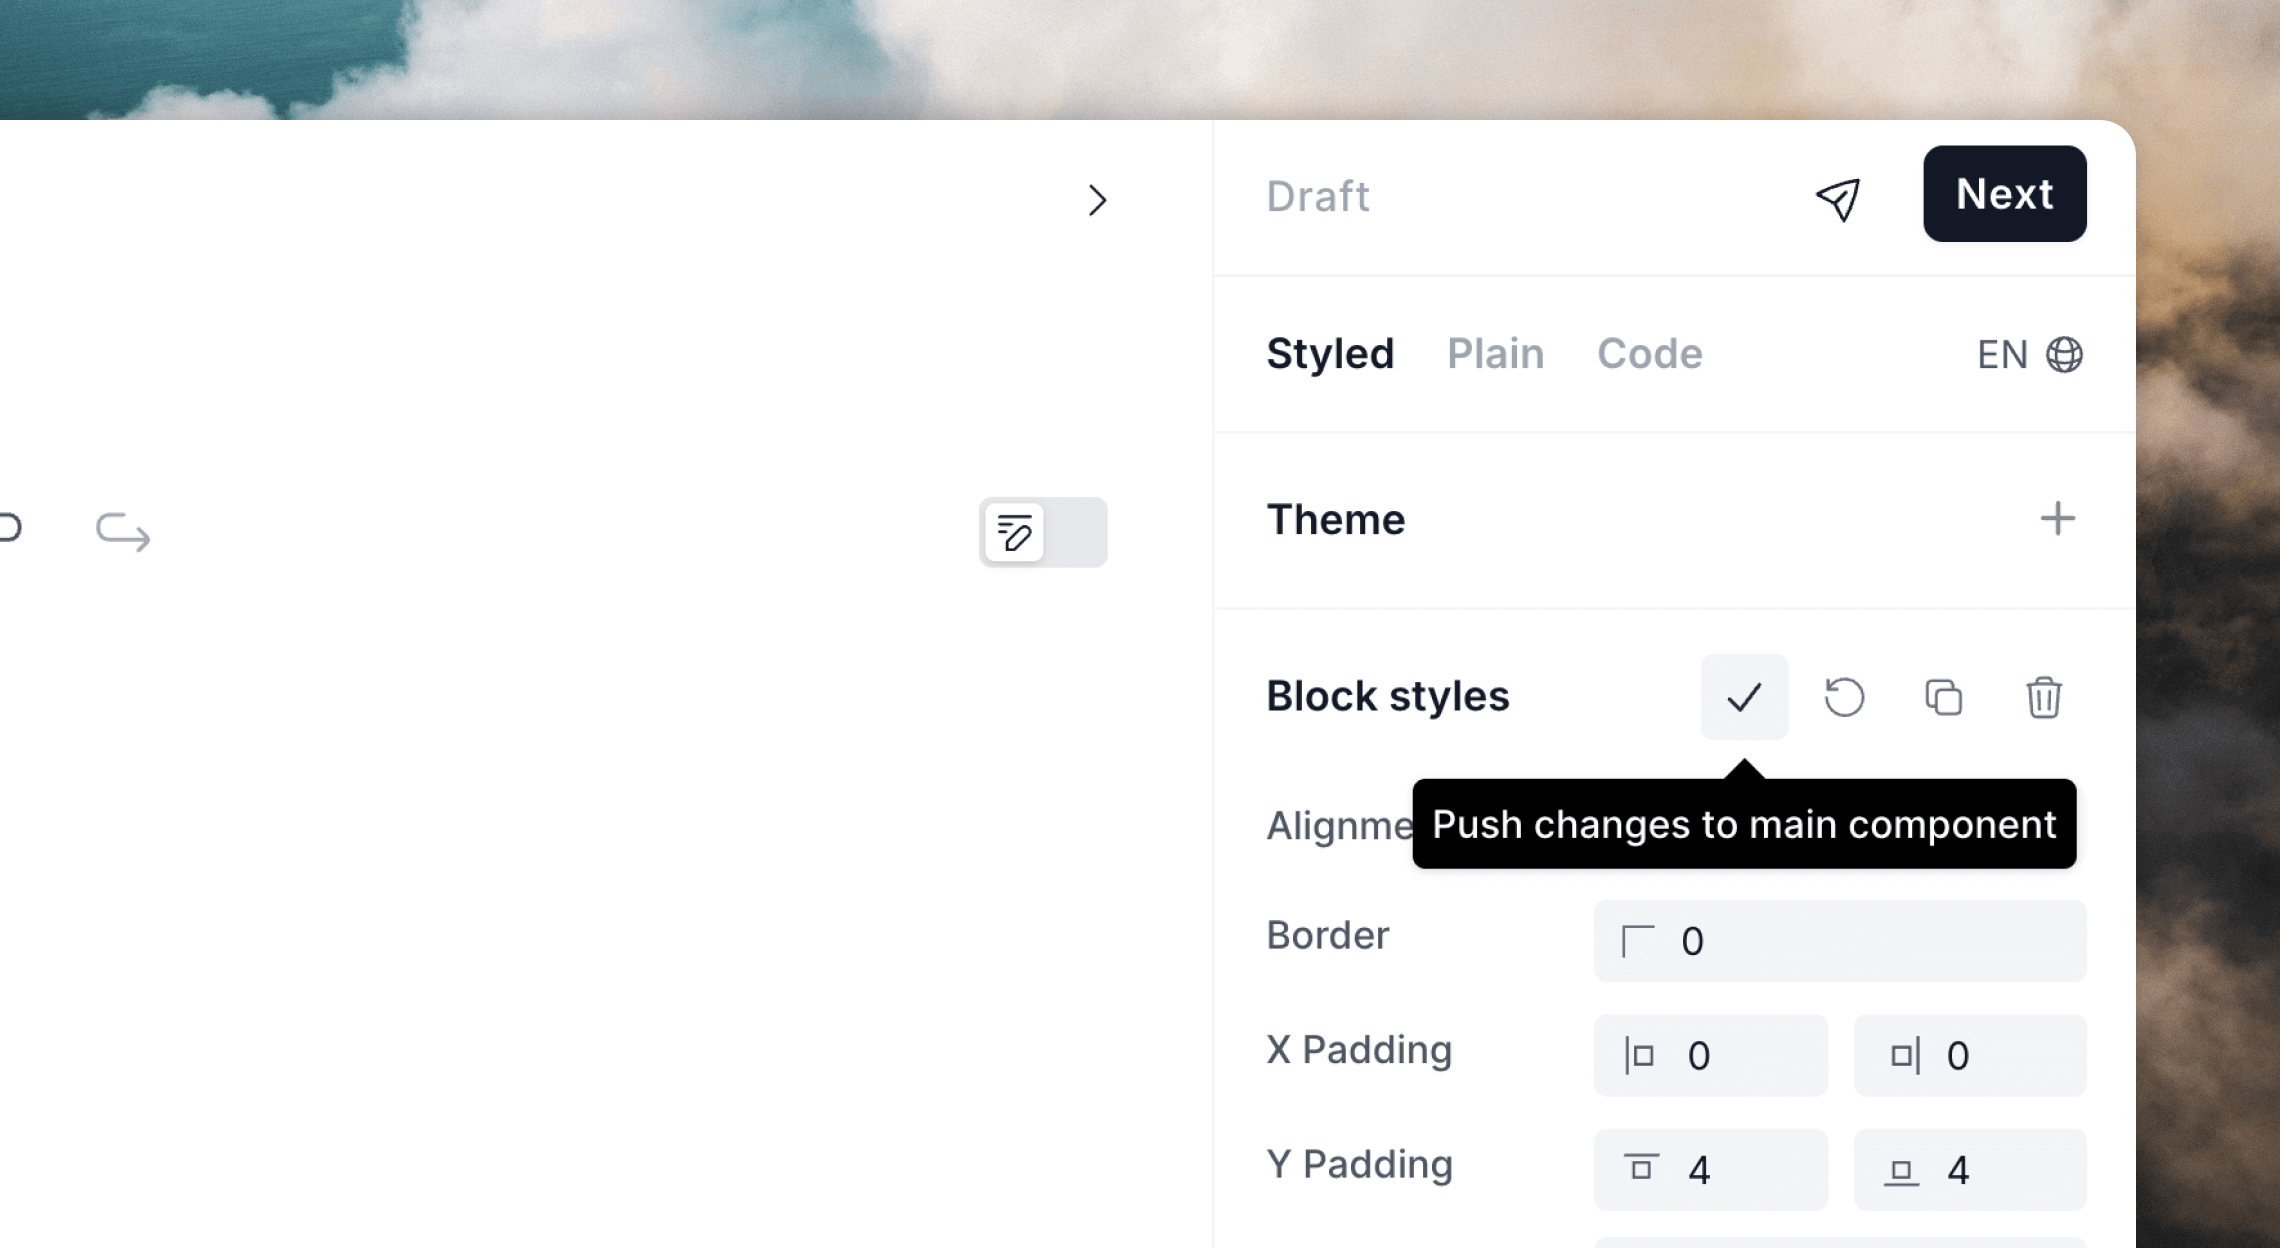
 If you want to save your changes to all instances of the component, click on the **Push changes to main component** button. Note that any local edits made to the component in other emails will be preserved.
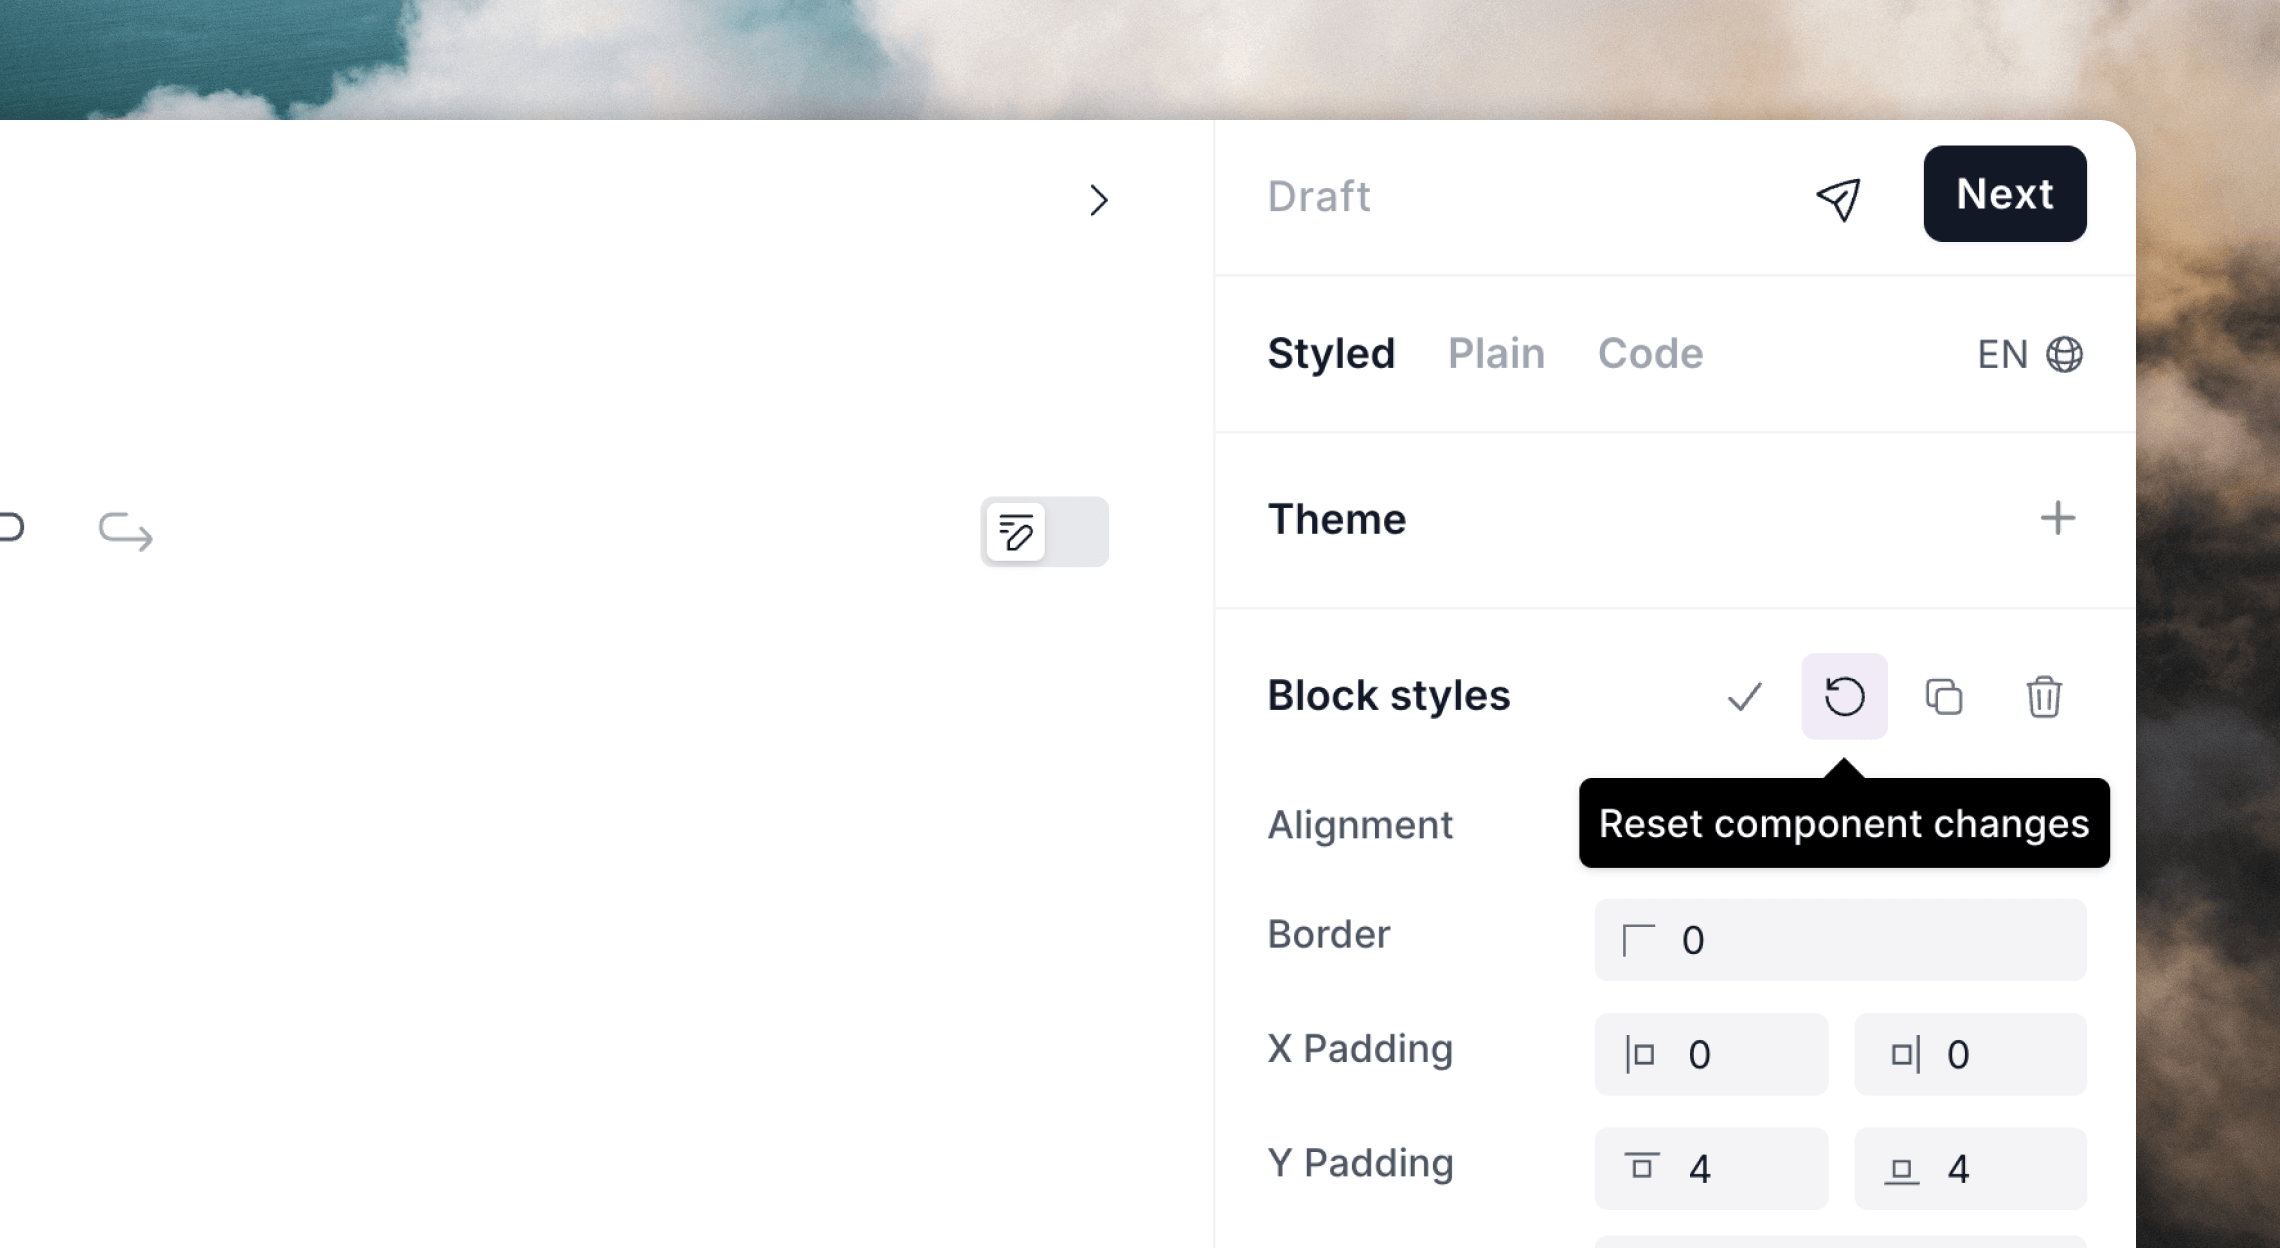
 If you make local edits to a component that you want to revert, click the **Reset component changes** option.
 ## Rename a component
In the Components list, find the component you want to rename, then click the `•••` menu icon. Click on **Rename** to show the rename modal.
Enter a new name and click **Rename**.
## Delete a component
Deleting a component only deletes the component; it does not remove the
component from emails. A deleted component's contents will be retained by any
email it was added to.
In the Components list, find the component you want to delete, then click the `•••` menu icon. Click on **Delete** to show the confirmation modal.
Click **Delete** to delete the component.
## Rename a component
In the Components list, find the component you want to rename, then click the `•••` menu icon. Click on **Rename** to show the rename modal.
Enter a new name and click **Rename**.
## Delete a component
Deleting a component only deletes the component; it does not remove the
component from emails. A deleted component's contents will be retained by any
email it was added to.
In the Components list, find the component you want to delete, then click the `•••` menu icon. Click on **Delete** to show the confirmation modal.
Click **Delete** to delete the component.